In today’s competitive business world, video interviews have become a go-to tool for storytelling, whether for marketing purposes, client testimonials, or internal company communication. However, creating a truly personal and engaging interview requires more than just placing a camera in front of a speaker. It’s about creating an environment that makes the interviewee feel at ease and encouraging them to share authentic stories that resonate with the audience.
Why Personalizing Video Interviews Matters
In the world of corporate communications, personal connections are more important than ever. When a video interview feels genuine, it allows your brand to connect on a deeper level with viewers. Personal stories, shared in an authentic setting, invite your audience into the experience, helping them understand the values, motivations, and human side of your company. This can be an invaluable asset in brand-building, employee engagement, and customer trust.
Creating these personal connections through video interviews, however, doesn’t just happen by chance—it requires strategic planning, the right equipment, and an understanding of how to make the most out of the setting, sound, and style.
1. Set the Right Environment for Authenticity
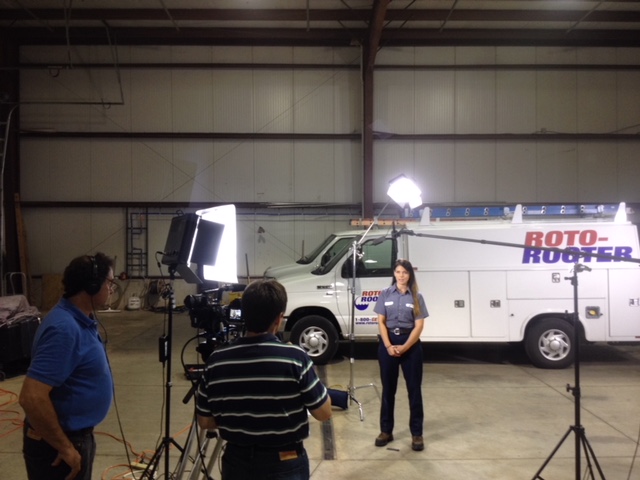
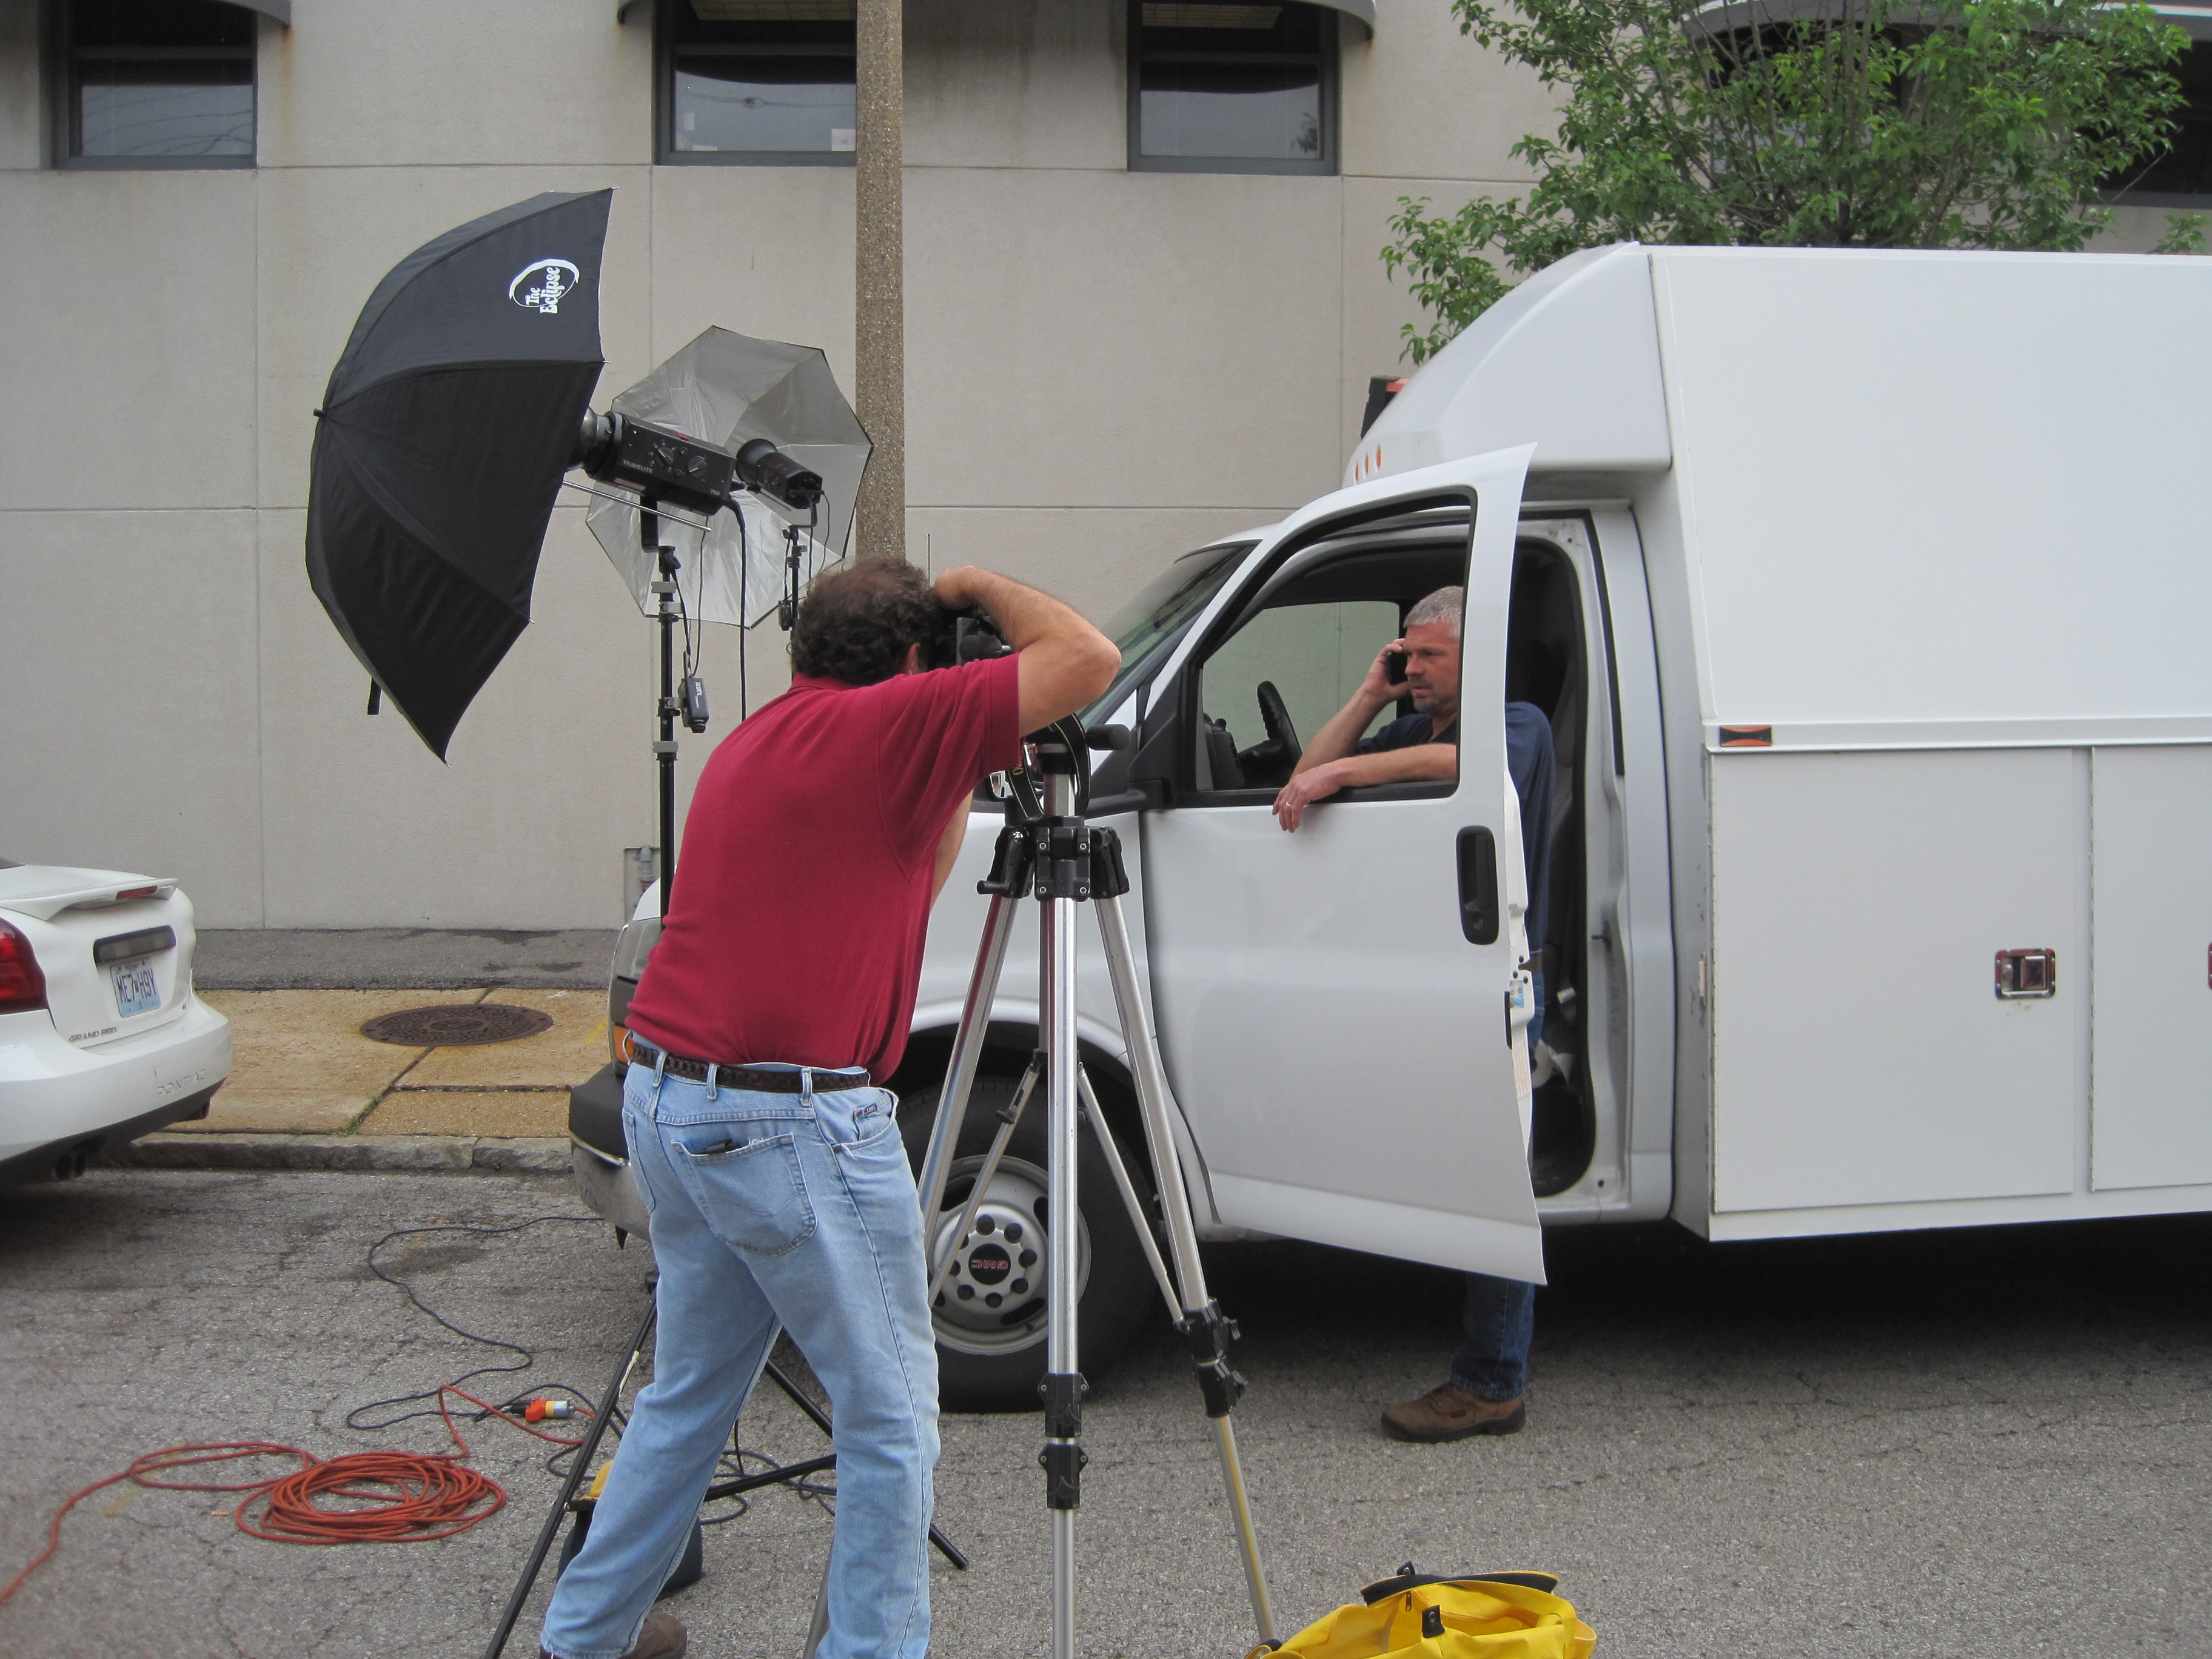
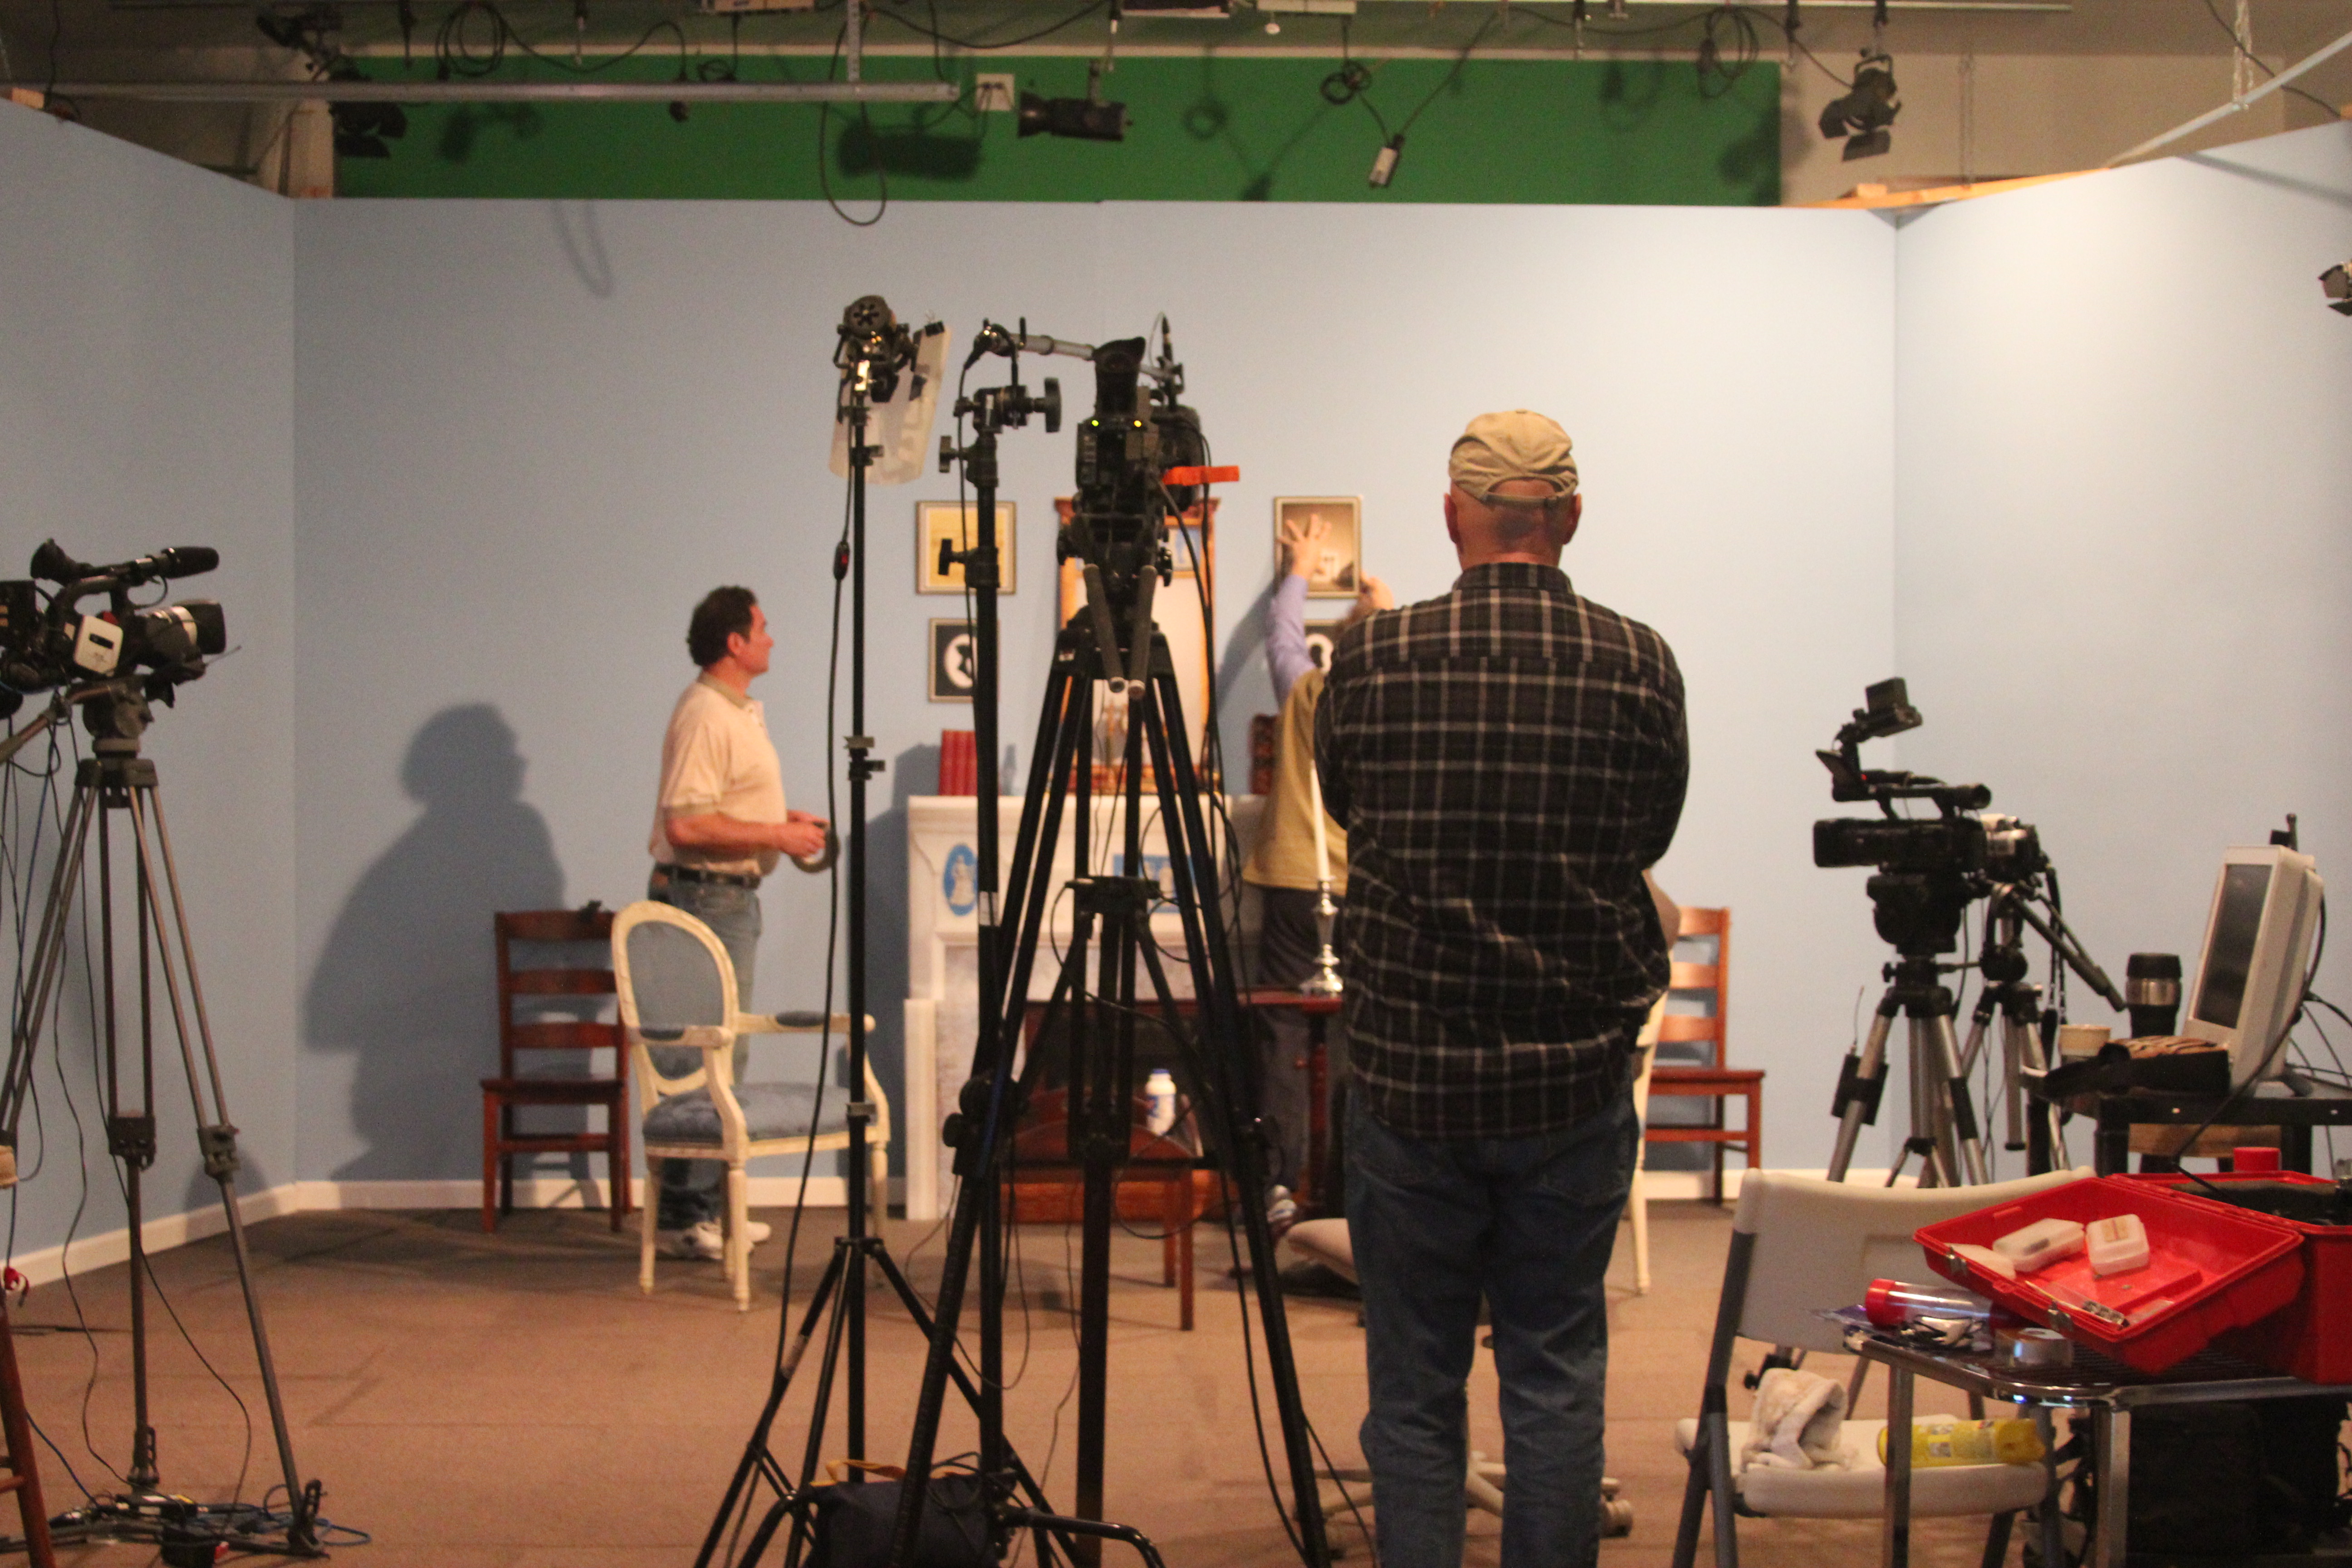
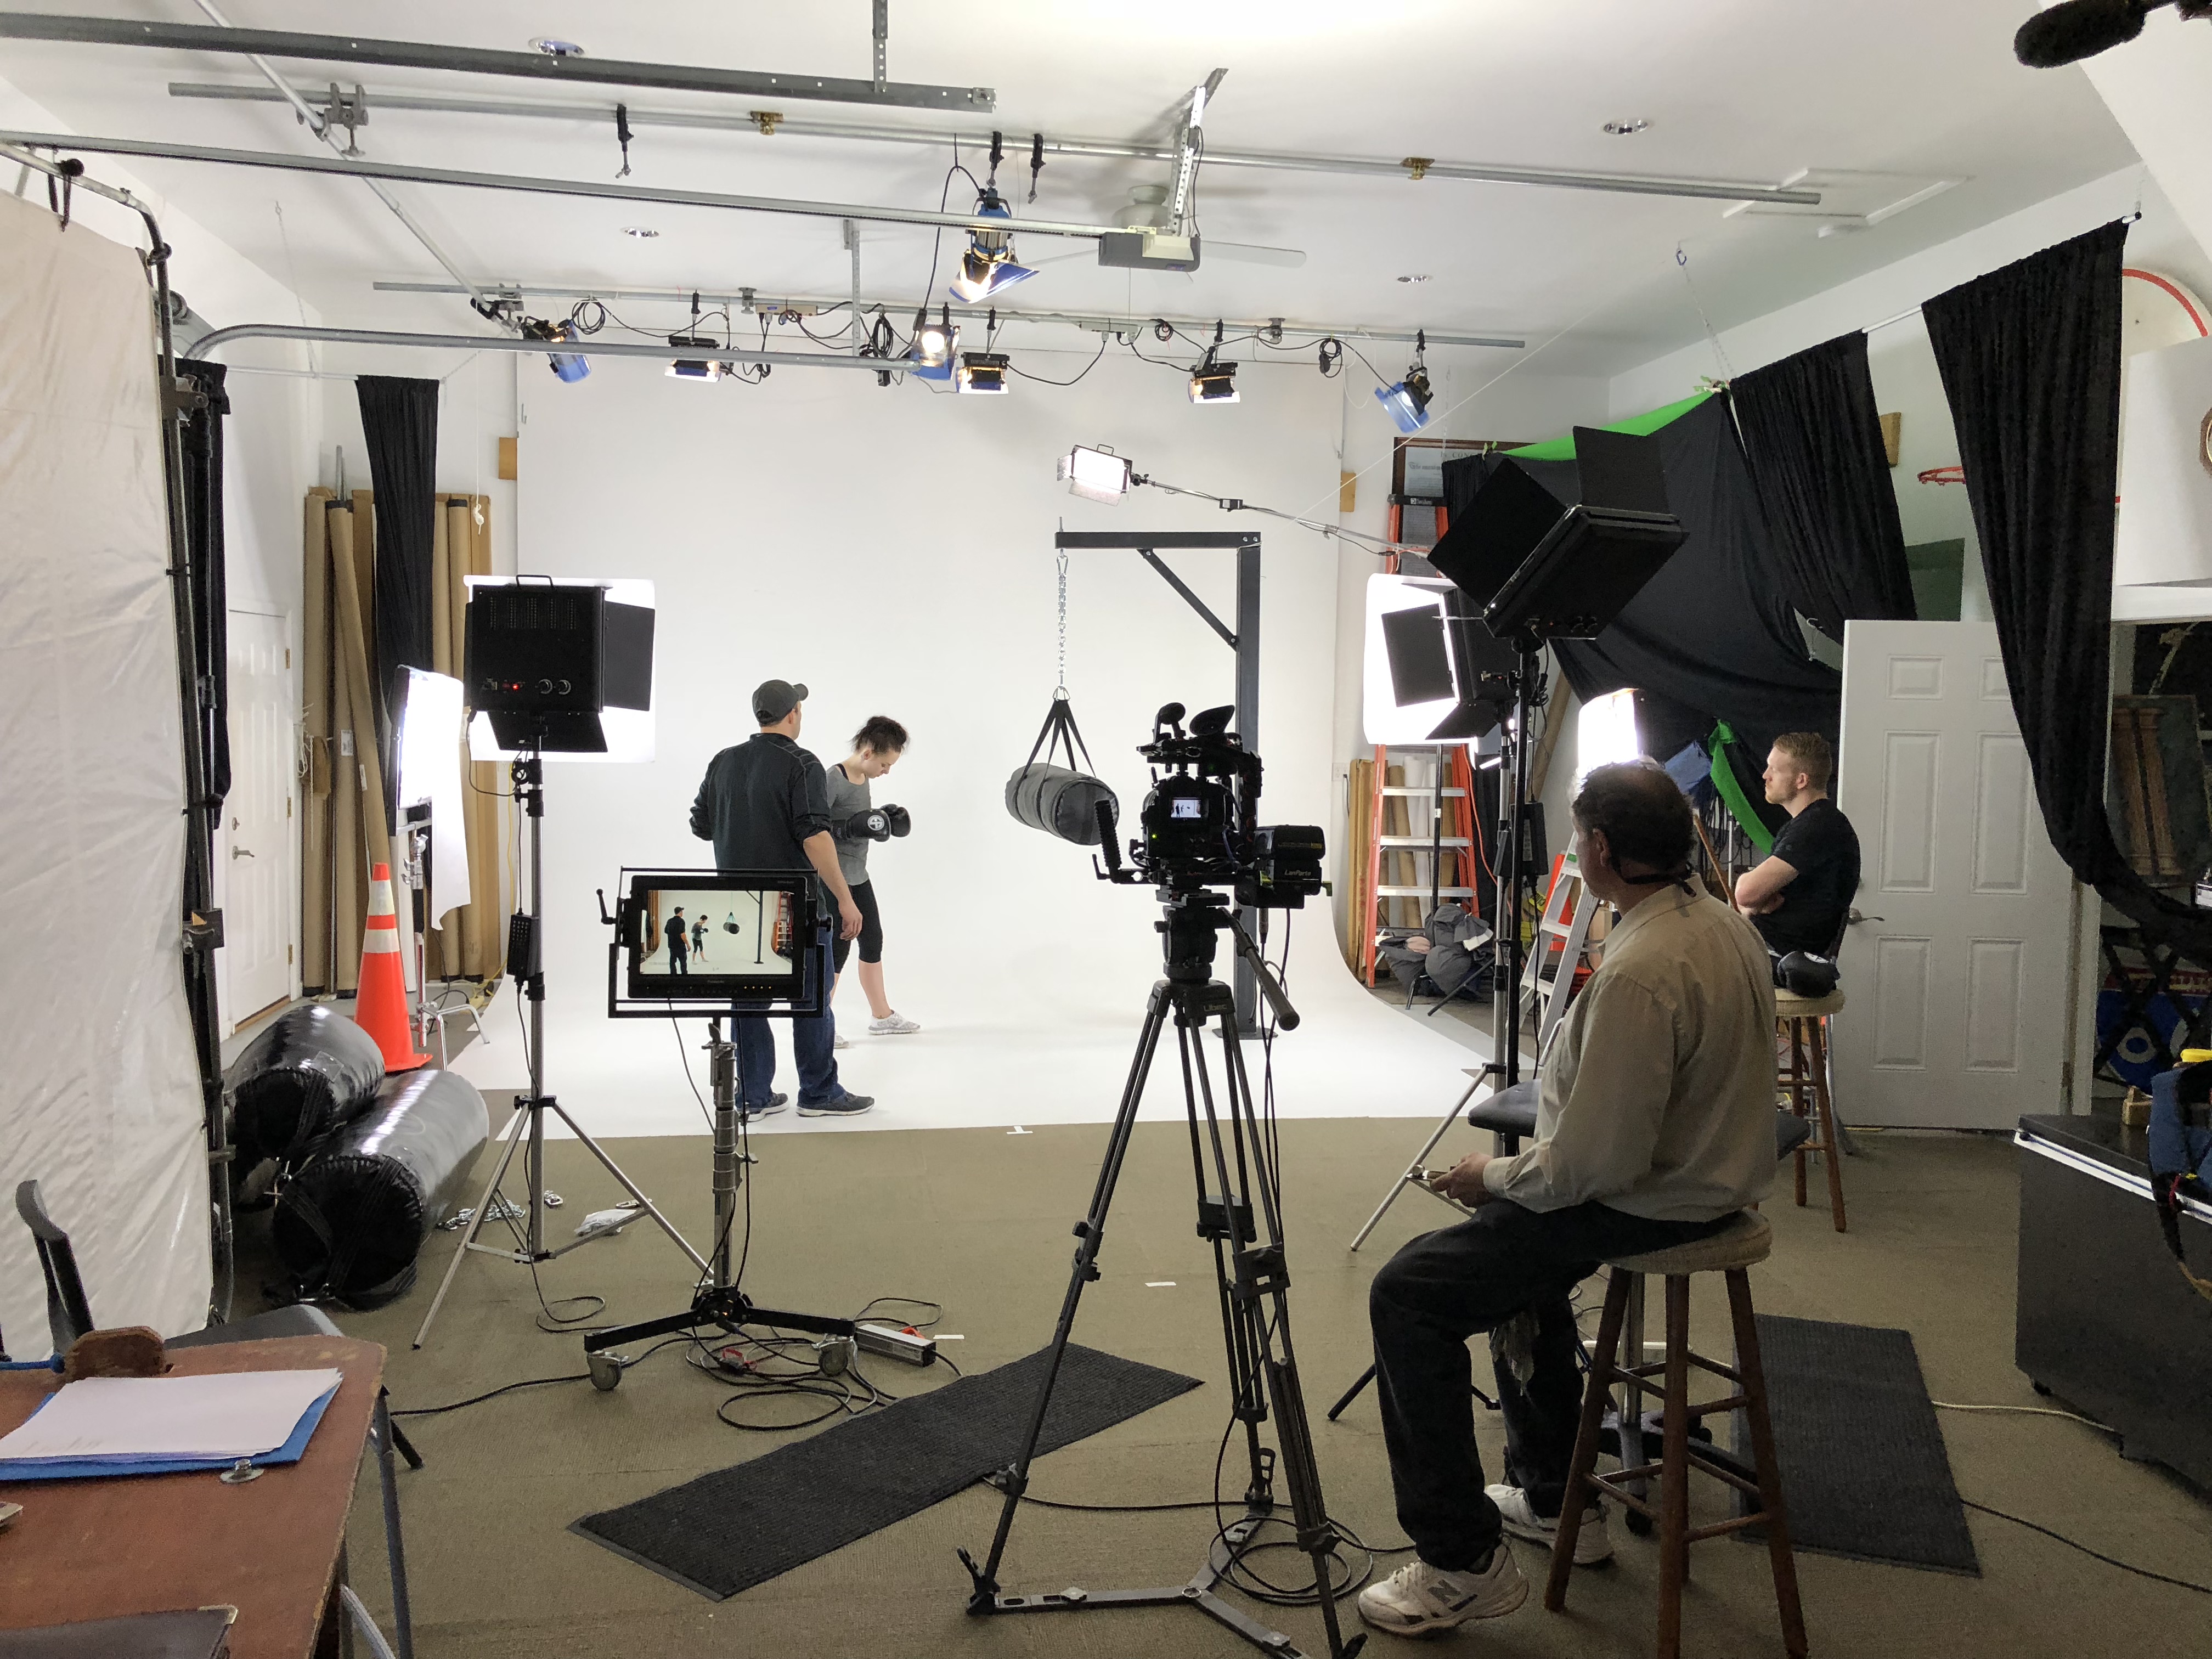
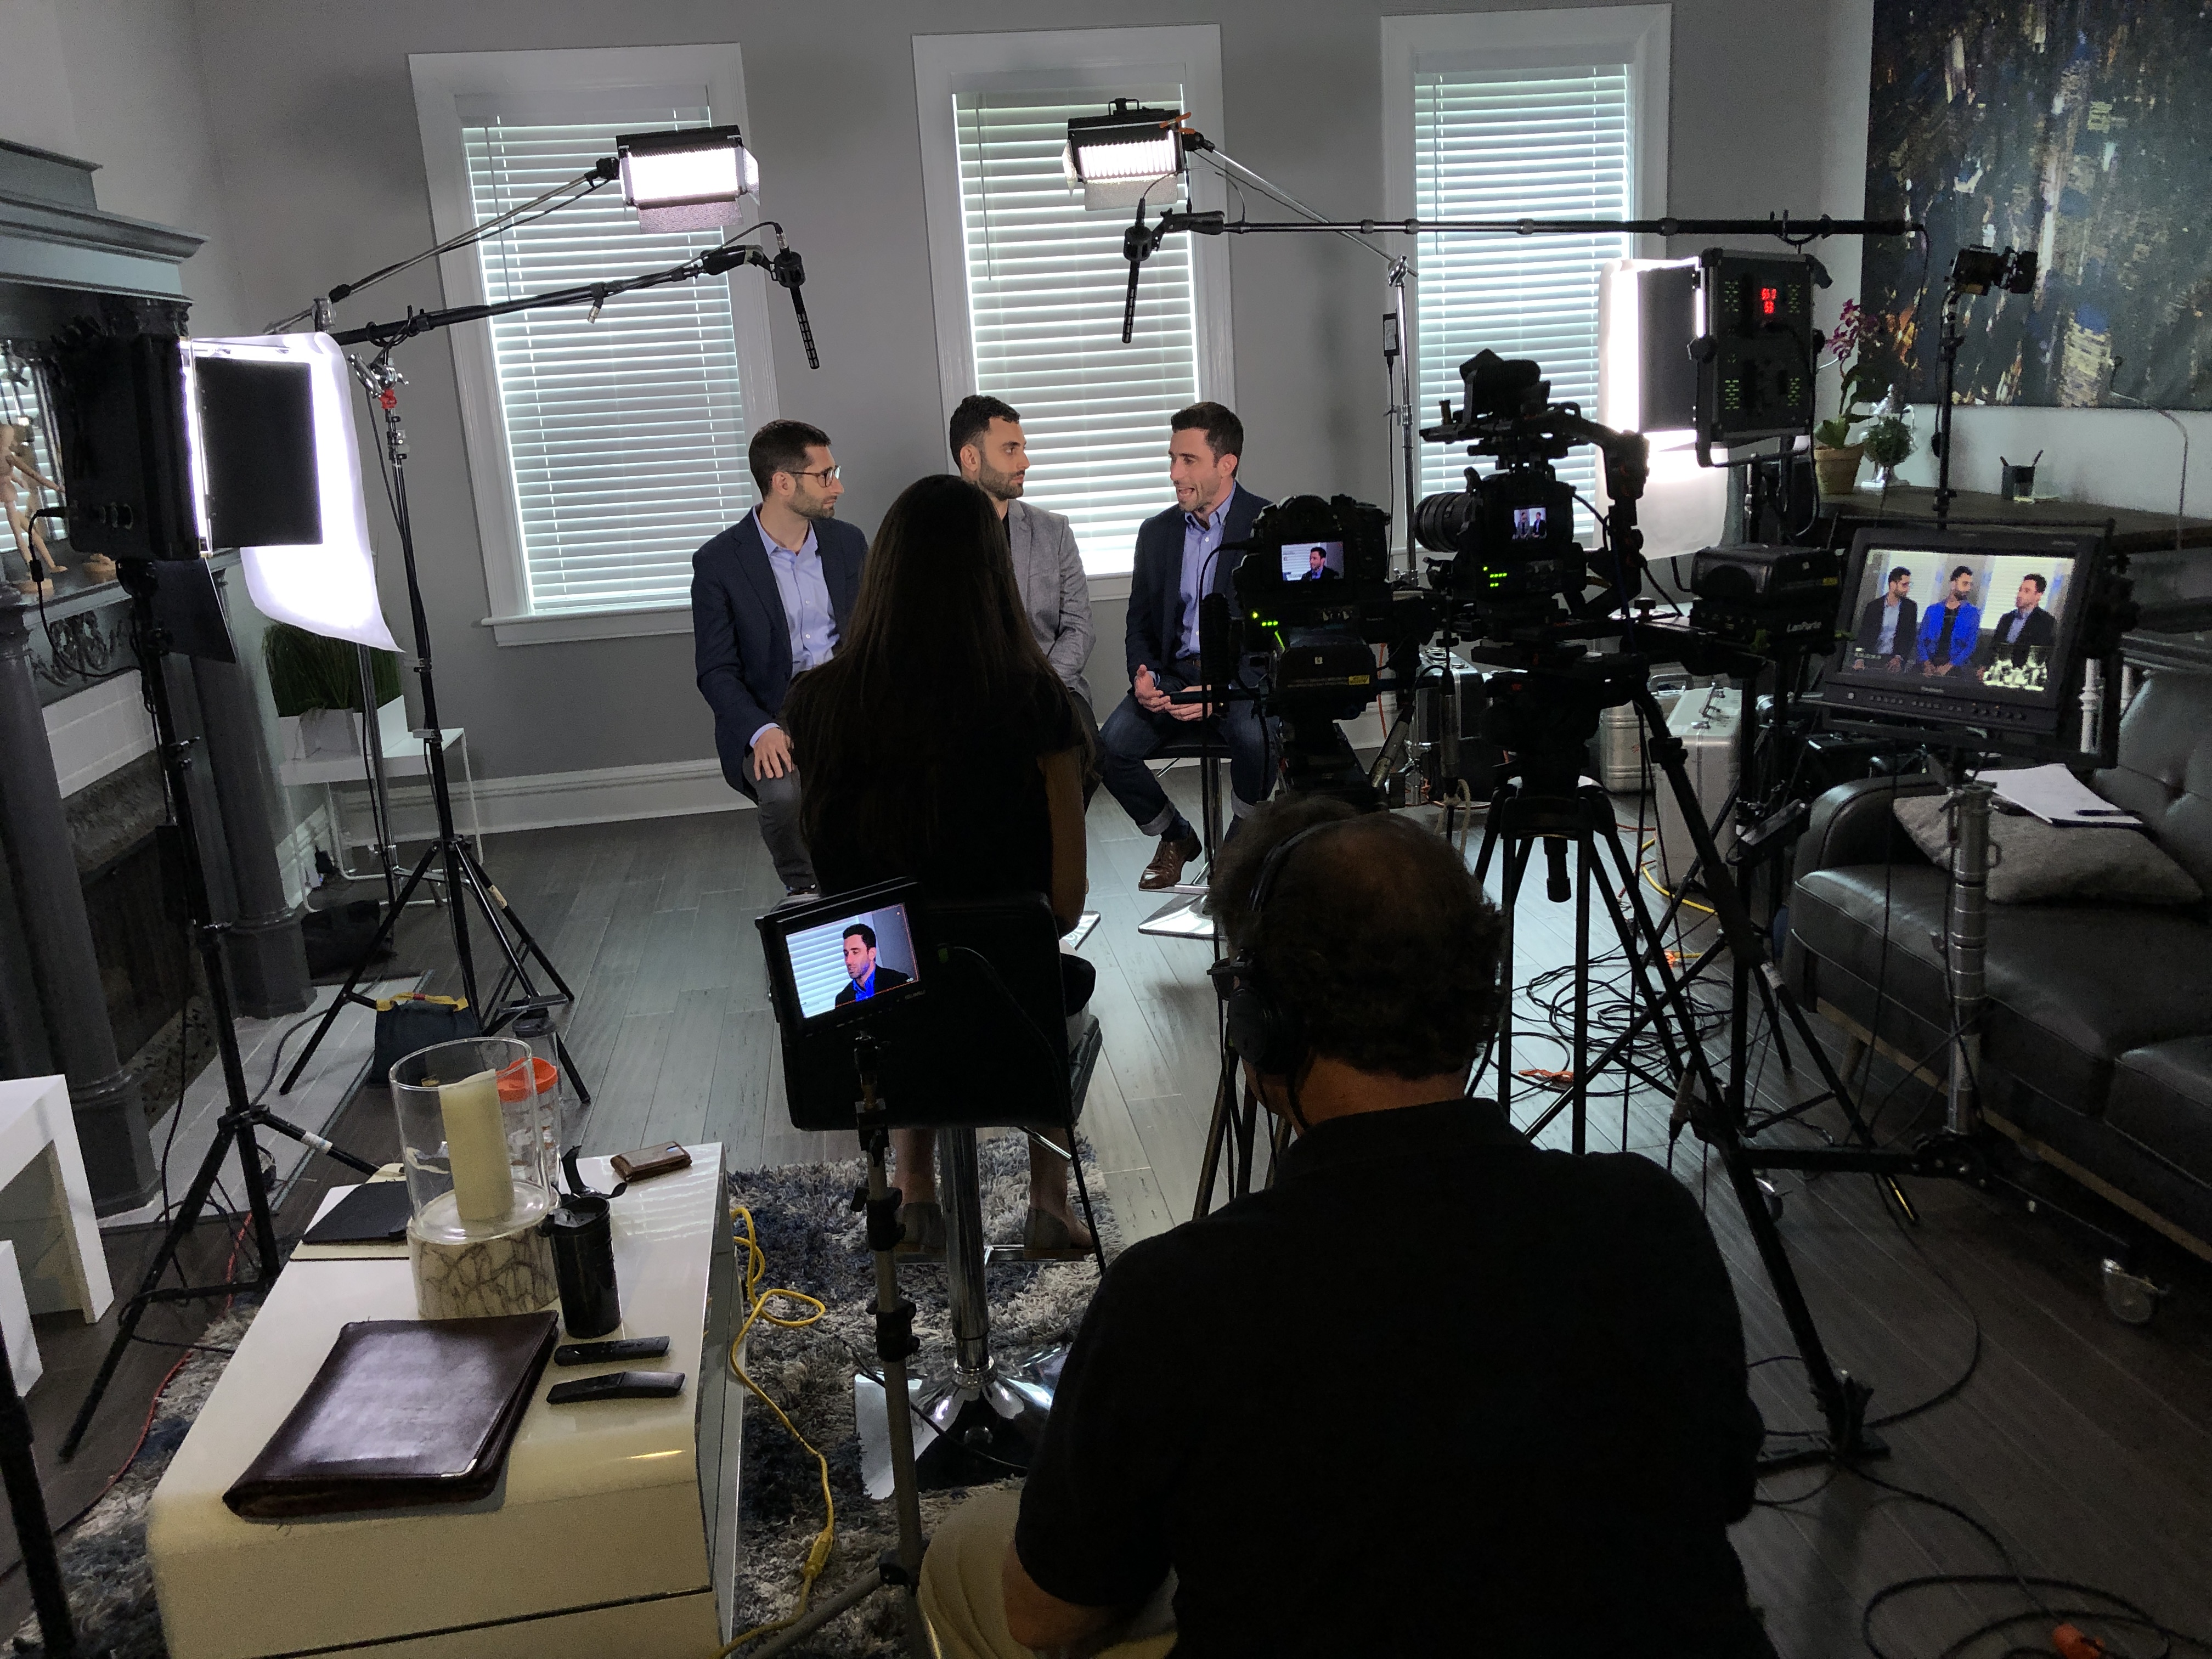
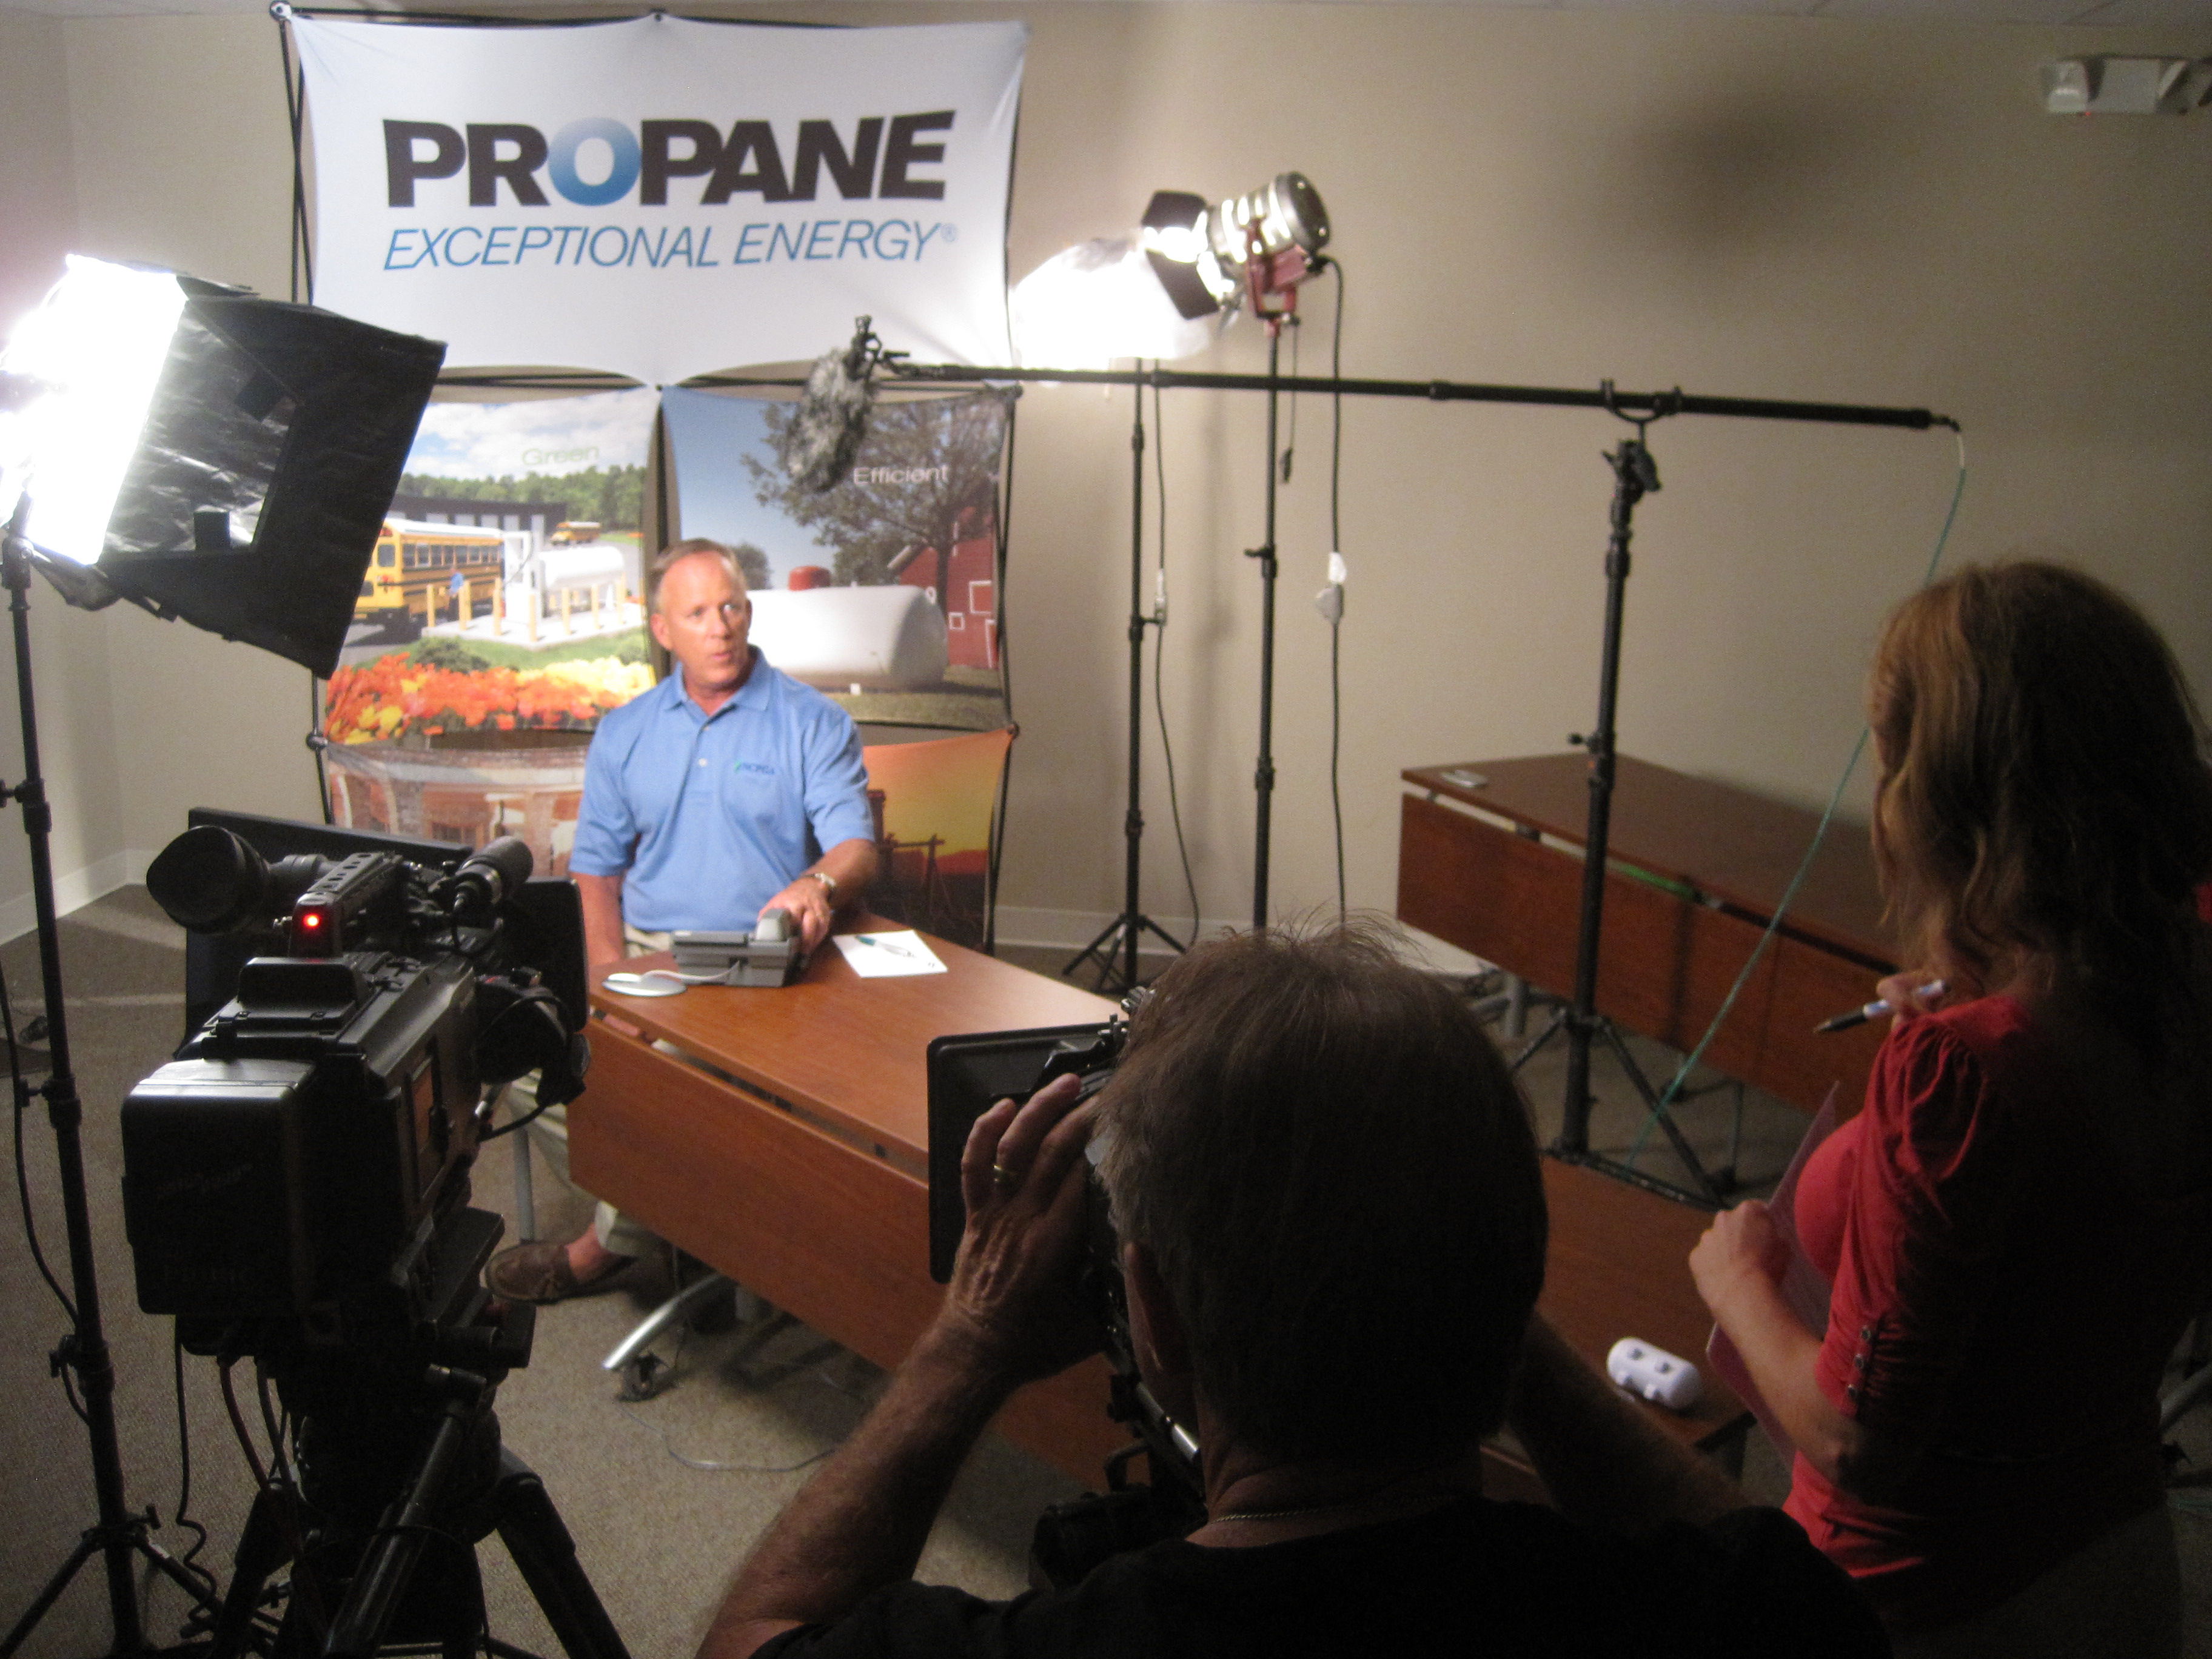
The first step in making an interview personal is setting the right environment. At St. Louis Video Studio, we specialize in designing private, custom interview setups that allow for a comfortable and controlled environment. This means providing lighting that flatters the speaker, a backdrop that fits the narrative, and soundproofing that eliminates distractions.
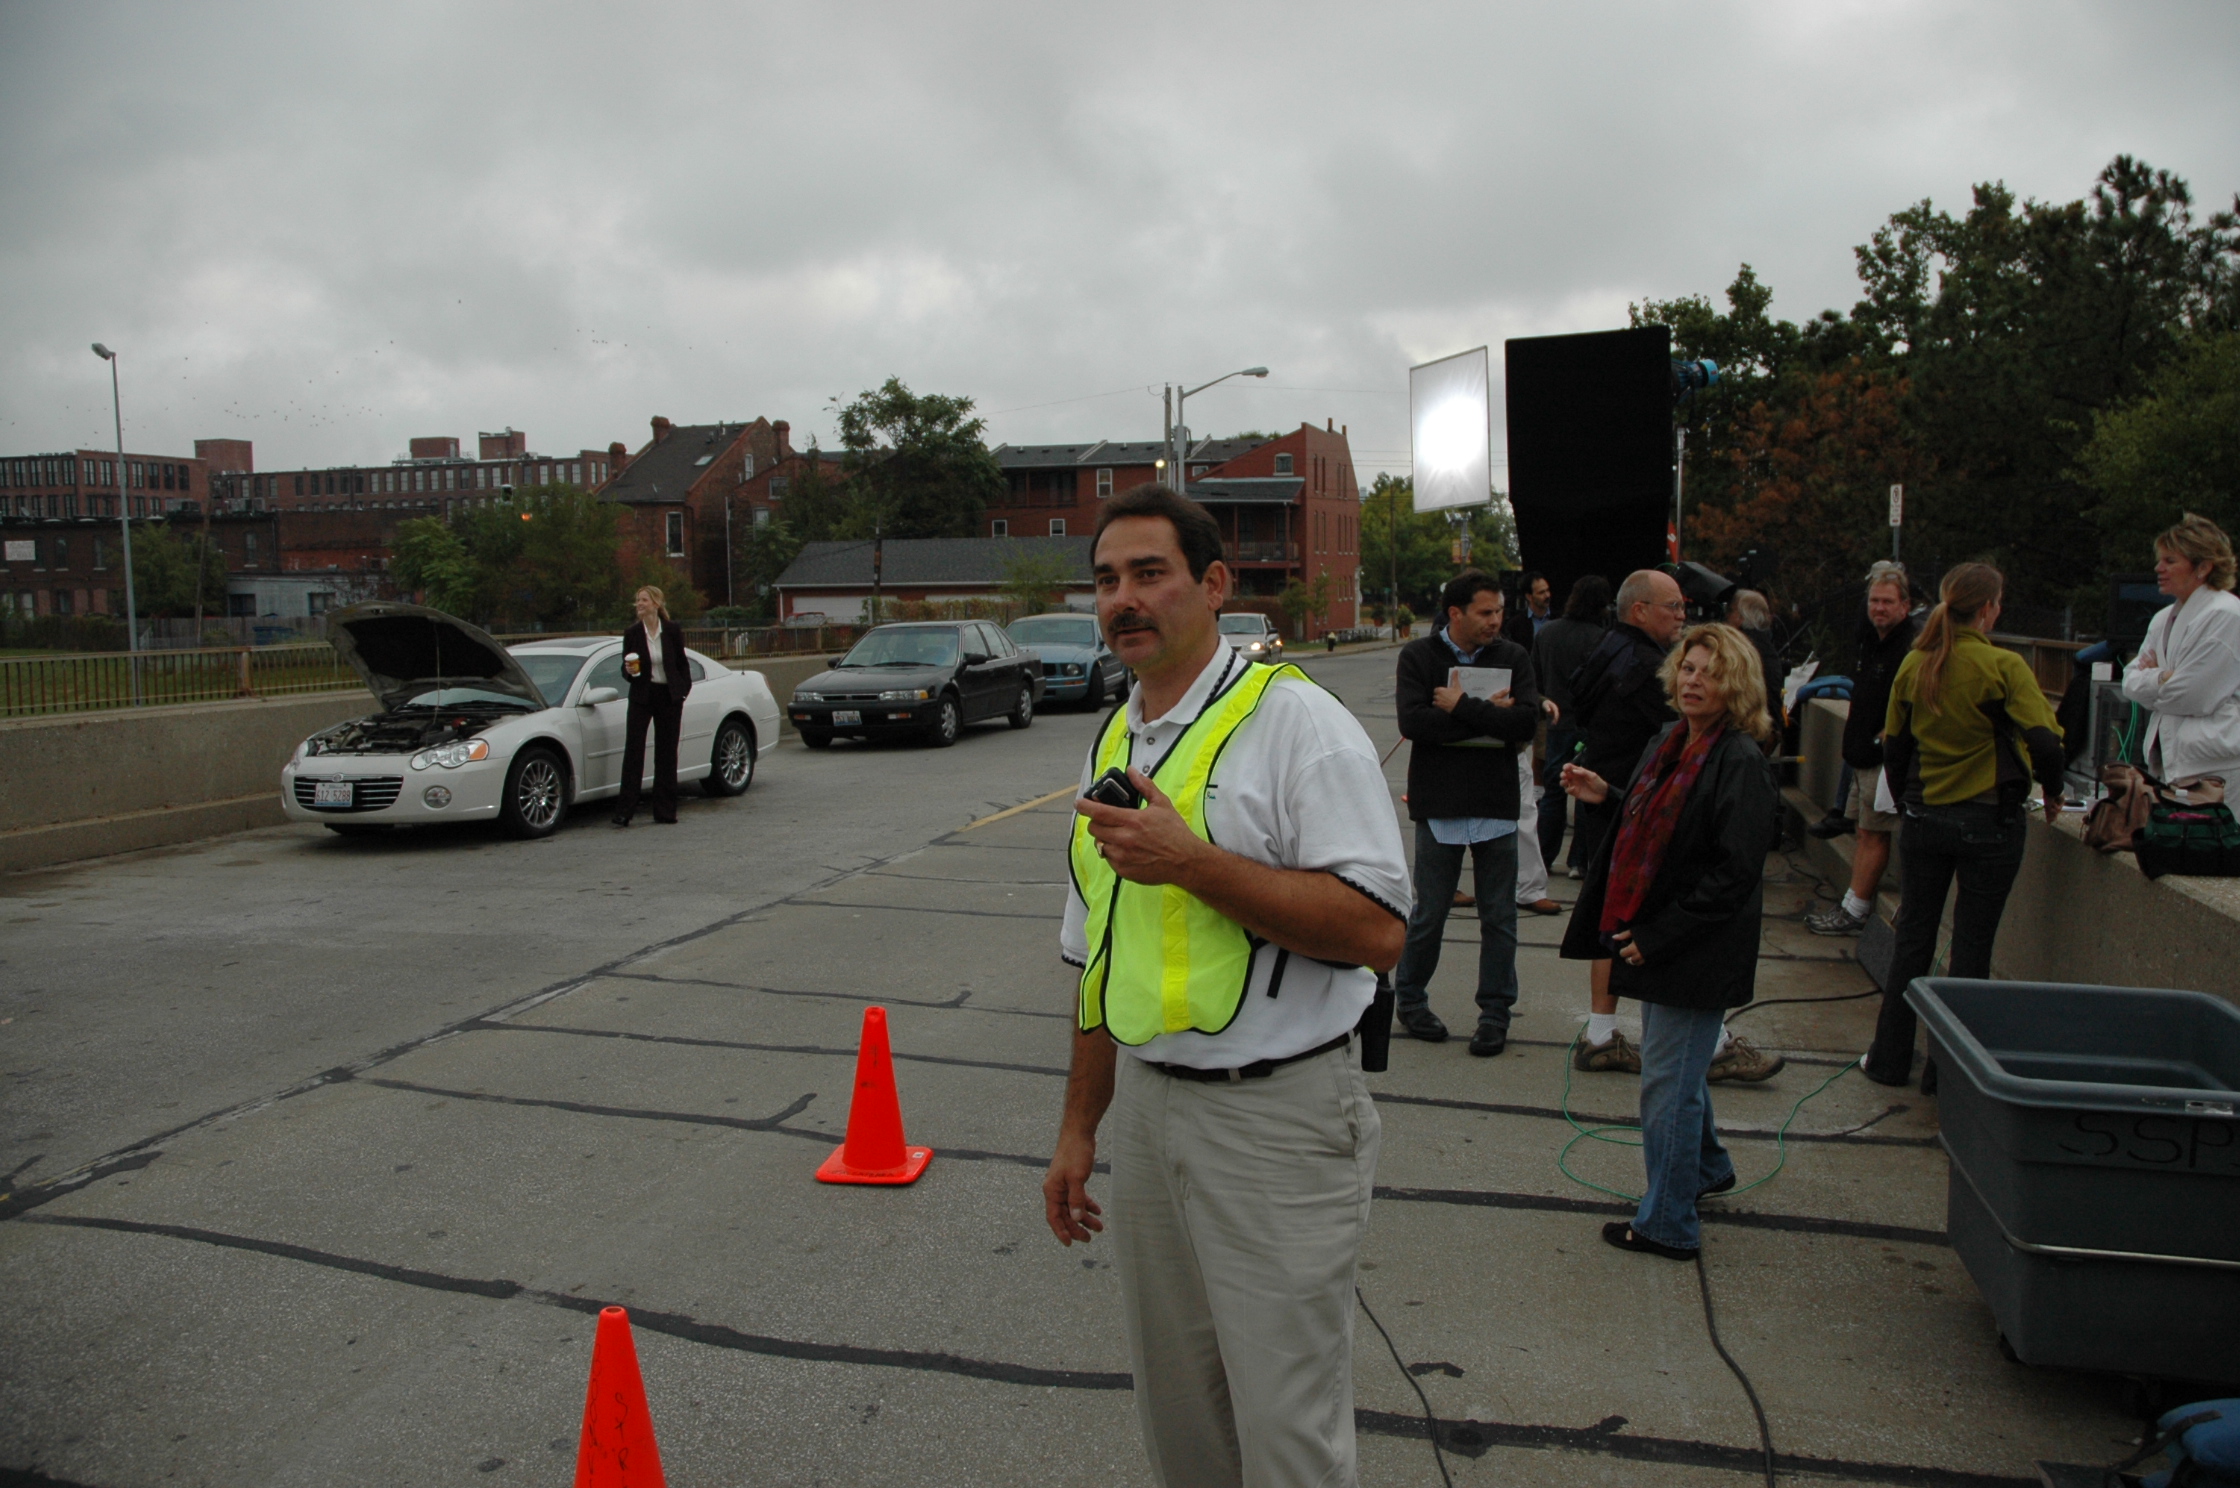
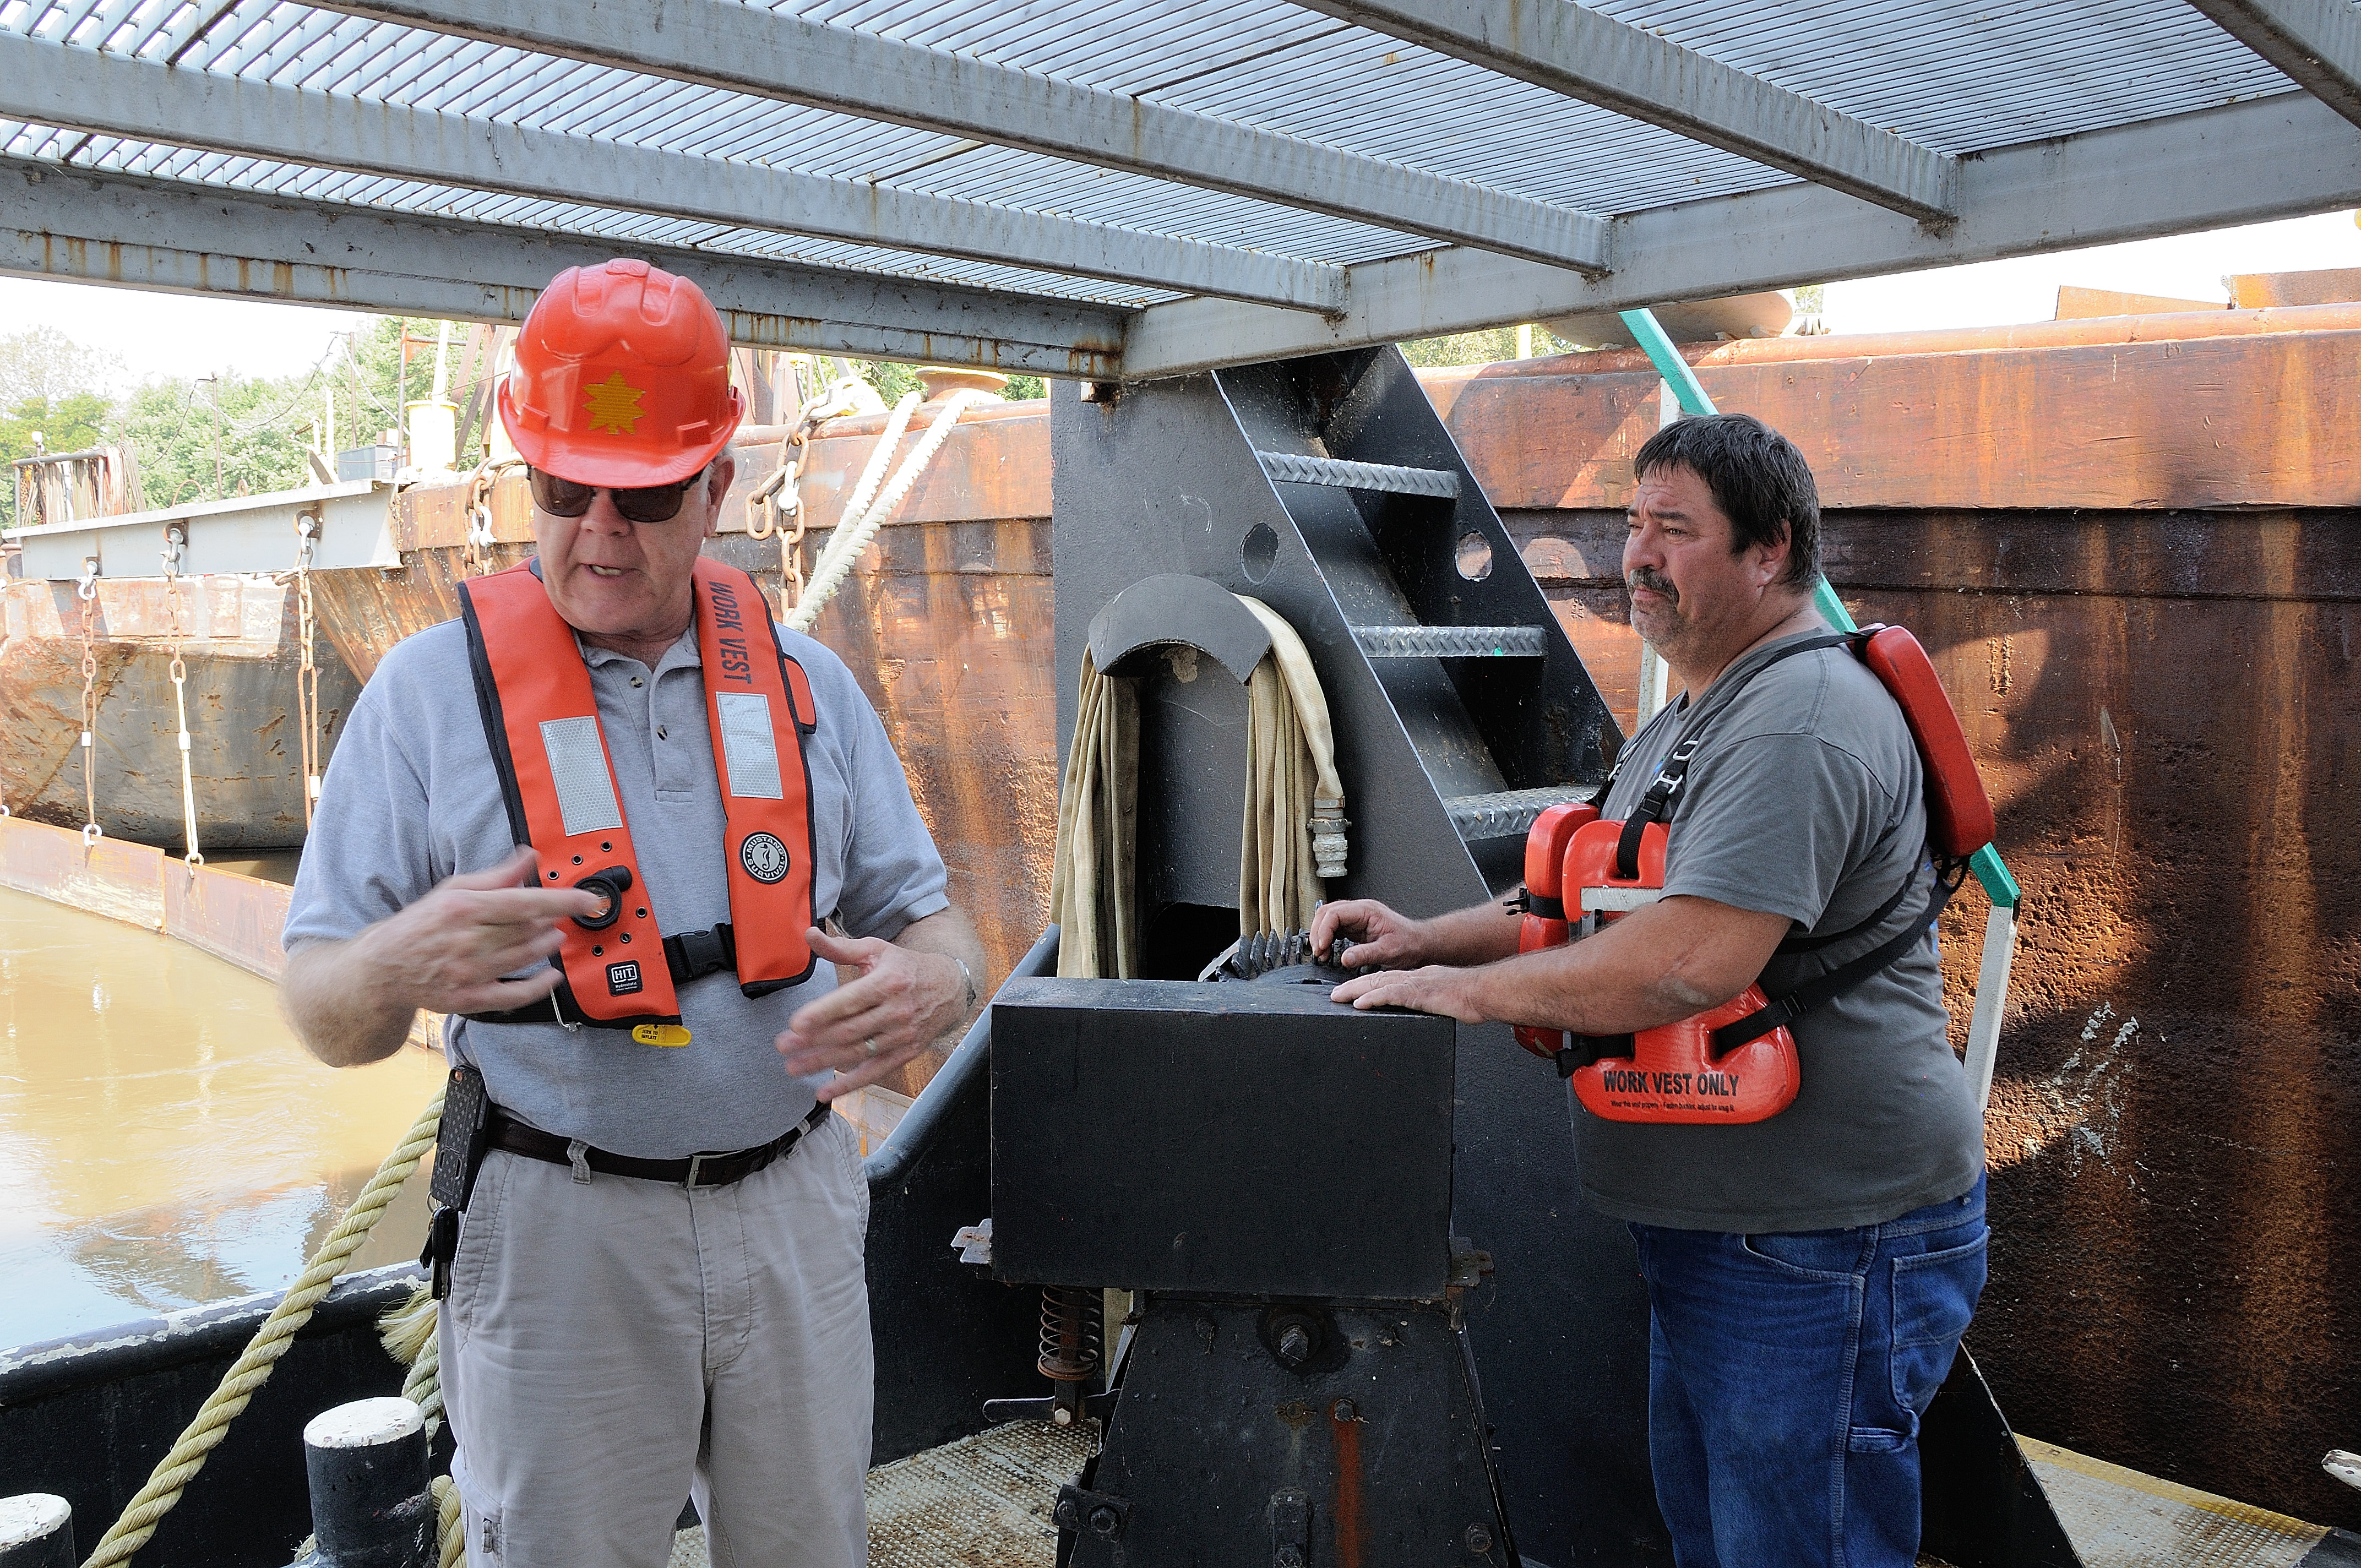
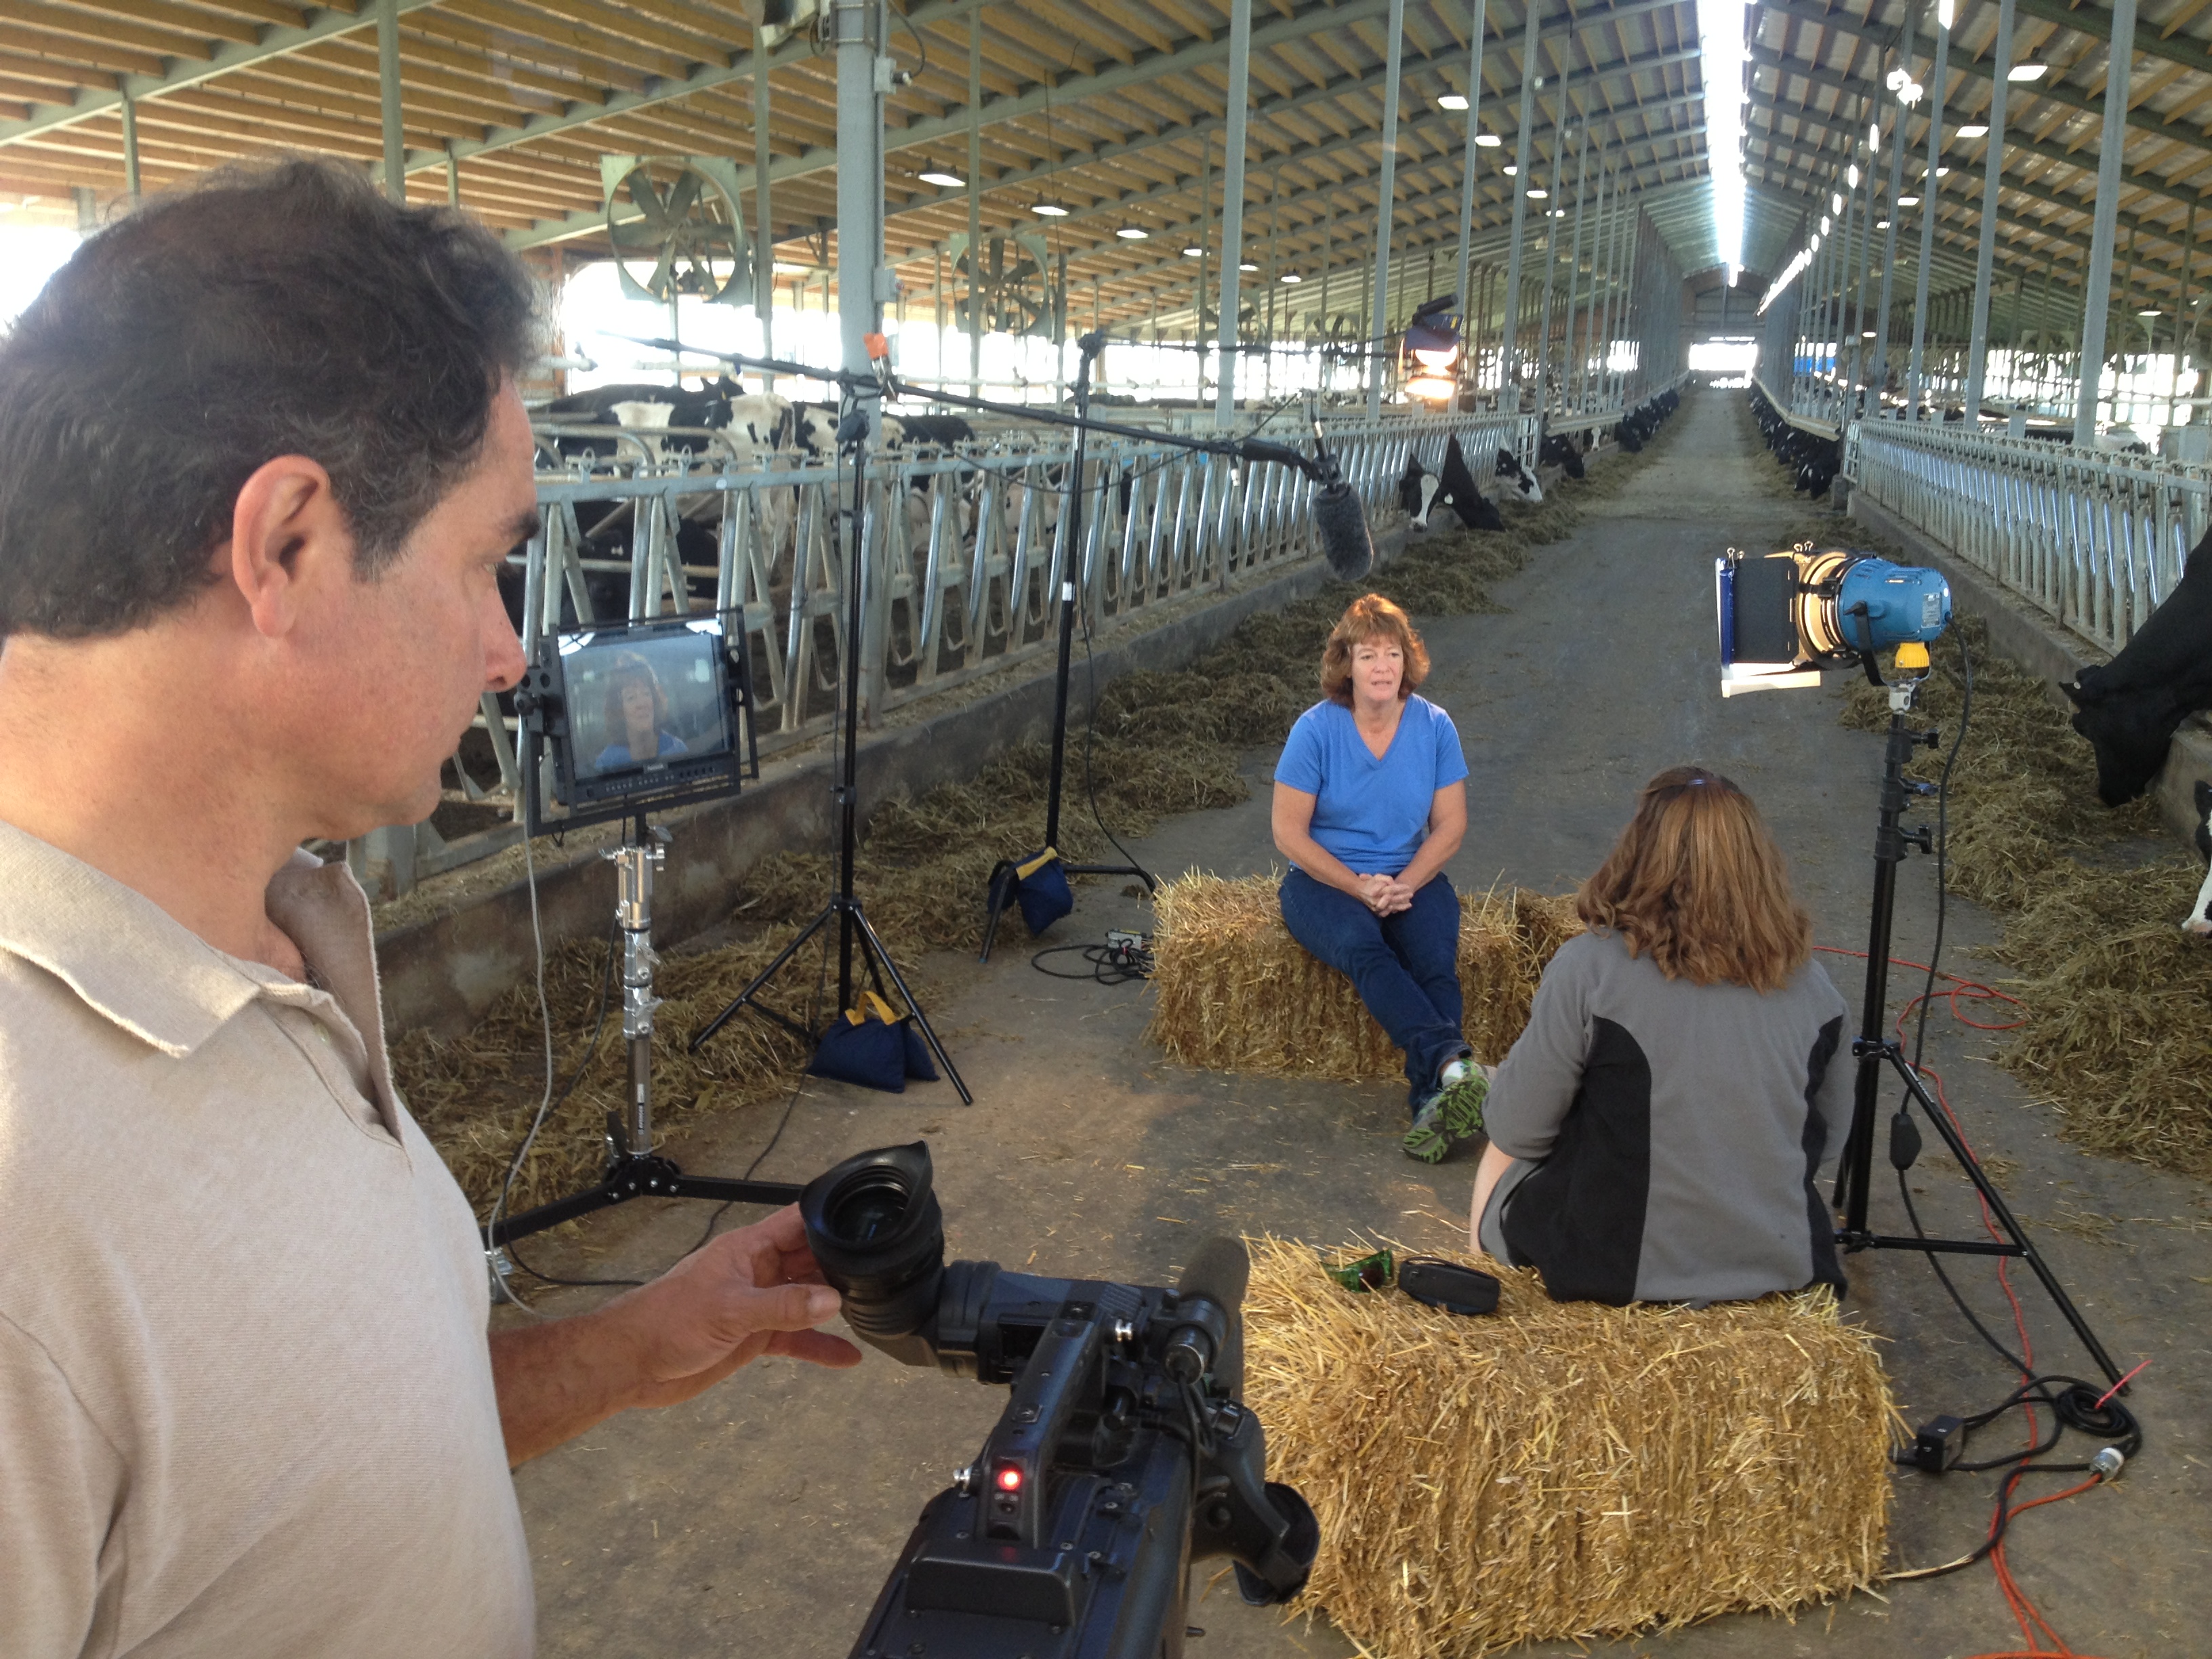
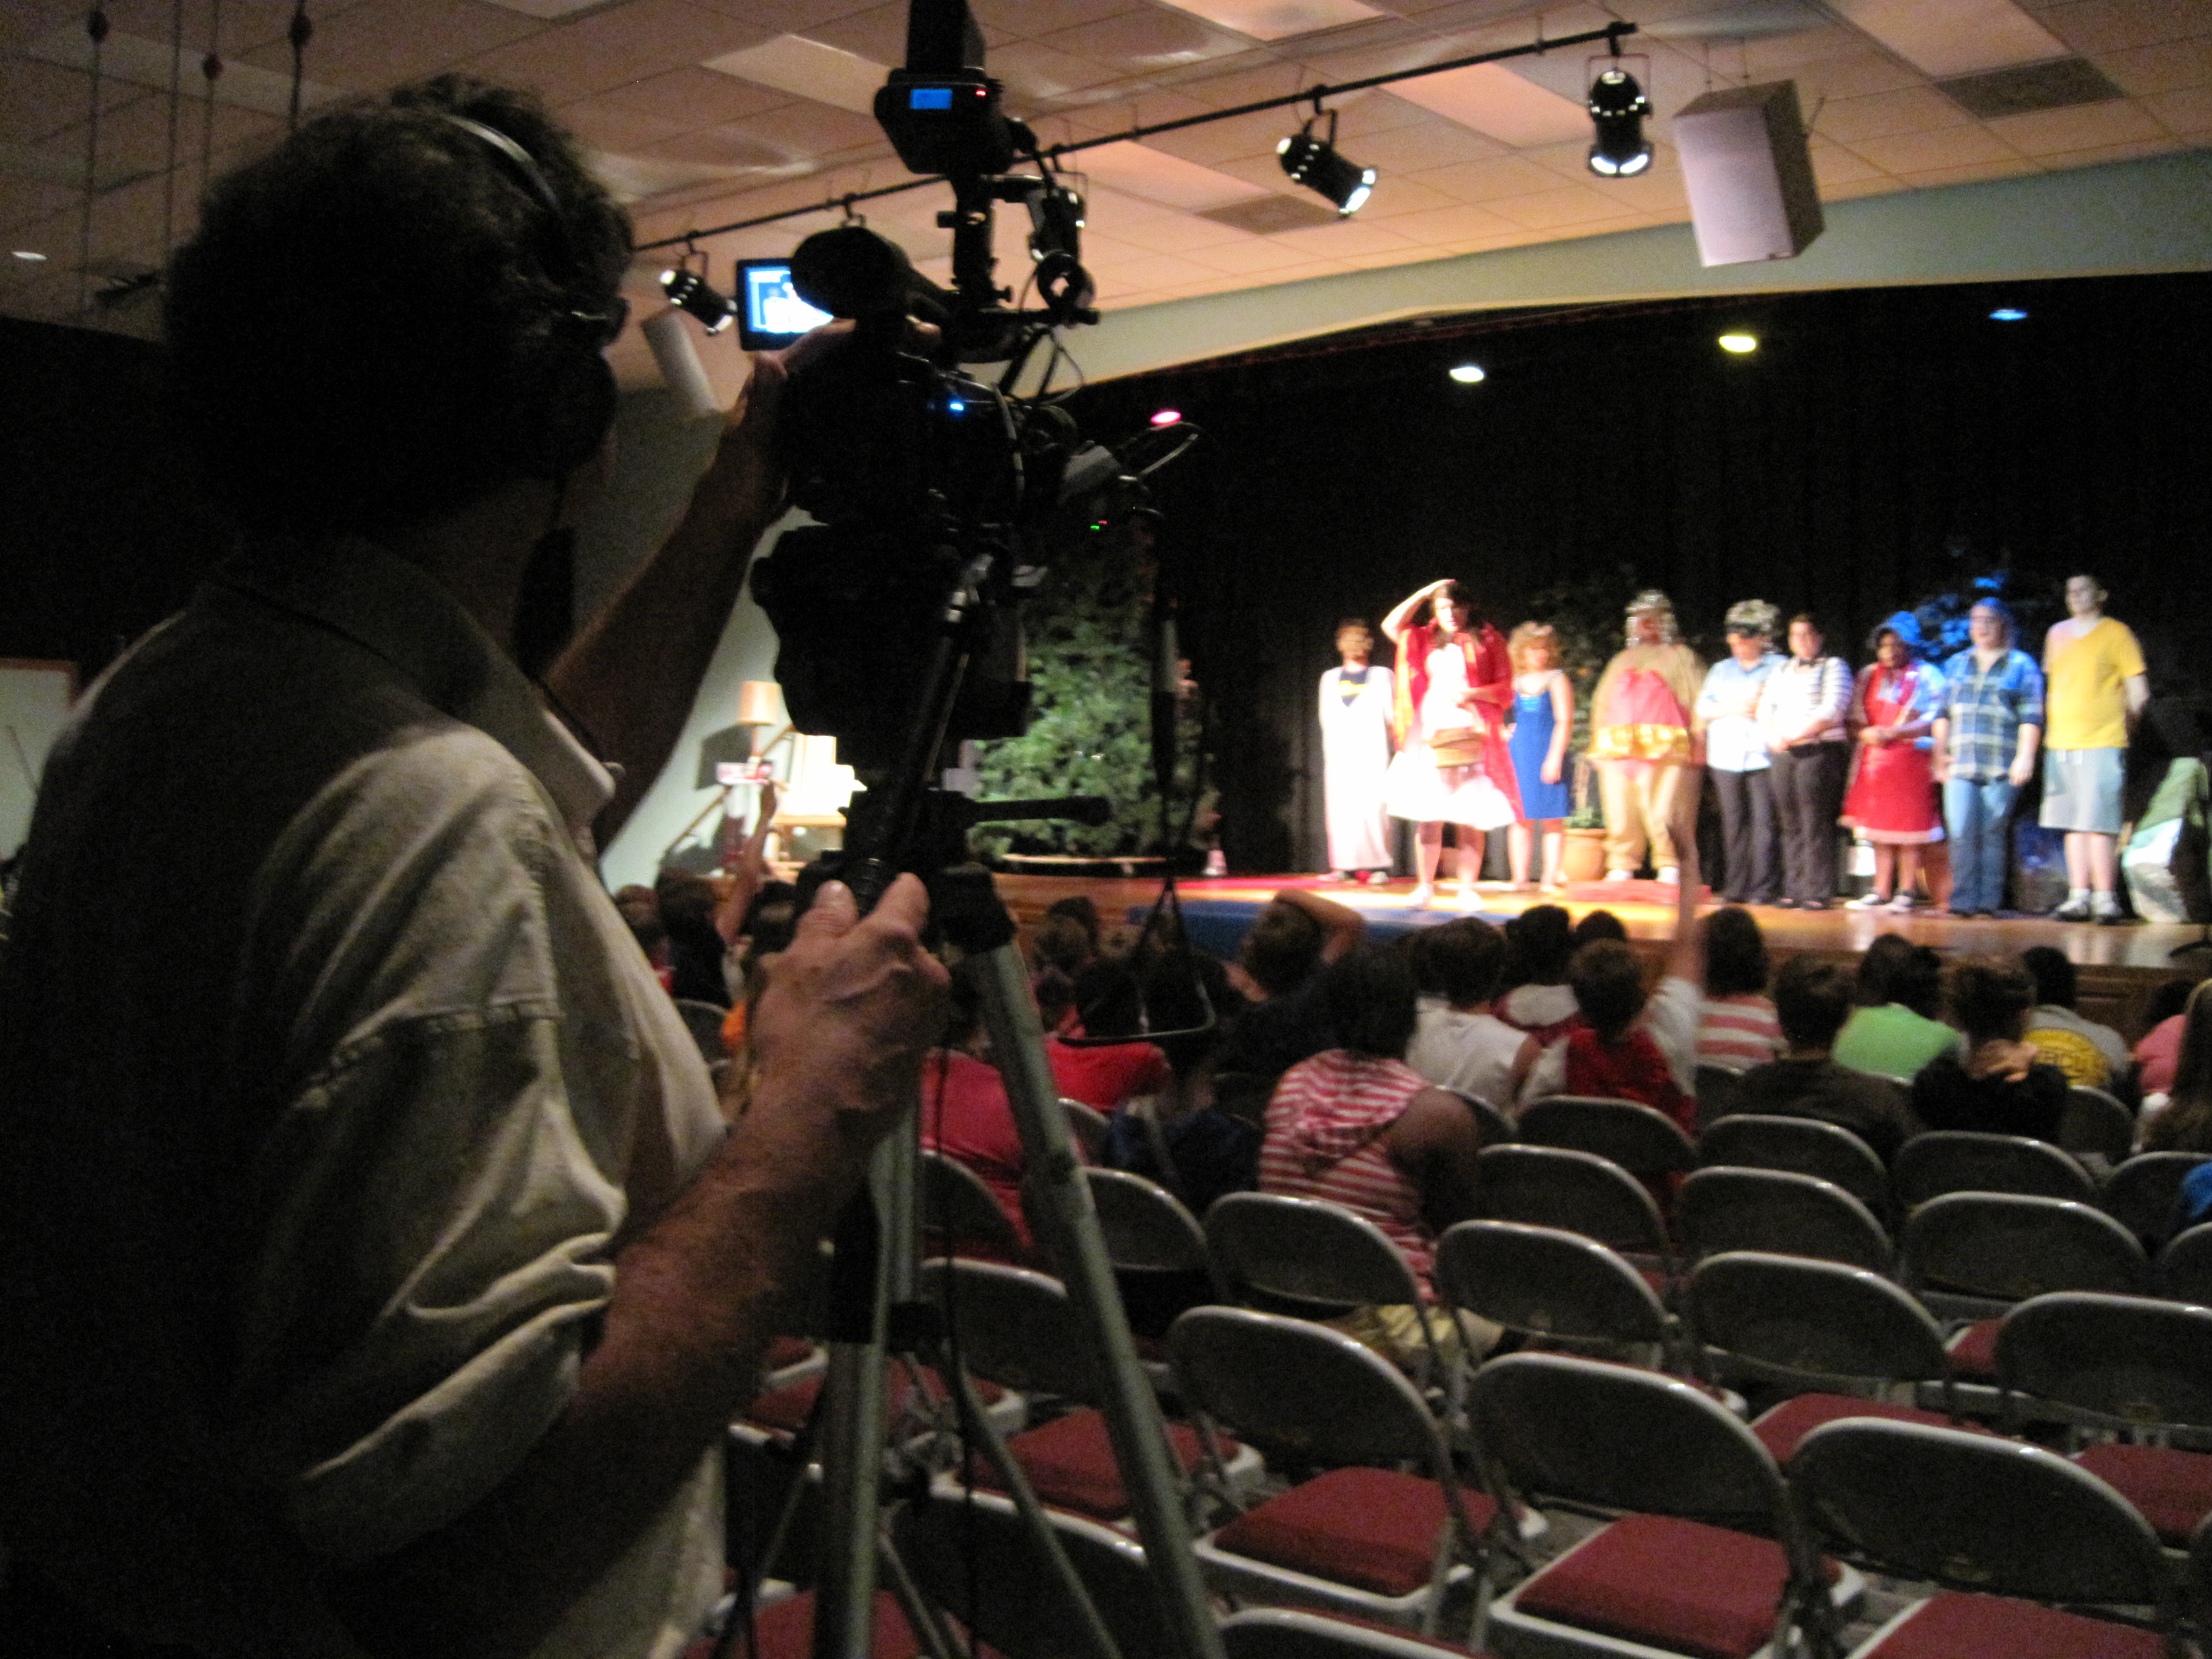
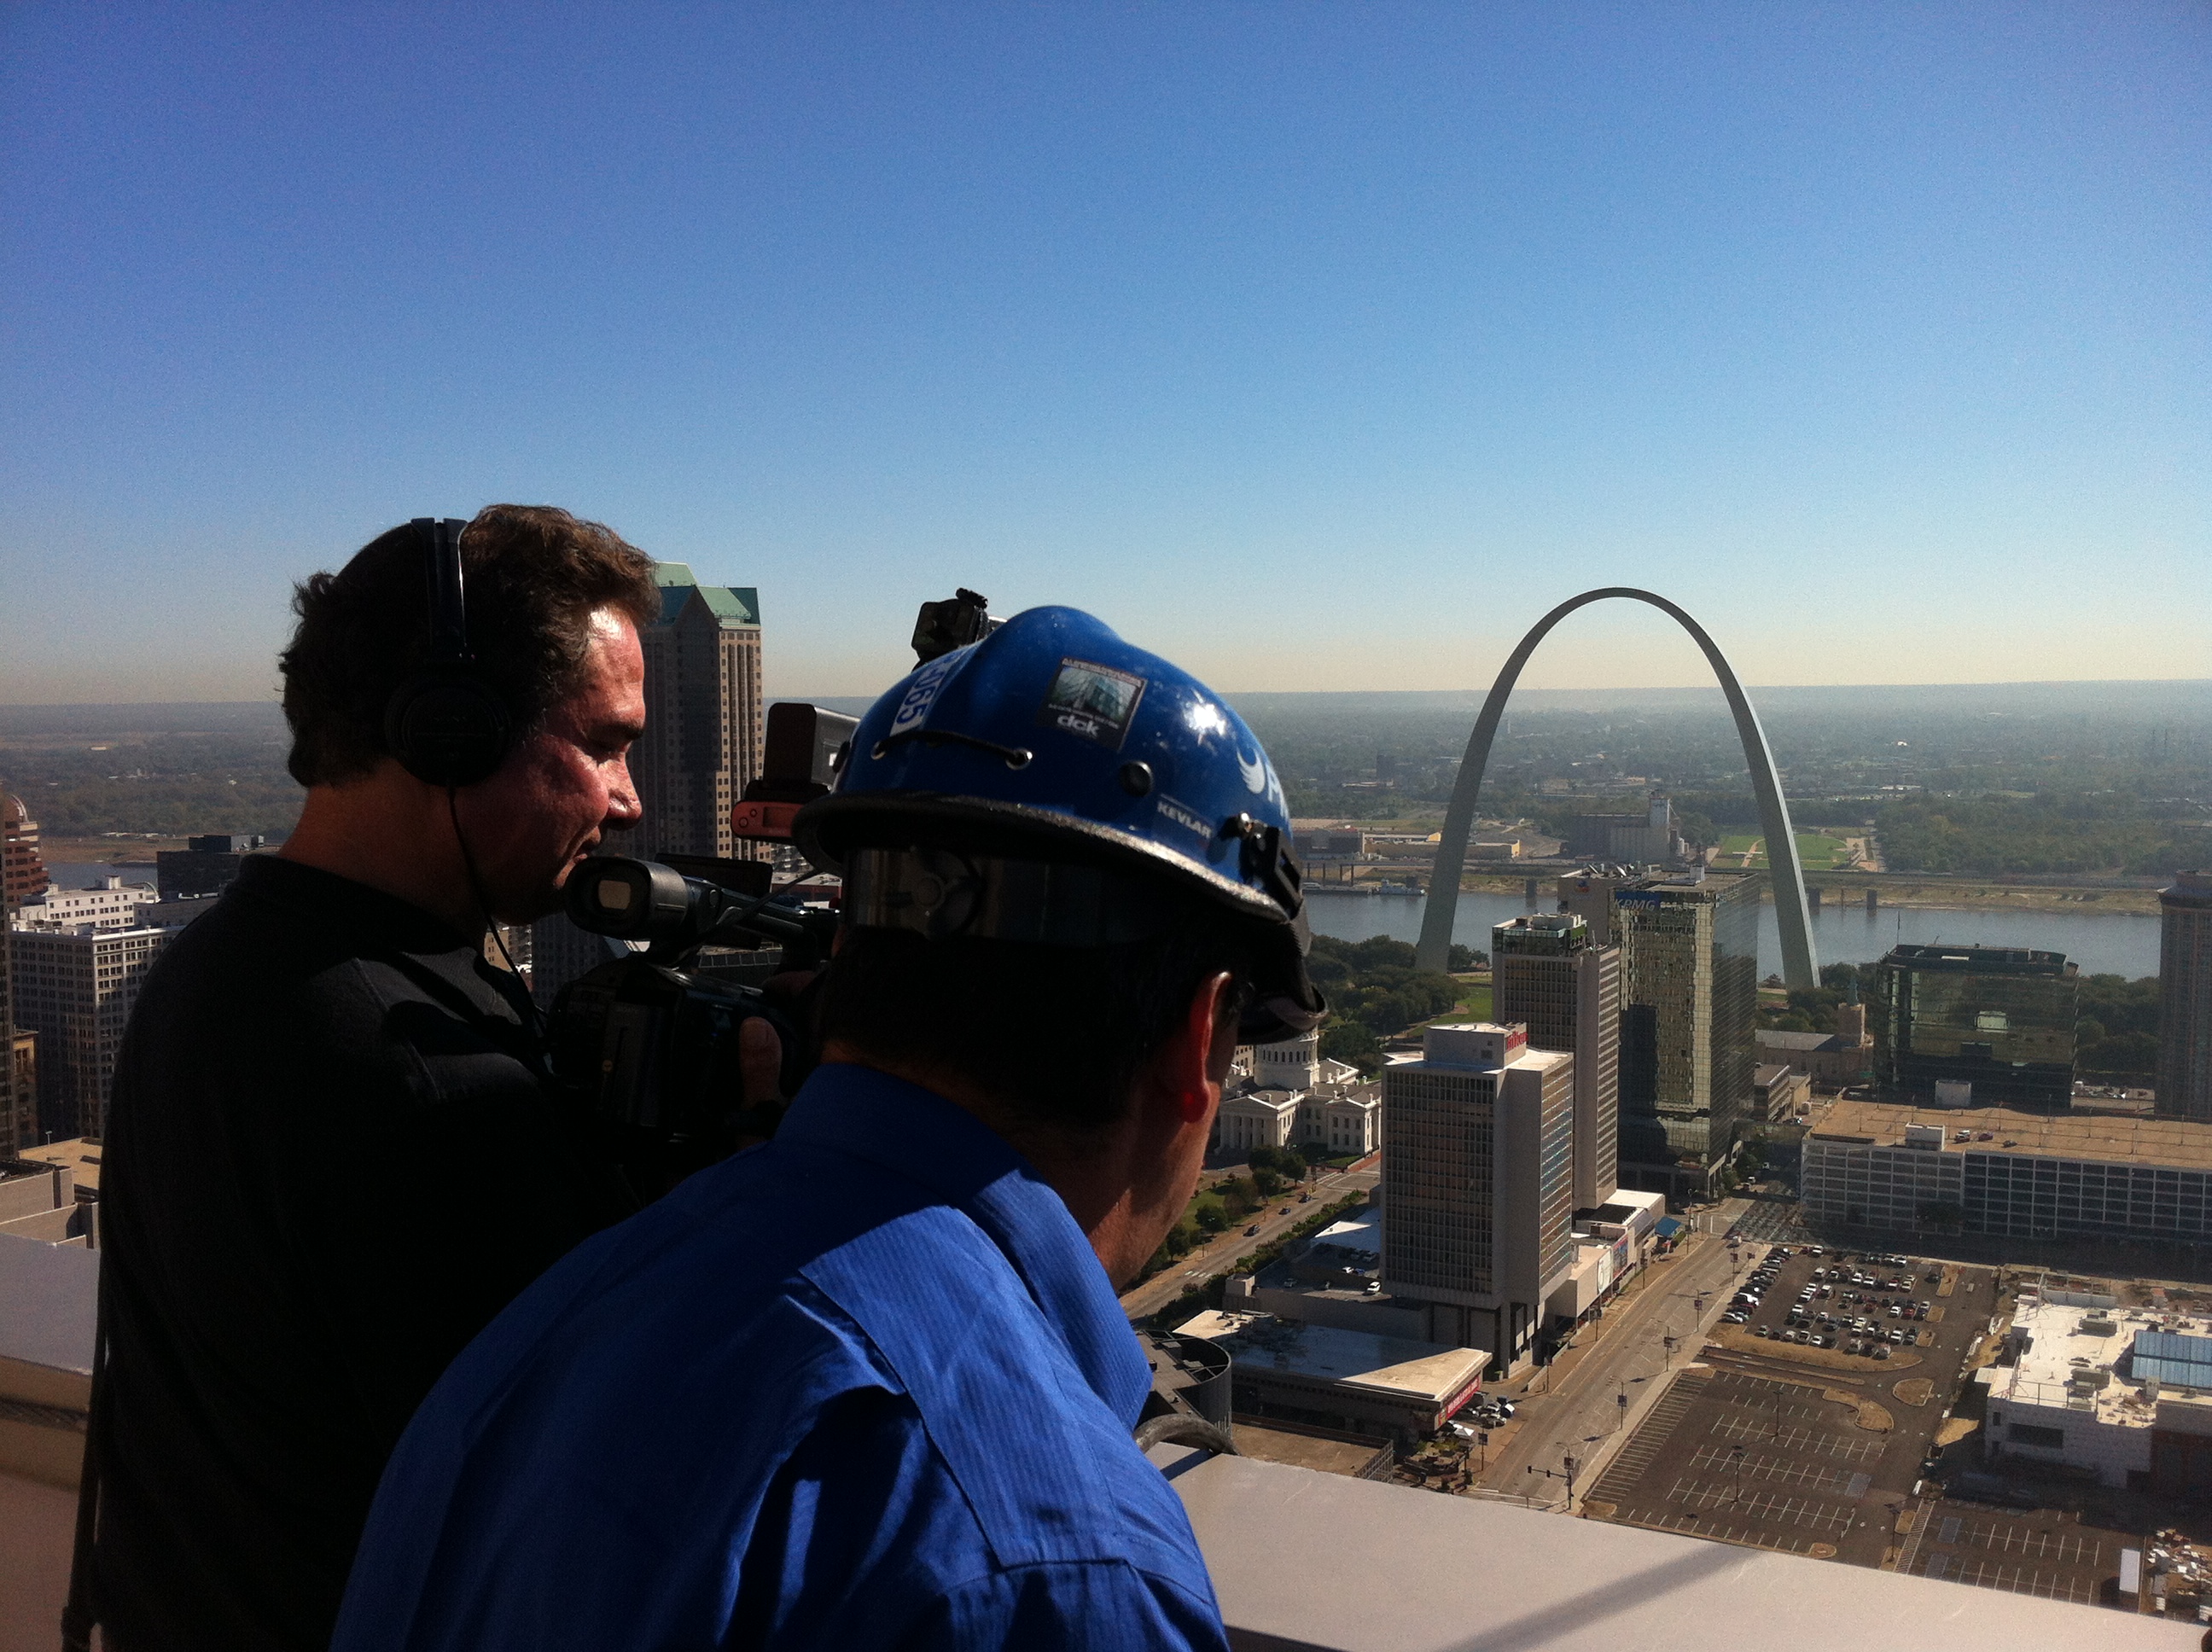
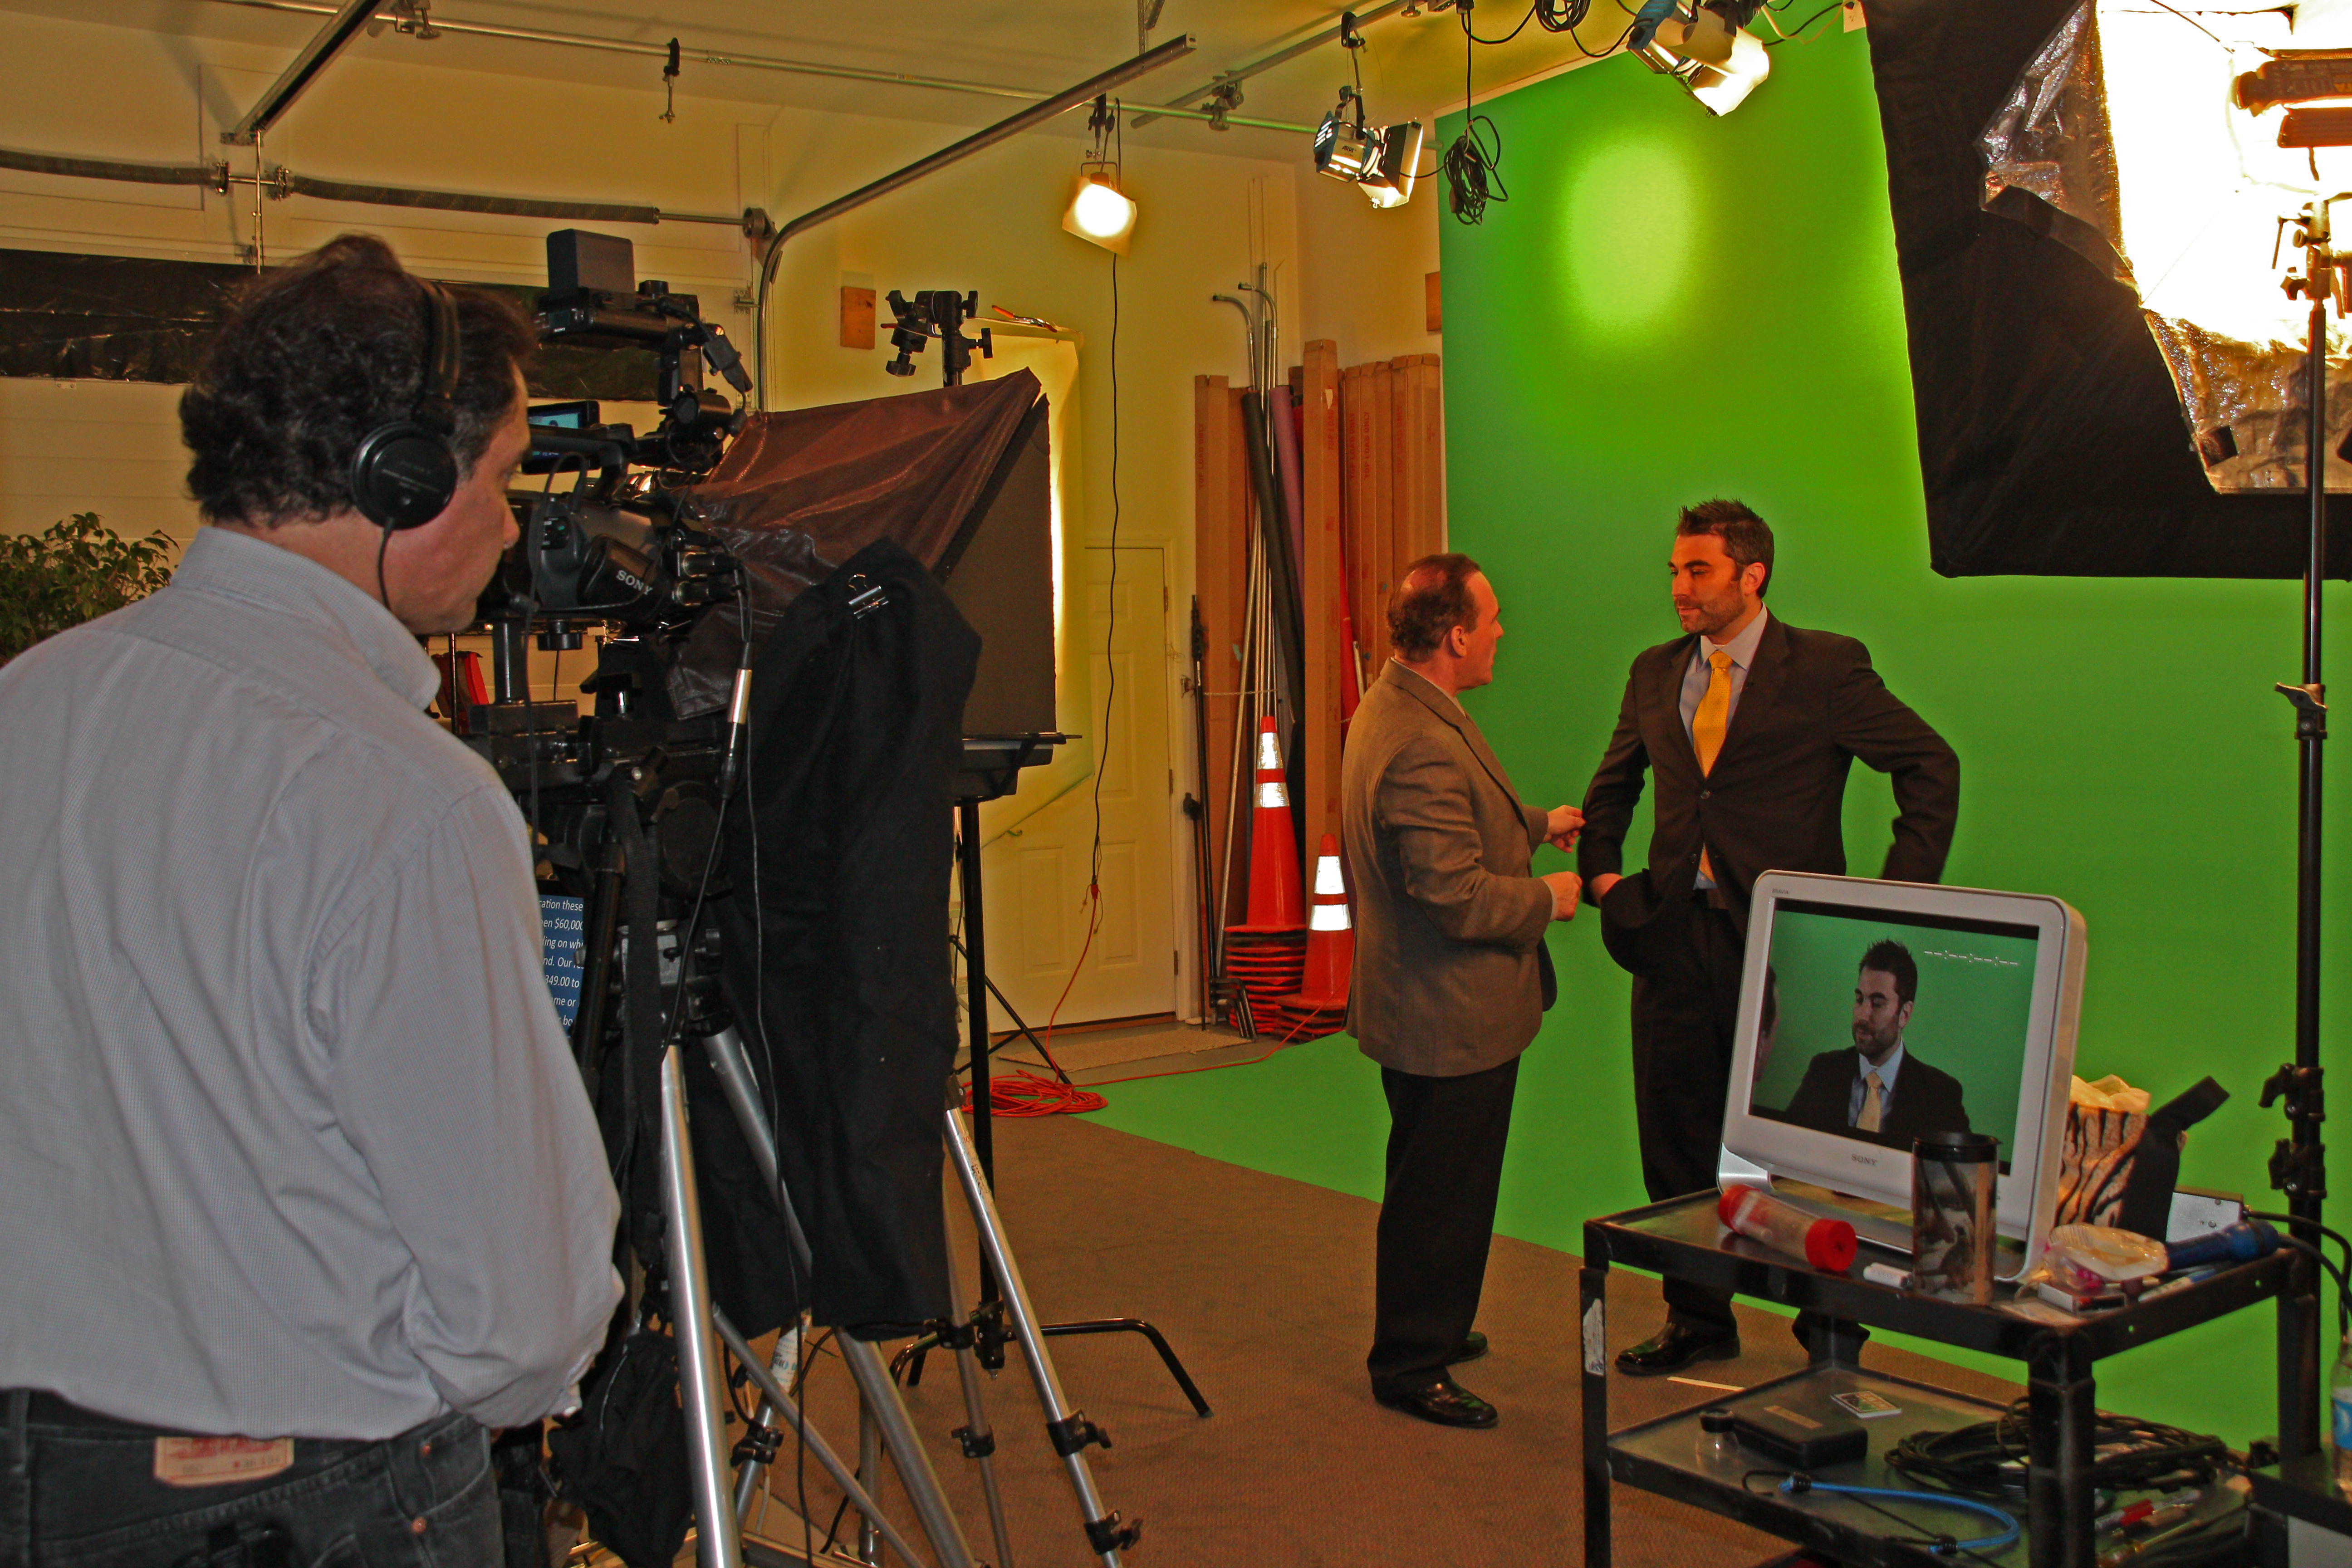
The location is just as important. While an office setting may work in some instances, consider using spaces that reflect the essence of the story you want to tell. If you’re interviewing a creative team member, for example, showcasing their workspace or a branded space can make the interview feel more connected to their daily life.
2. Create an Interview Flow That Prompts Real Answers
Making your video interview feel personal starts long before the camera begins rolling. A key element is asking the right questions. Focus on open-ended questions that encourage storytelling rather than yes/no answers. Create a relaxed environment where the speaker feels free to share anecdotes, challenges, and successes that paint a full picture of their role in the company.
Our experience at St. Louis Video Studio includes crafting interview scripts that help guide the conversation naturally while keeping it personal. It’s important to adjust the tone of the questions to fit the personality of the person you’re interviewing. This allows their voice and perspective to come through clearly.
3. Lighting and Camera Techniques for Intimacy
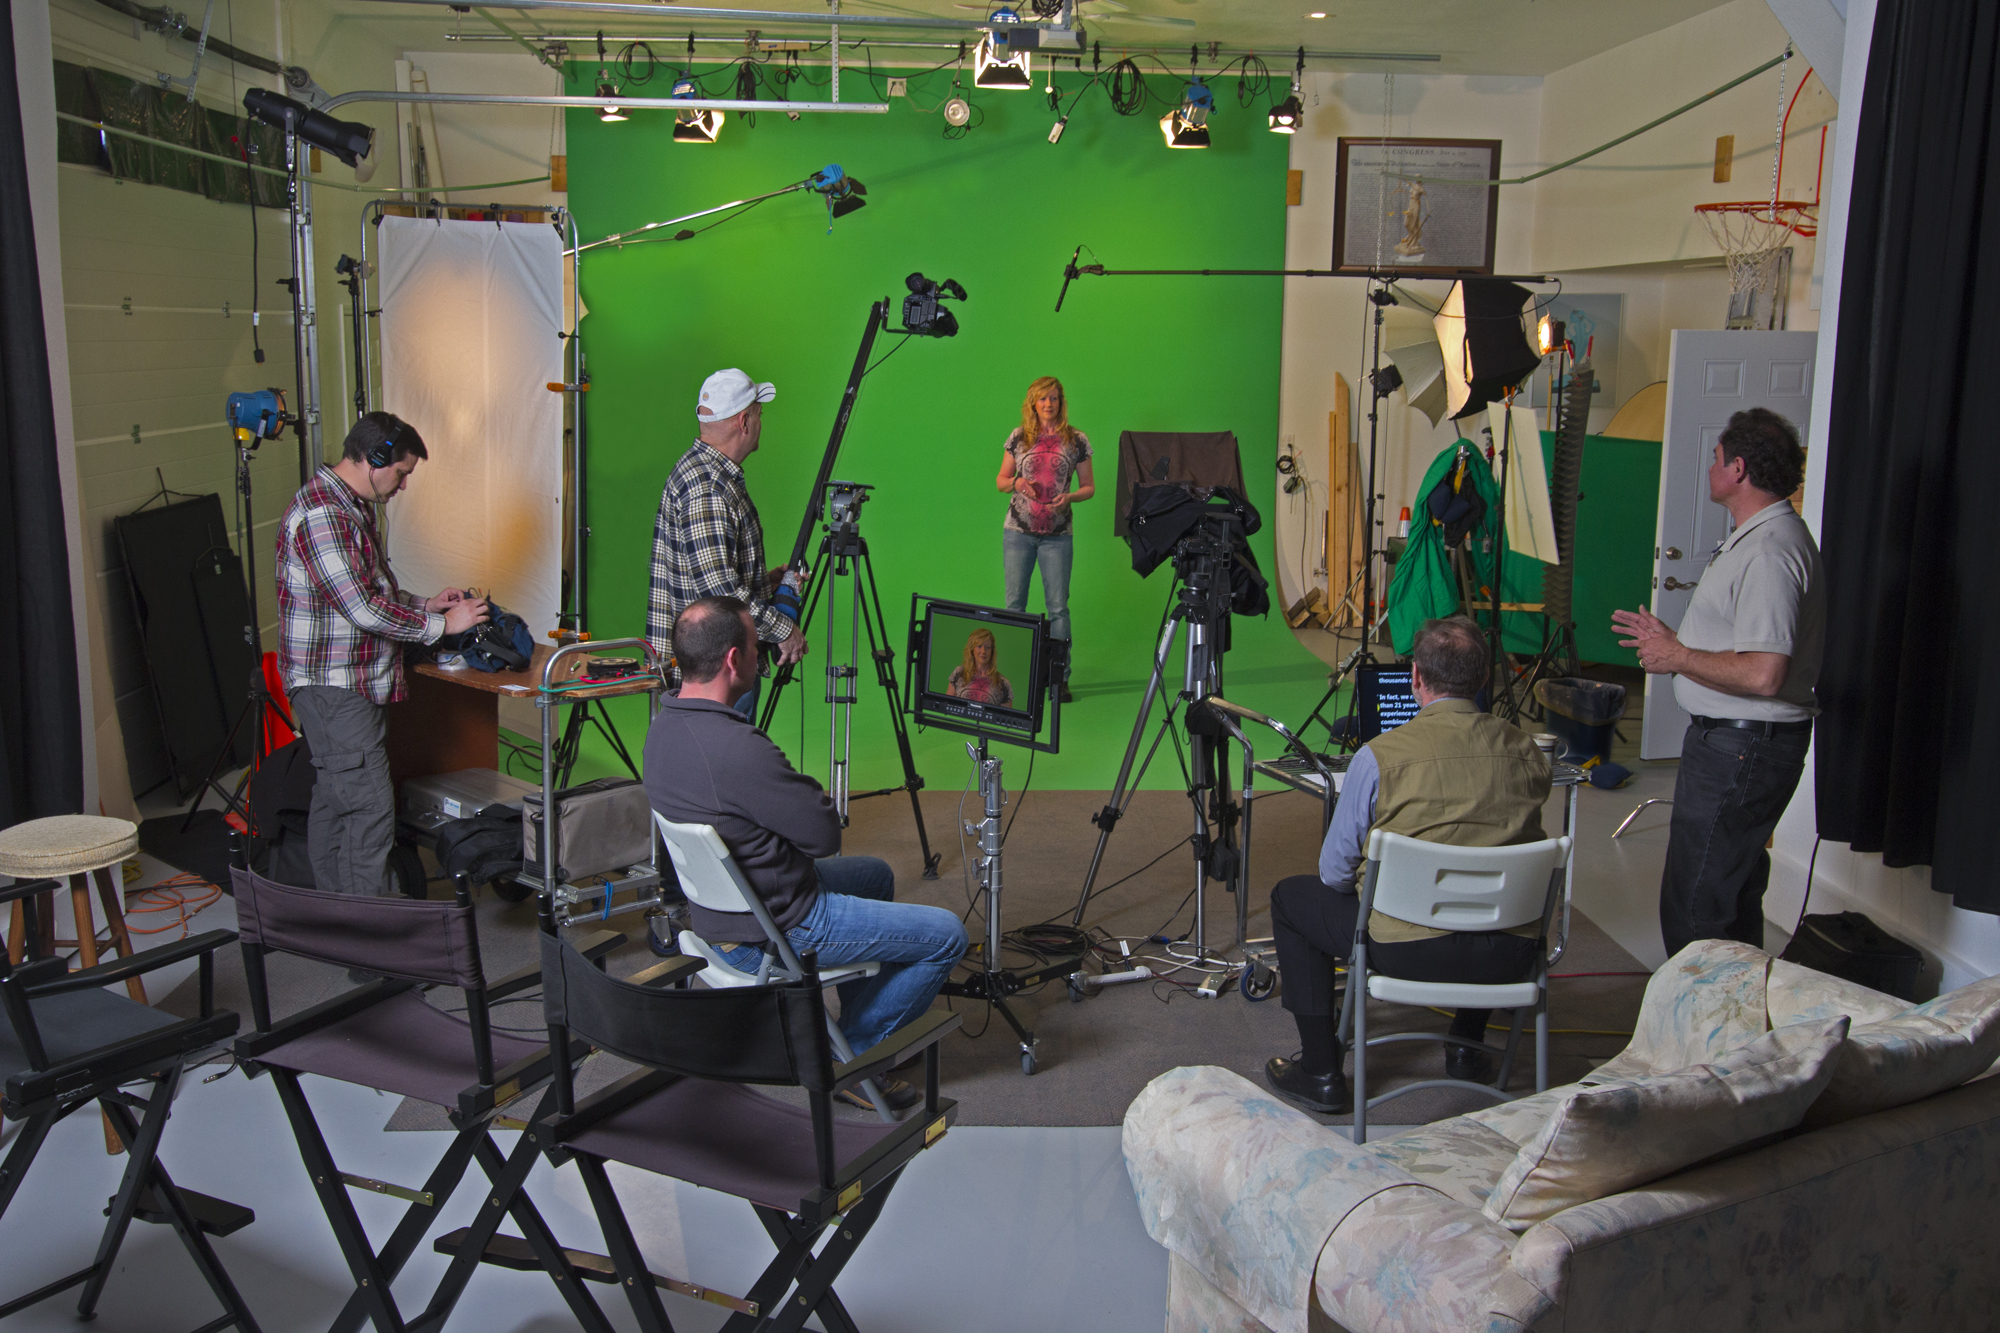
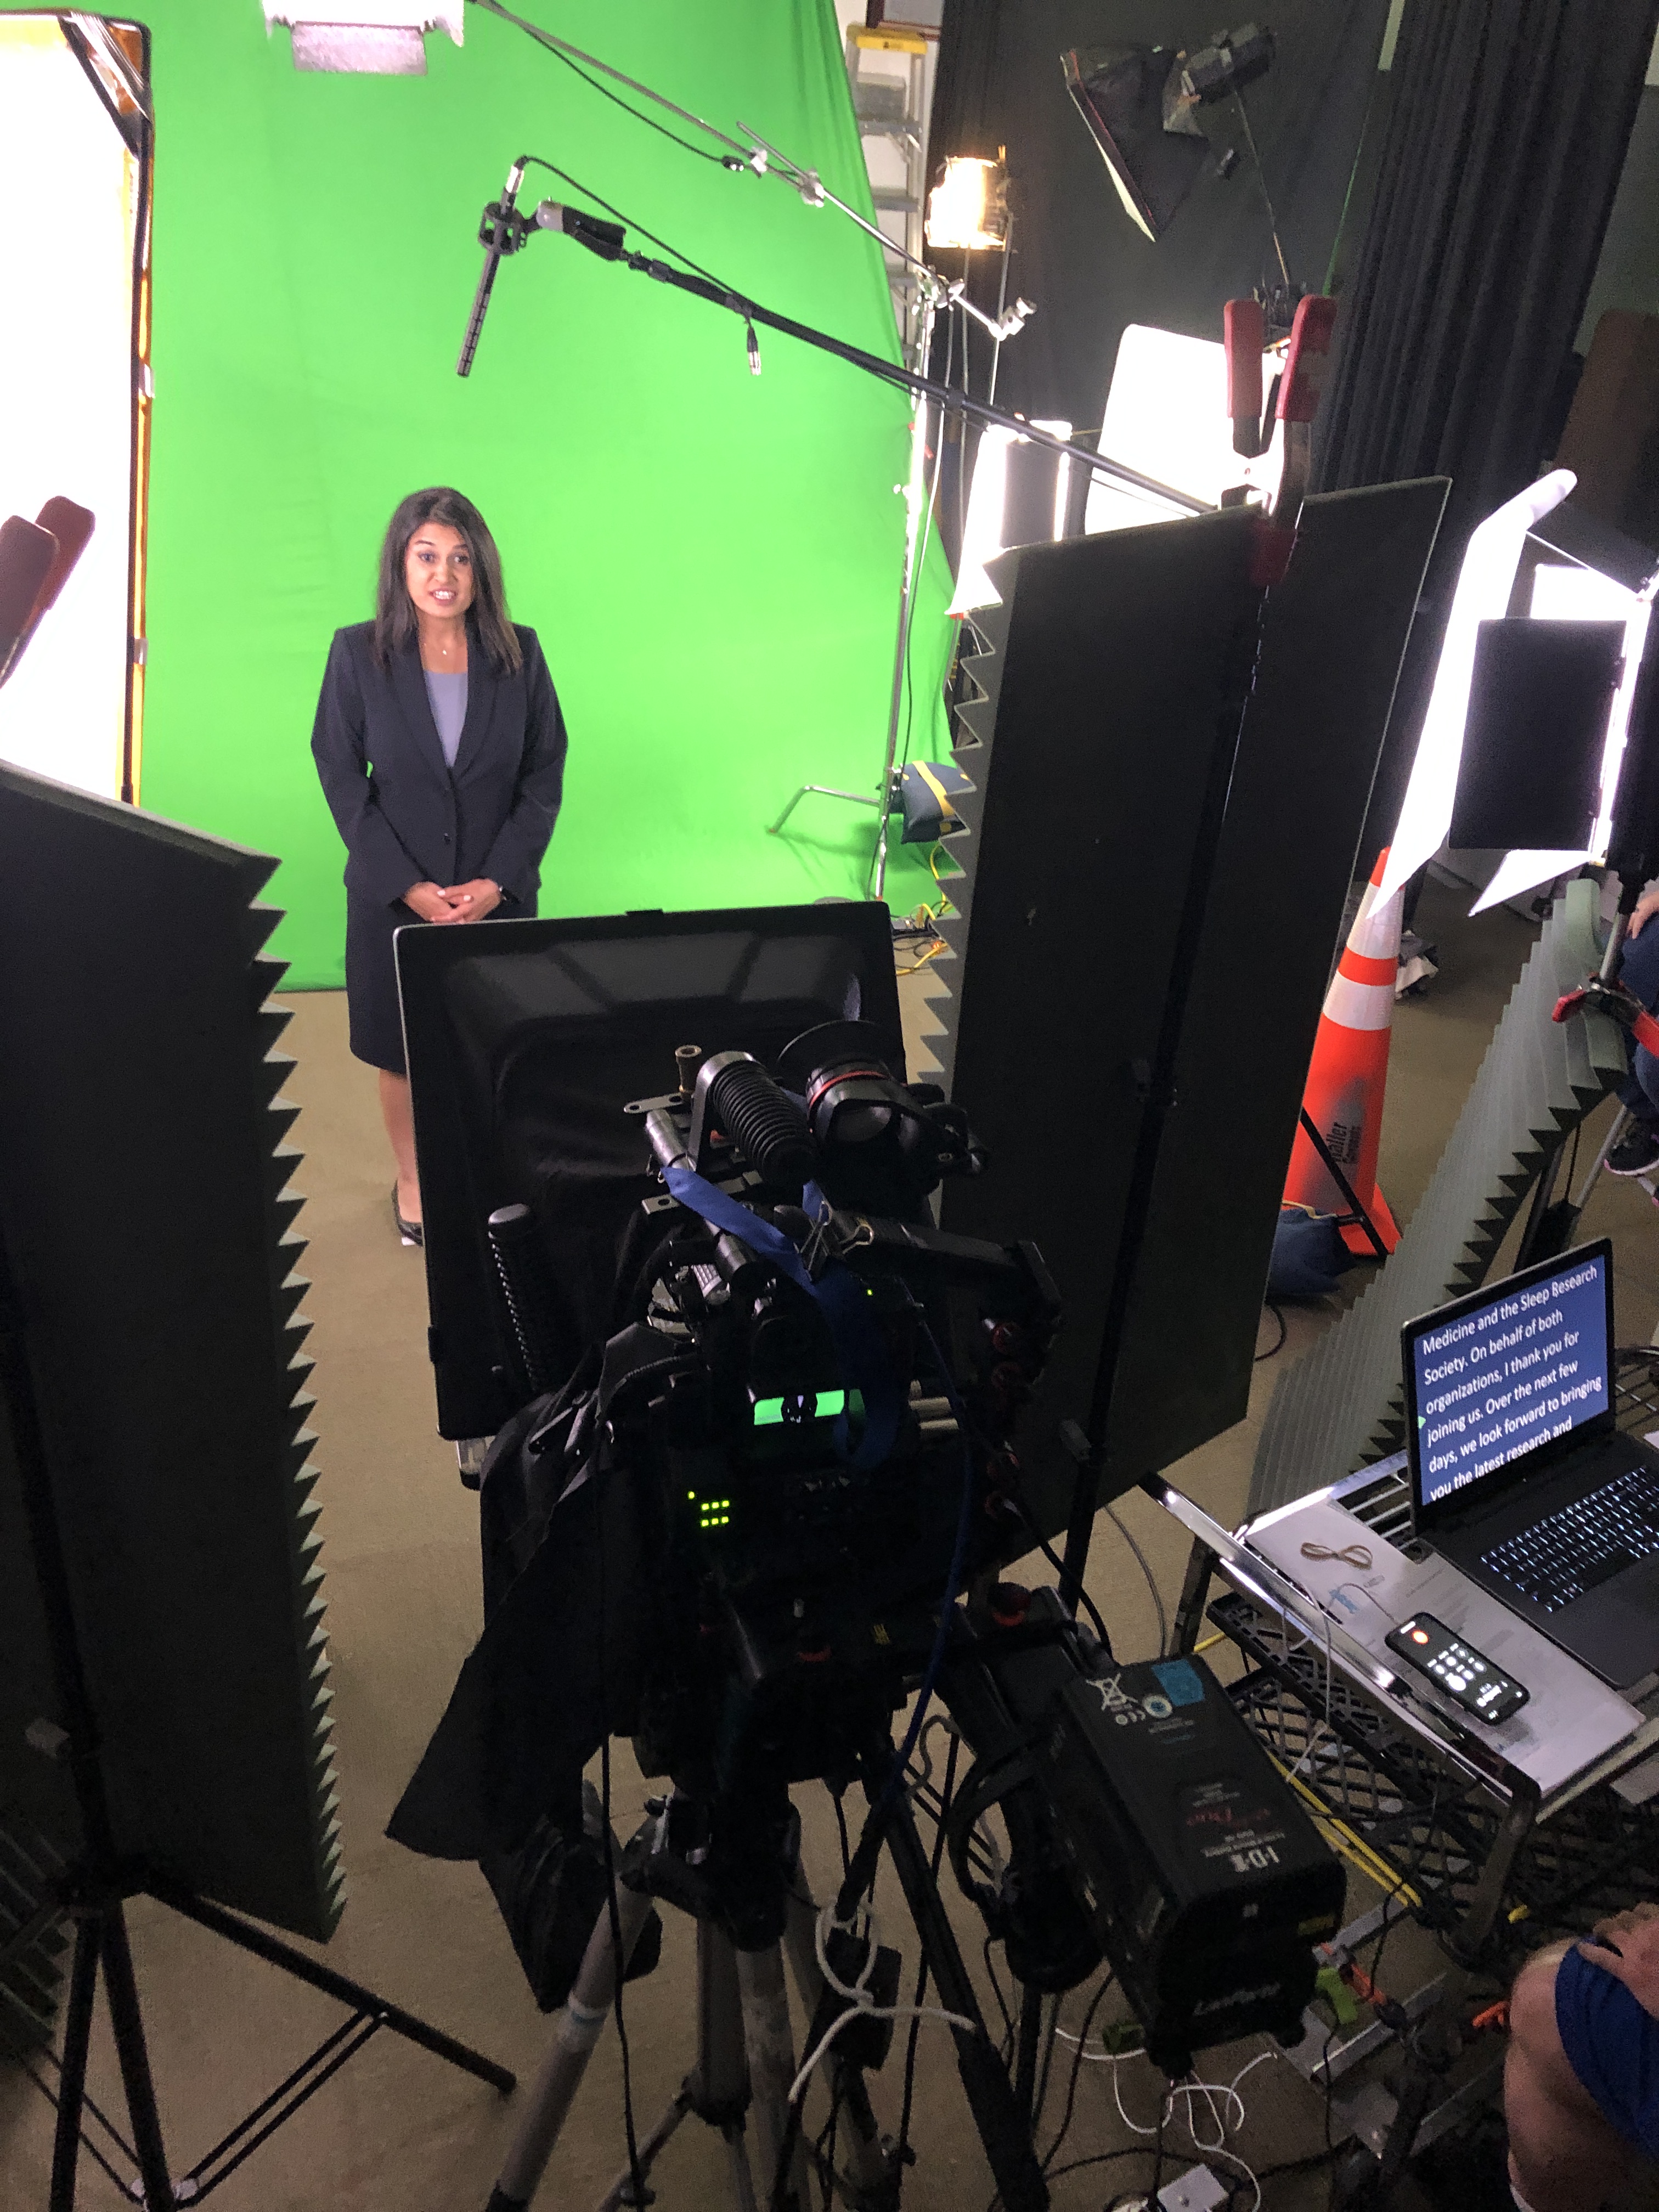
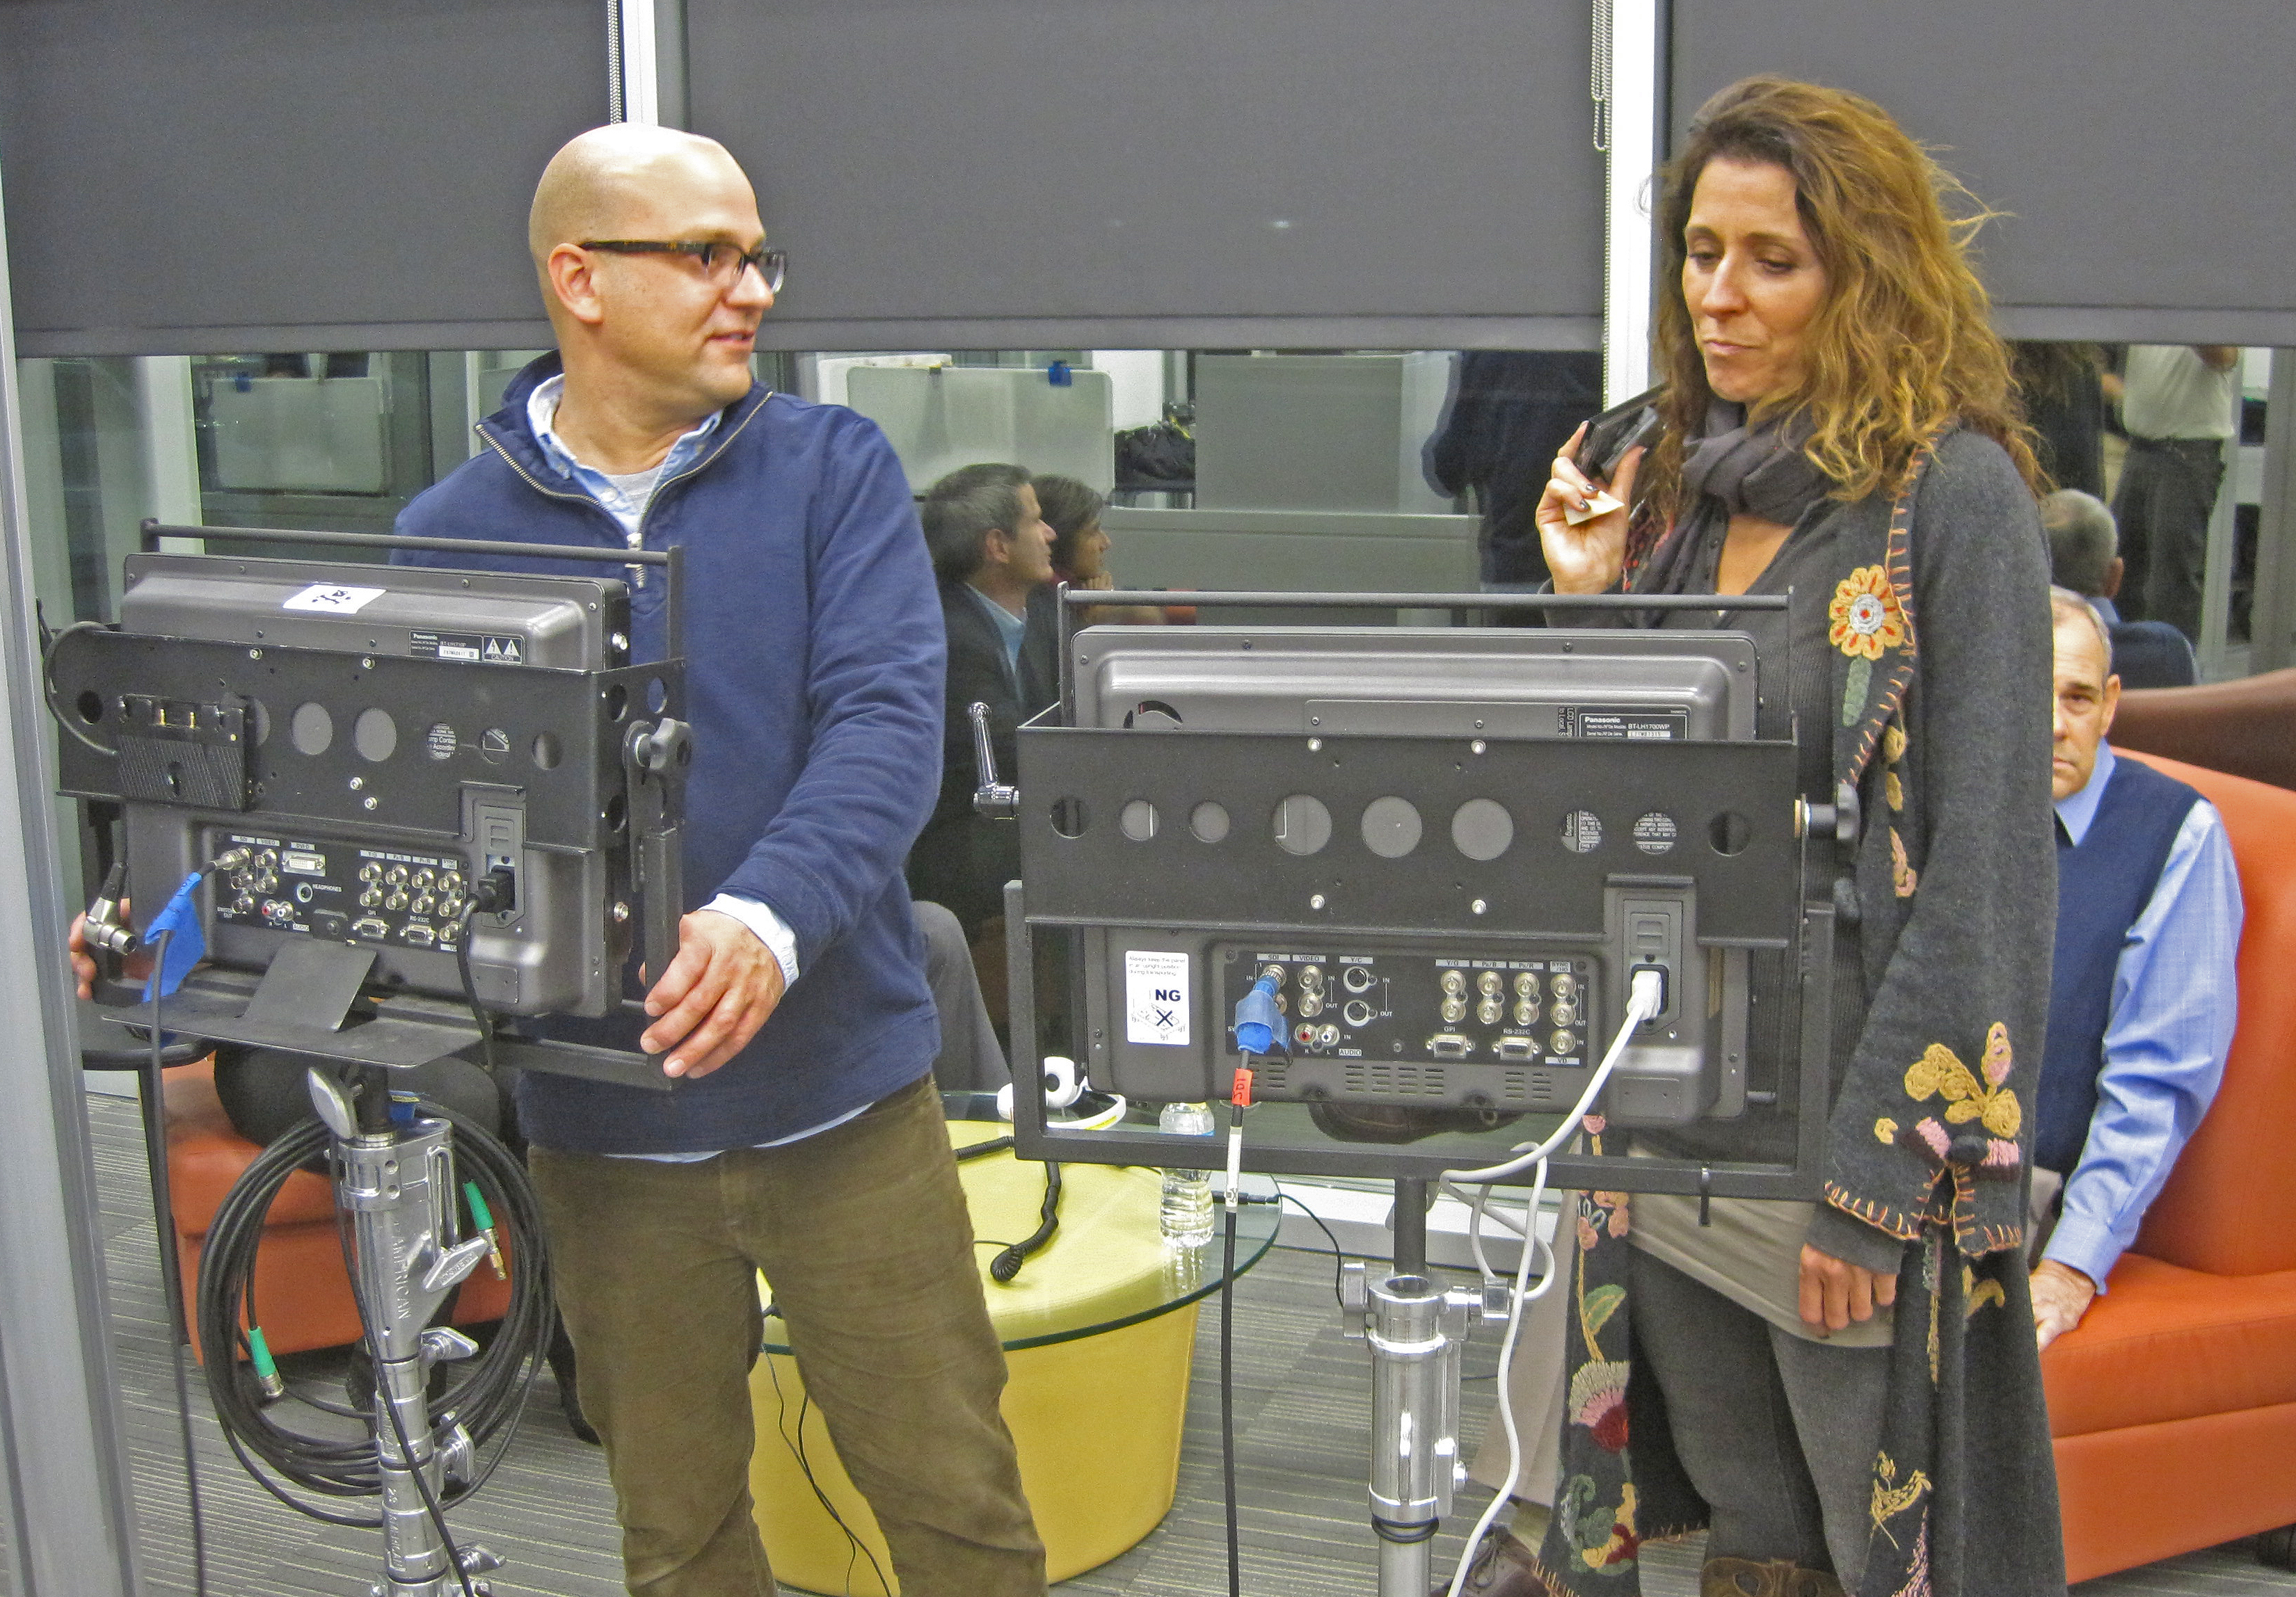
Lighting plays a pivotal role in how personal your video interview feels. Harsh, unflattering light can create a cold or unwelcoming atmosphere. Our private studio setup at St. Louis Video Studio allows us to control lighting perfectly, creating a softer, warmer tone that flatters the subject and sets the mood for an intimate conversation.
Our crew uses high-quality lighting and camera equipment to ensure that the visual quality of your video matches the personal story being told. Using techniques such as close-up shots can enhance the intimacy of the interview, allowing viewers to see the speaker’s emotions more clearly. We also use our expertise in framing and angles to highlight the interviewee’s body language, which can significantly contribute to making the video feel more connected and personal.
4. Make the Interview Feel Like a Conversation
Instead of presenting the interview as a formal Q&A session, aim for a more conversational tone. Encourage natural pauses, allow the speaker to elaborate on their answers, and build upon previous responses. This type of back-and-forth conversation, when done correctly, can make your audience feel as though they’re listening in on a meaningful dialogue rather than just receiving information.
A personalized interview often means editing out the sterile, overly-polished moments in favor of showing the human side. At St. Louis Video Studio, we specialize in editing and post-production to bring out the best moments in the conversation. Our team will ensure the final product feels as authentic as it was in the moment, without making the speaker sound scripted or over-rehearsed.

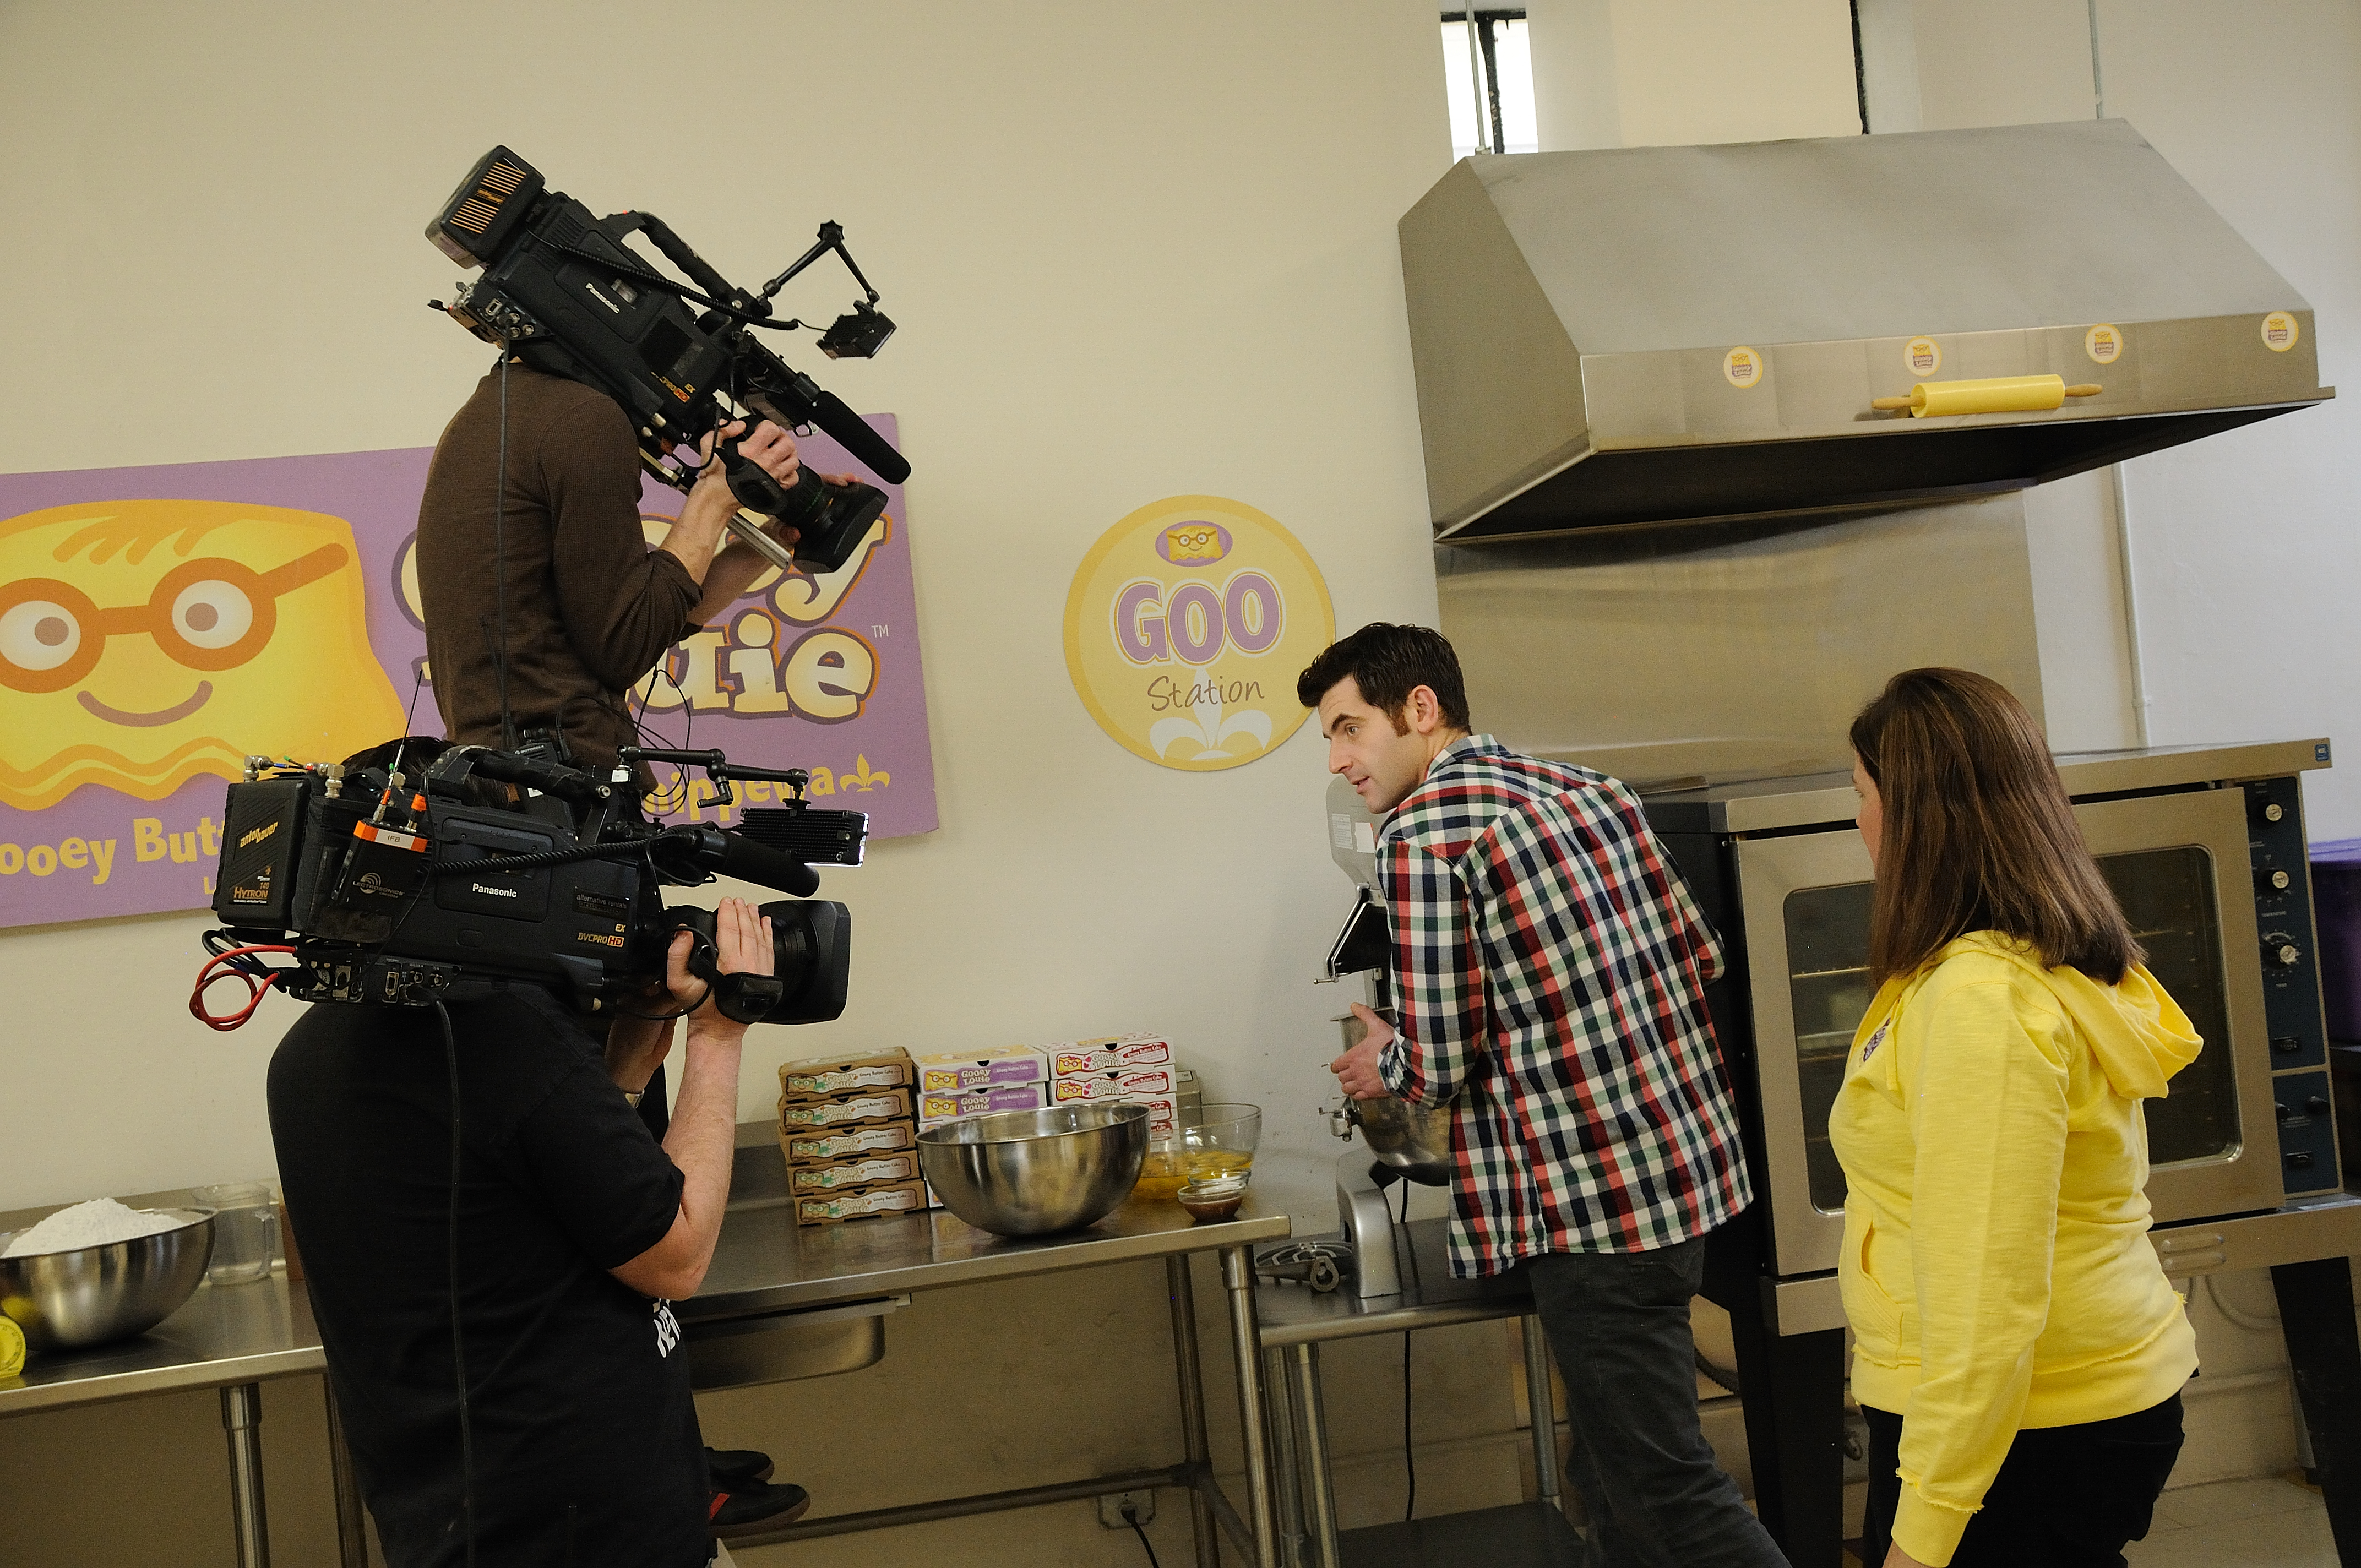


5. Leverage the Power of Location and Props
Sometimes, the location can tell a story just as much as the words do. Whether it’s the work environment of the interviewee, a specific set design, or even props that align with the company’s branding, these elements can enhance the personal feel of the video. At St. Louis Video Studio, we have a large, versatile studio space that can be customized with props or designed to match your vision.
Props can be as simple as a branded item that holds personal significance or something more elaborate that enhances the interview’s narrative. These touches can turn a basic corporate video into something that feels more engaging and personal.
6. Incorporate Testimonials from Others
Another way to add a personal touch to your interview is by including short testimonials from colleagues or customers. Adding their voices helps to reinforce the narrative being shared in the interview. This can create a fuller picture of the subject’s contributions or the impact of the company’s product or service.
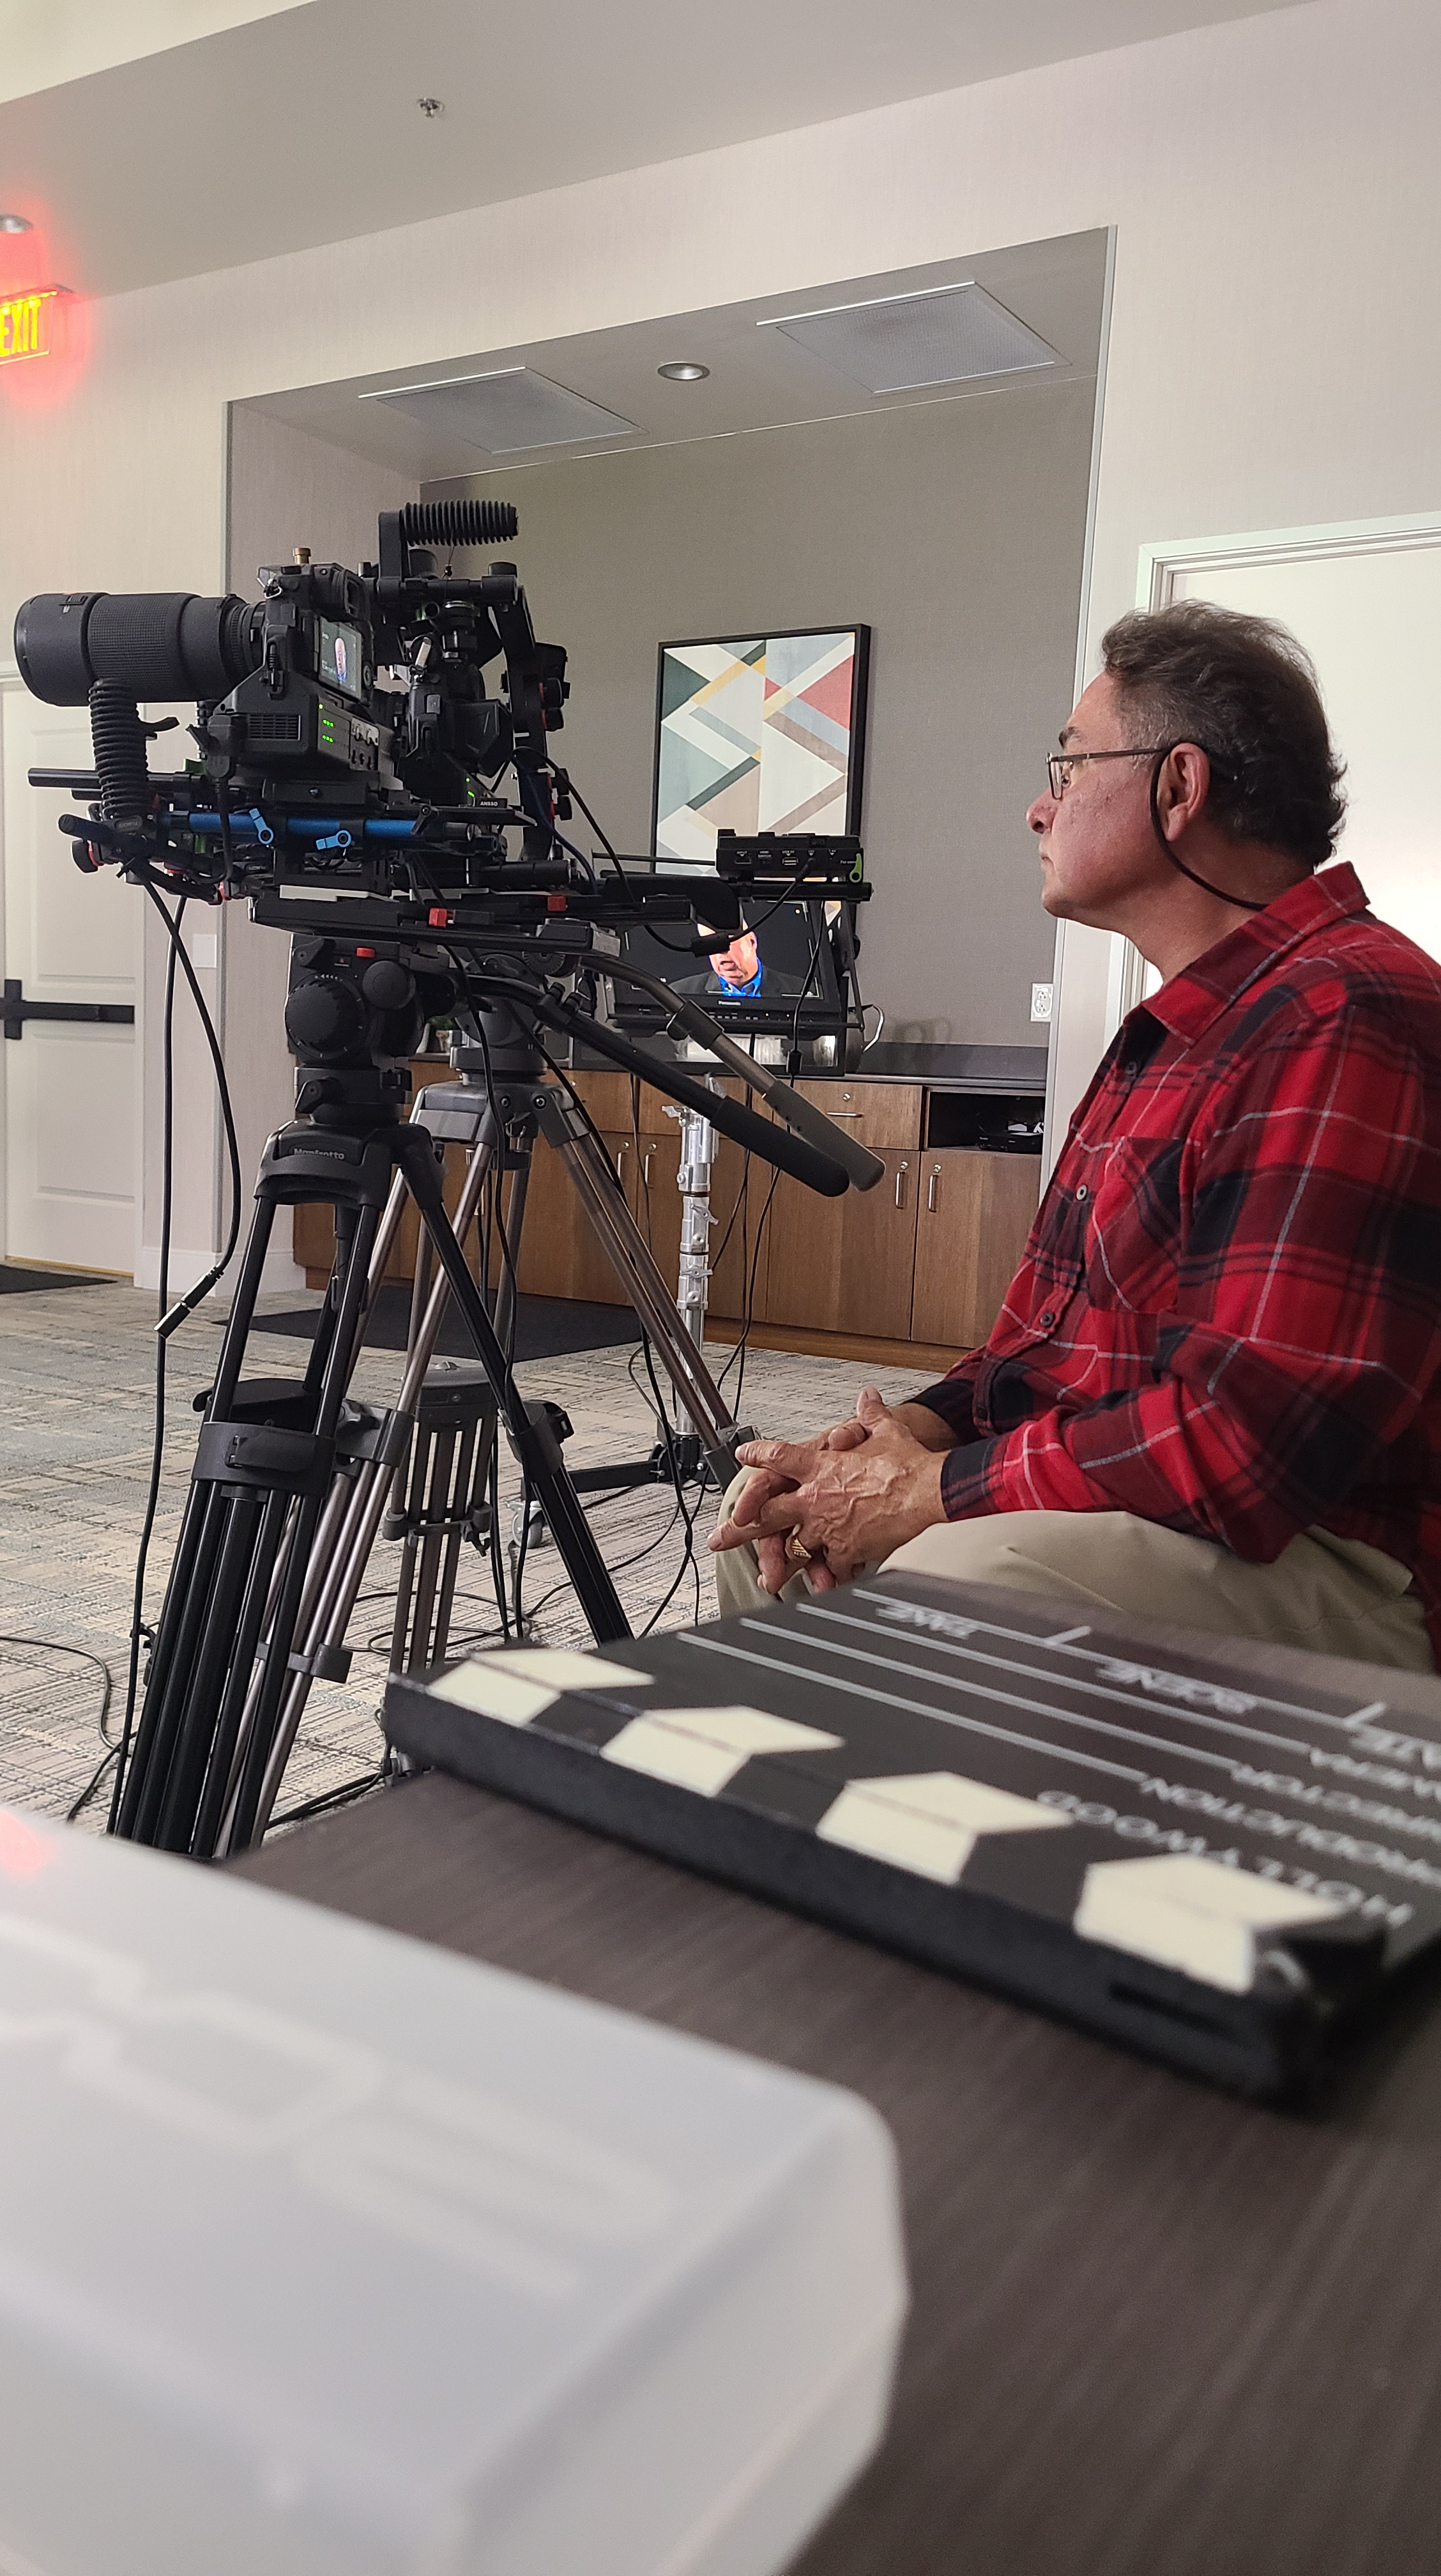
7. Make Use of Professional Equipment for a Polished Finish
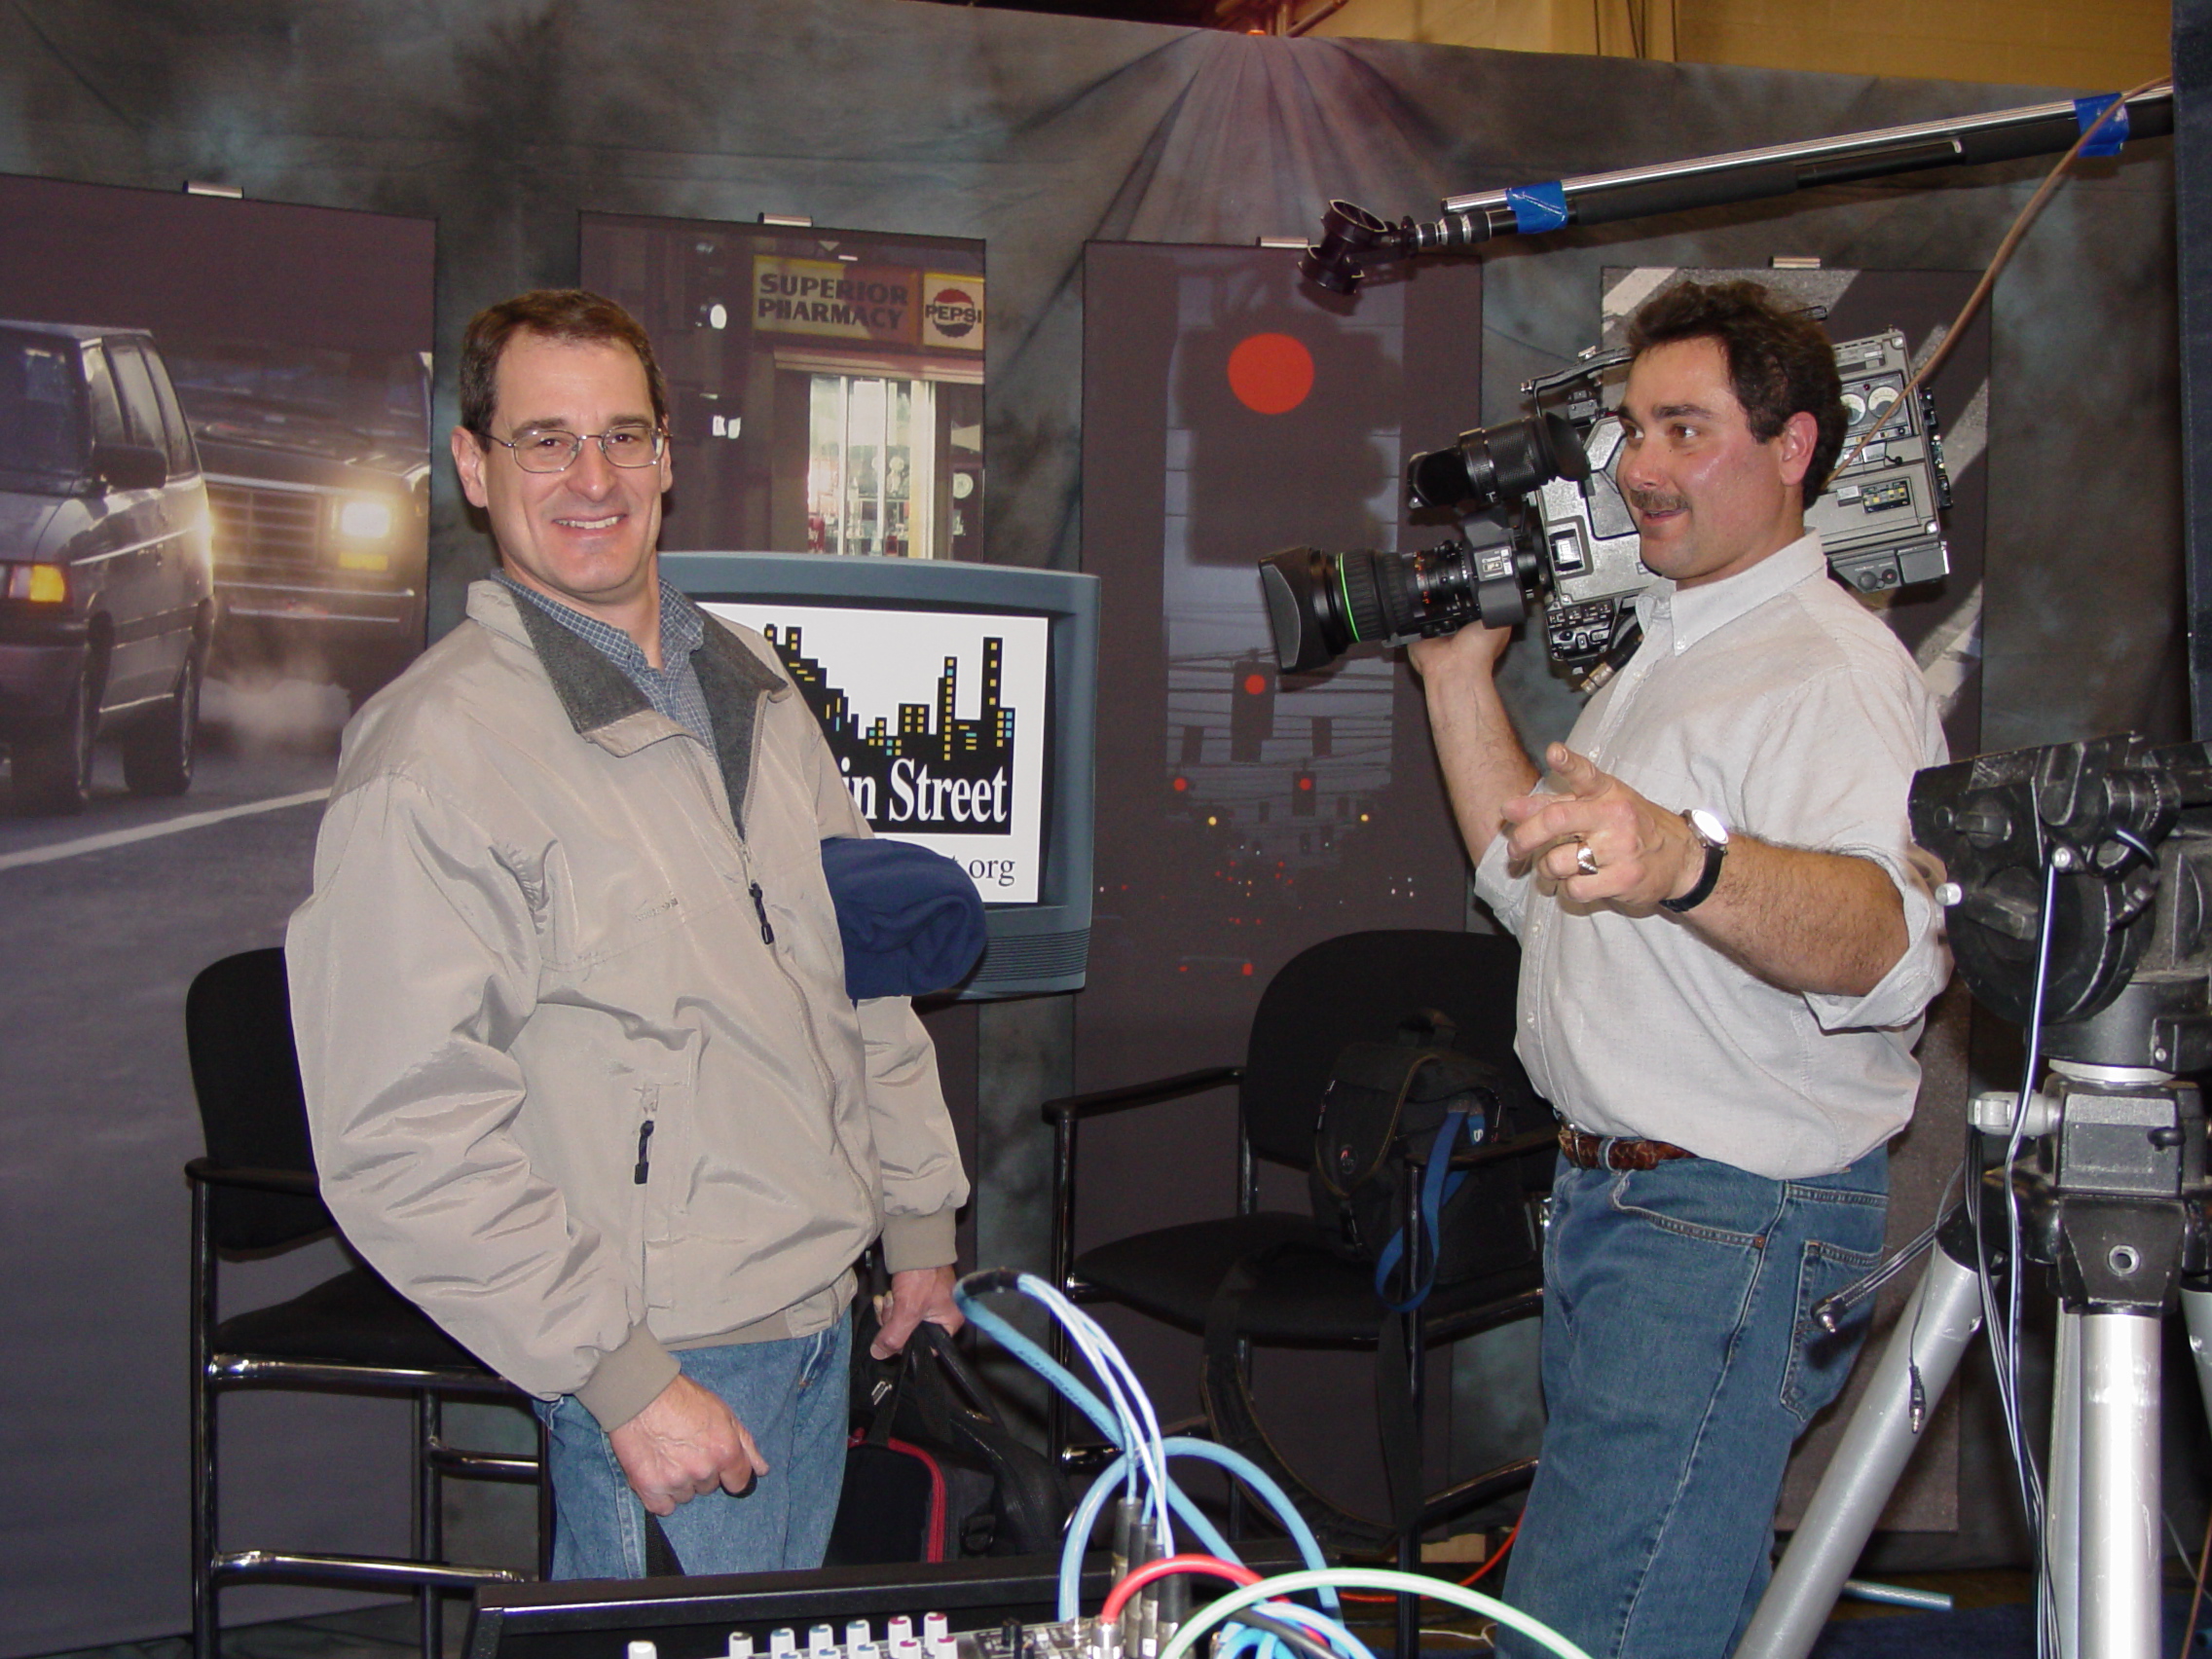
Finally, to make your interview feel more professional yet personal, you need the right equipment. At St. Louis Video Studio, we utilize top-of-the-line video and audio equipment to capture high-quality sound and visuals that make your interview shine. From high-definition cameras to state-of-the-art microphones and lighting, we ensure that every aspect of the production matches the personal tone you’re aiming for.
Why St. Louis Video Studio Is Your Go-To for Personal Video Interviews
St. Louis Video Studio is a full-service professional commercial photography and video production company that specializes in creating impactful, personal video content. With over four decades of experience, we have the right equipment and creative crew to deliver exceptional results for your corporate video needs.
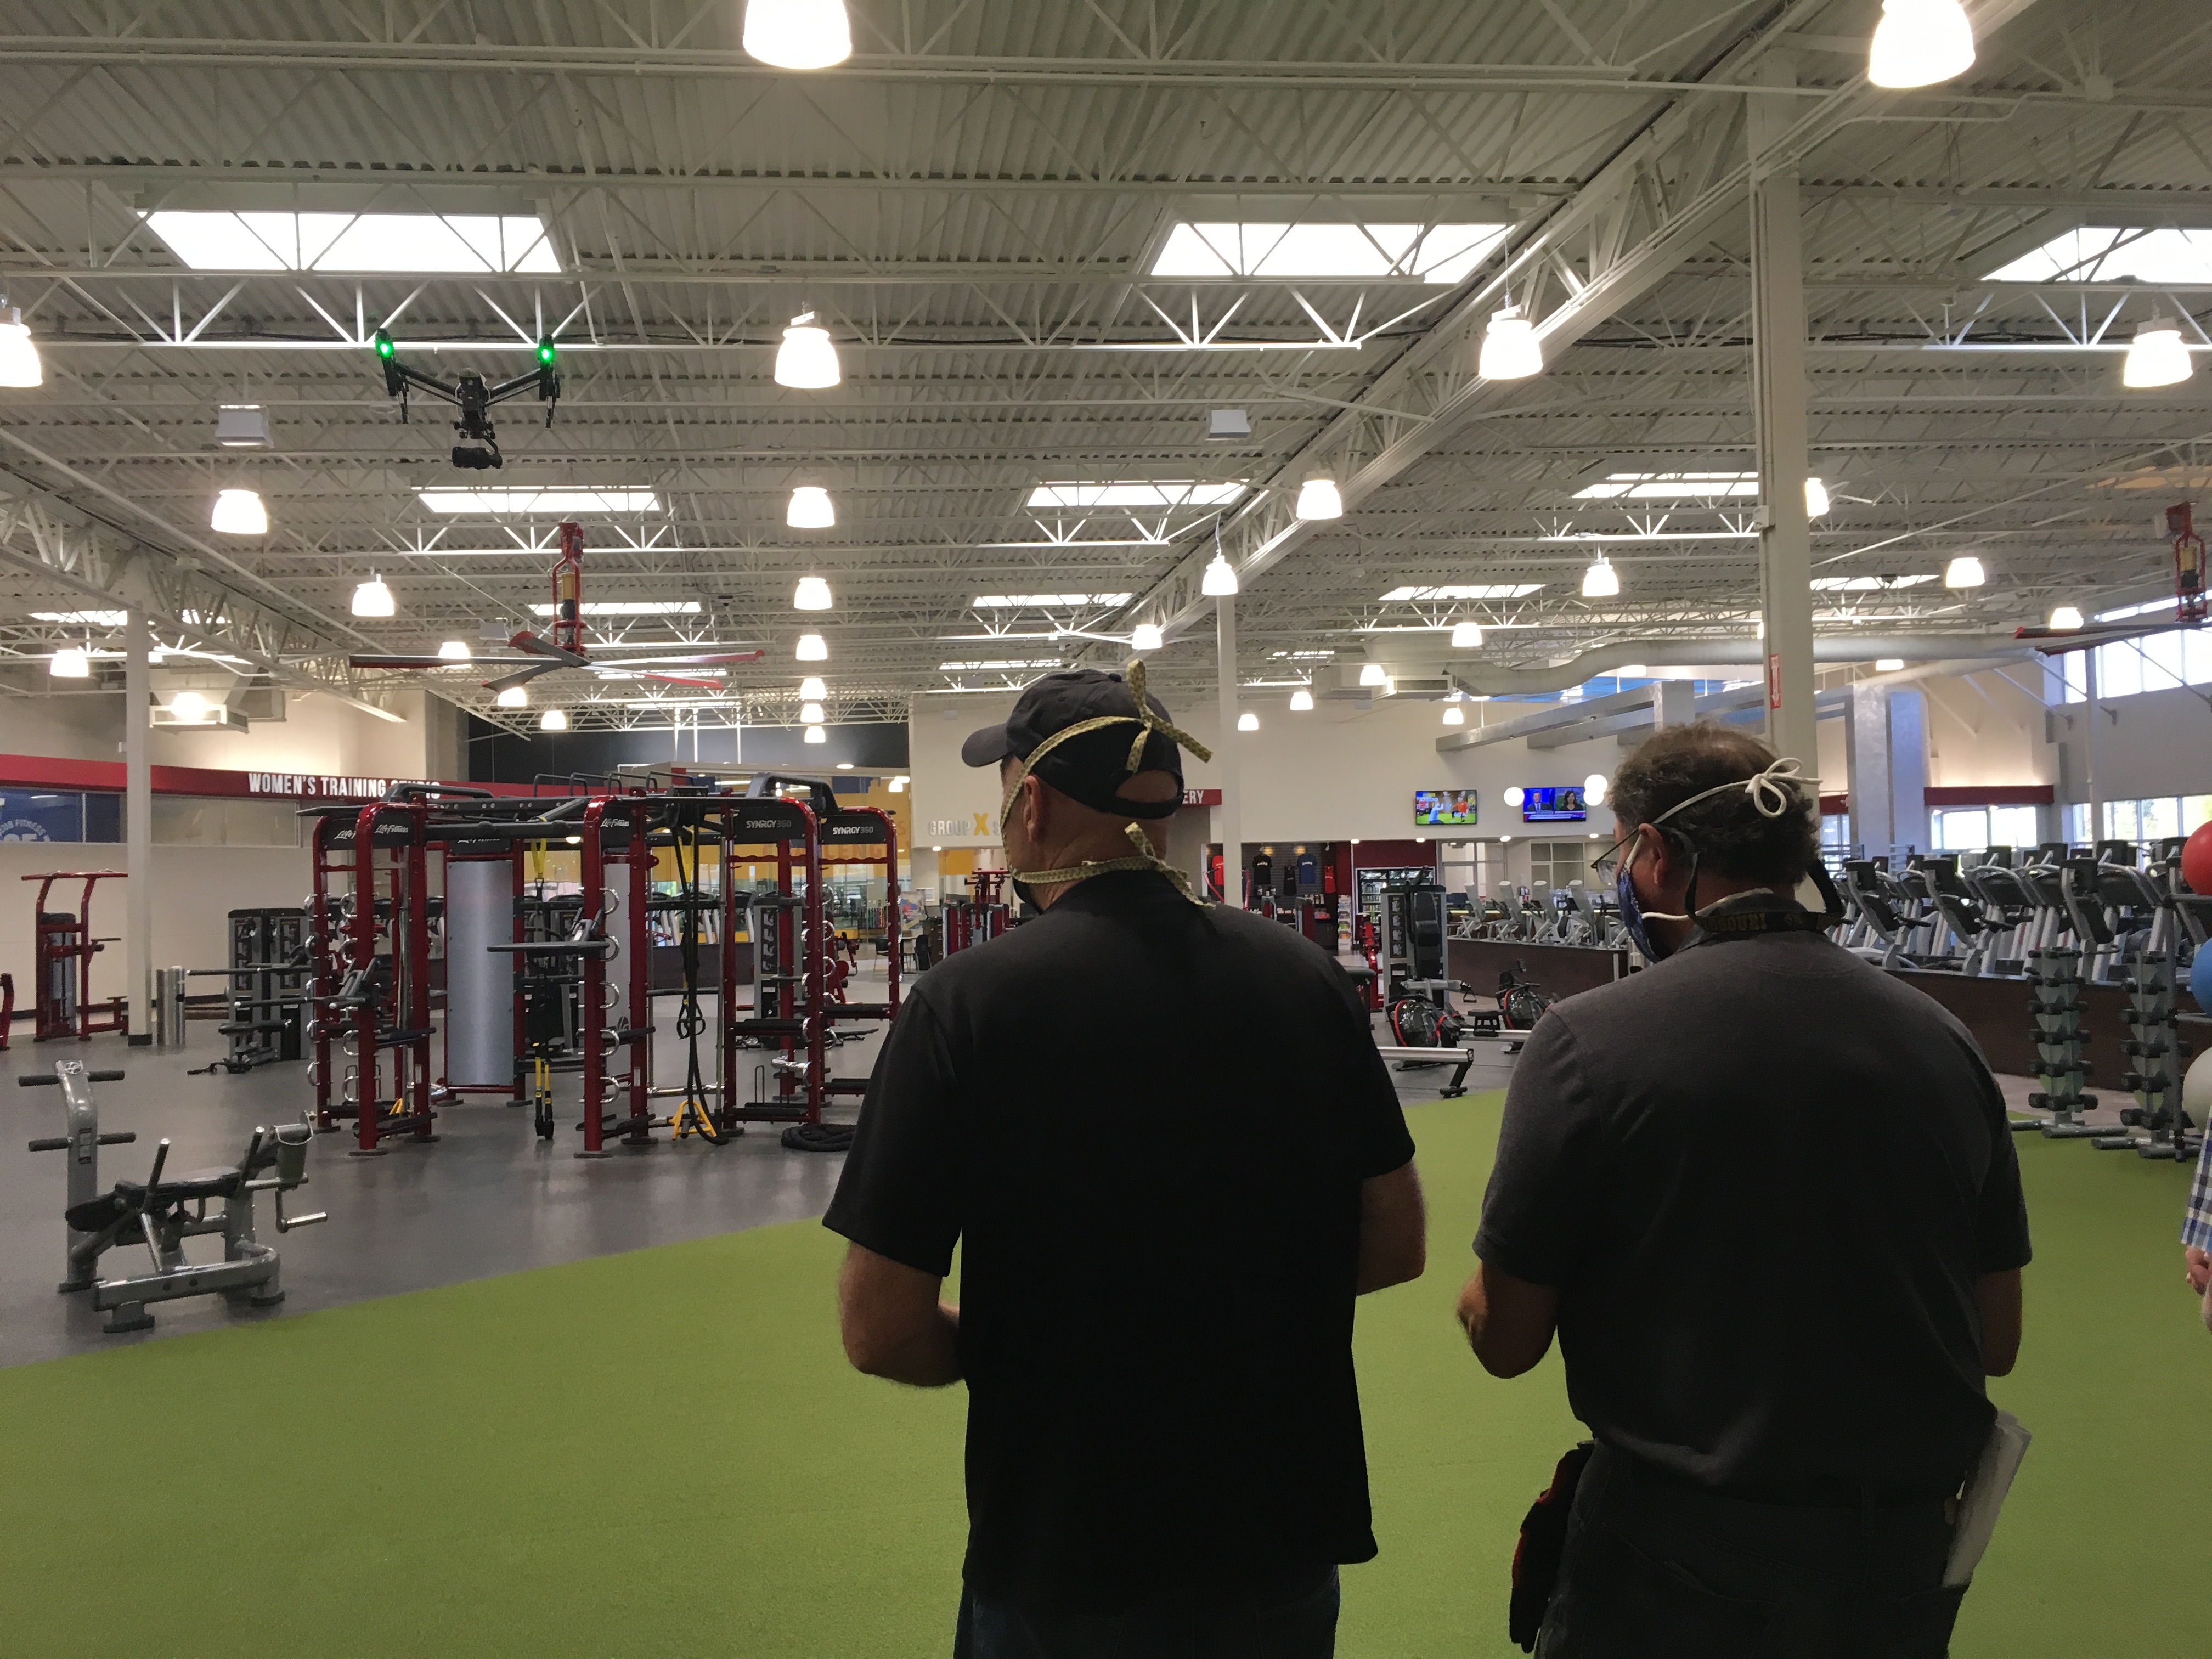
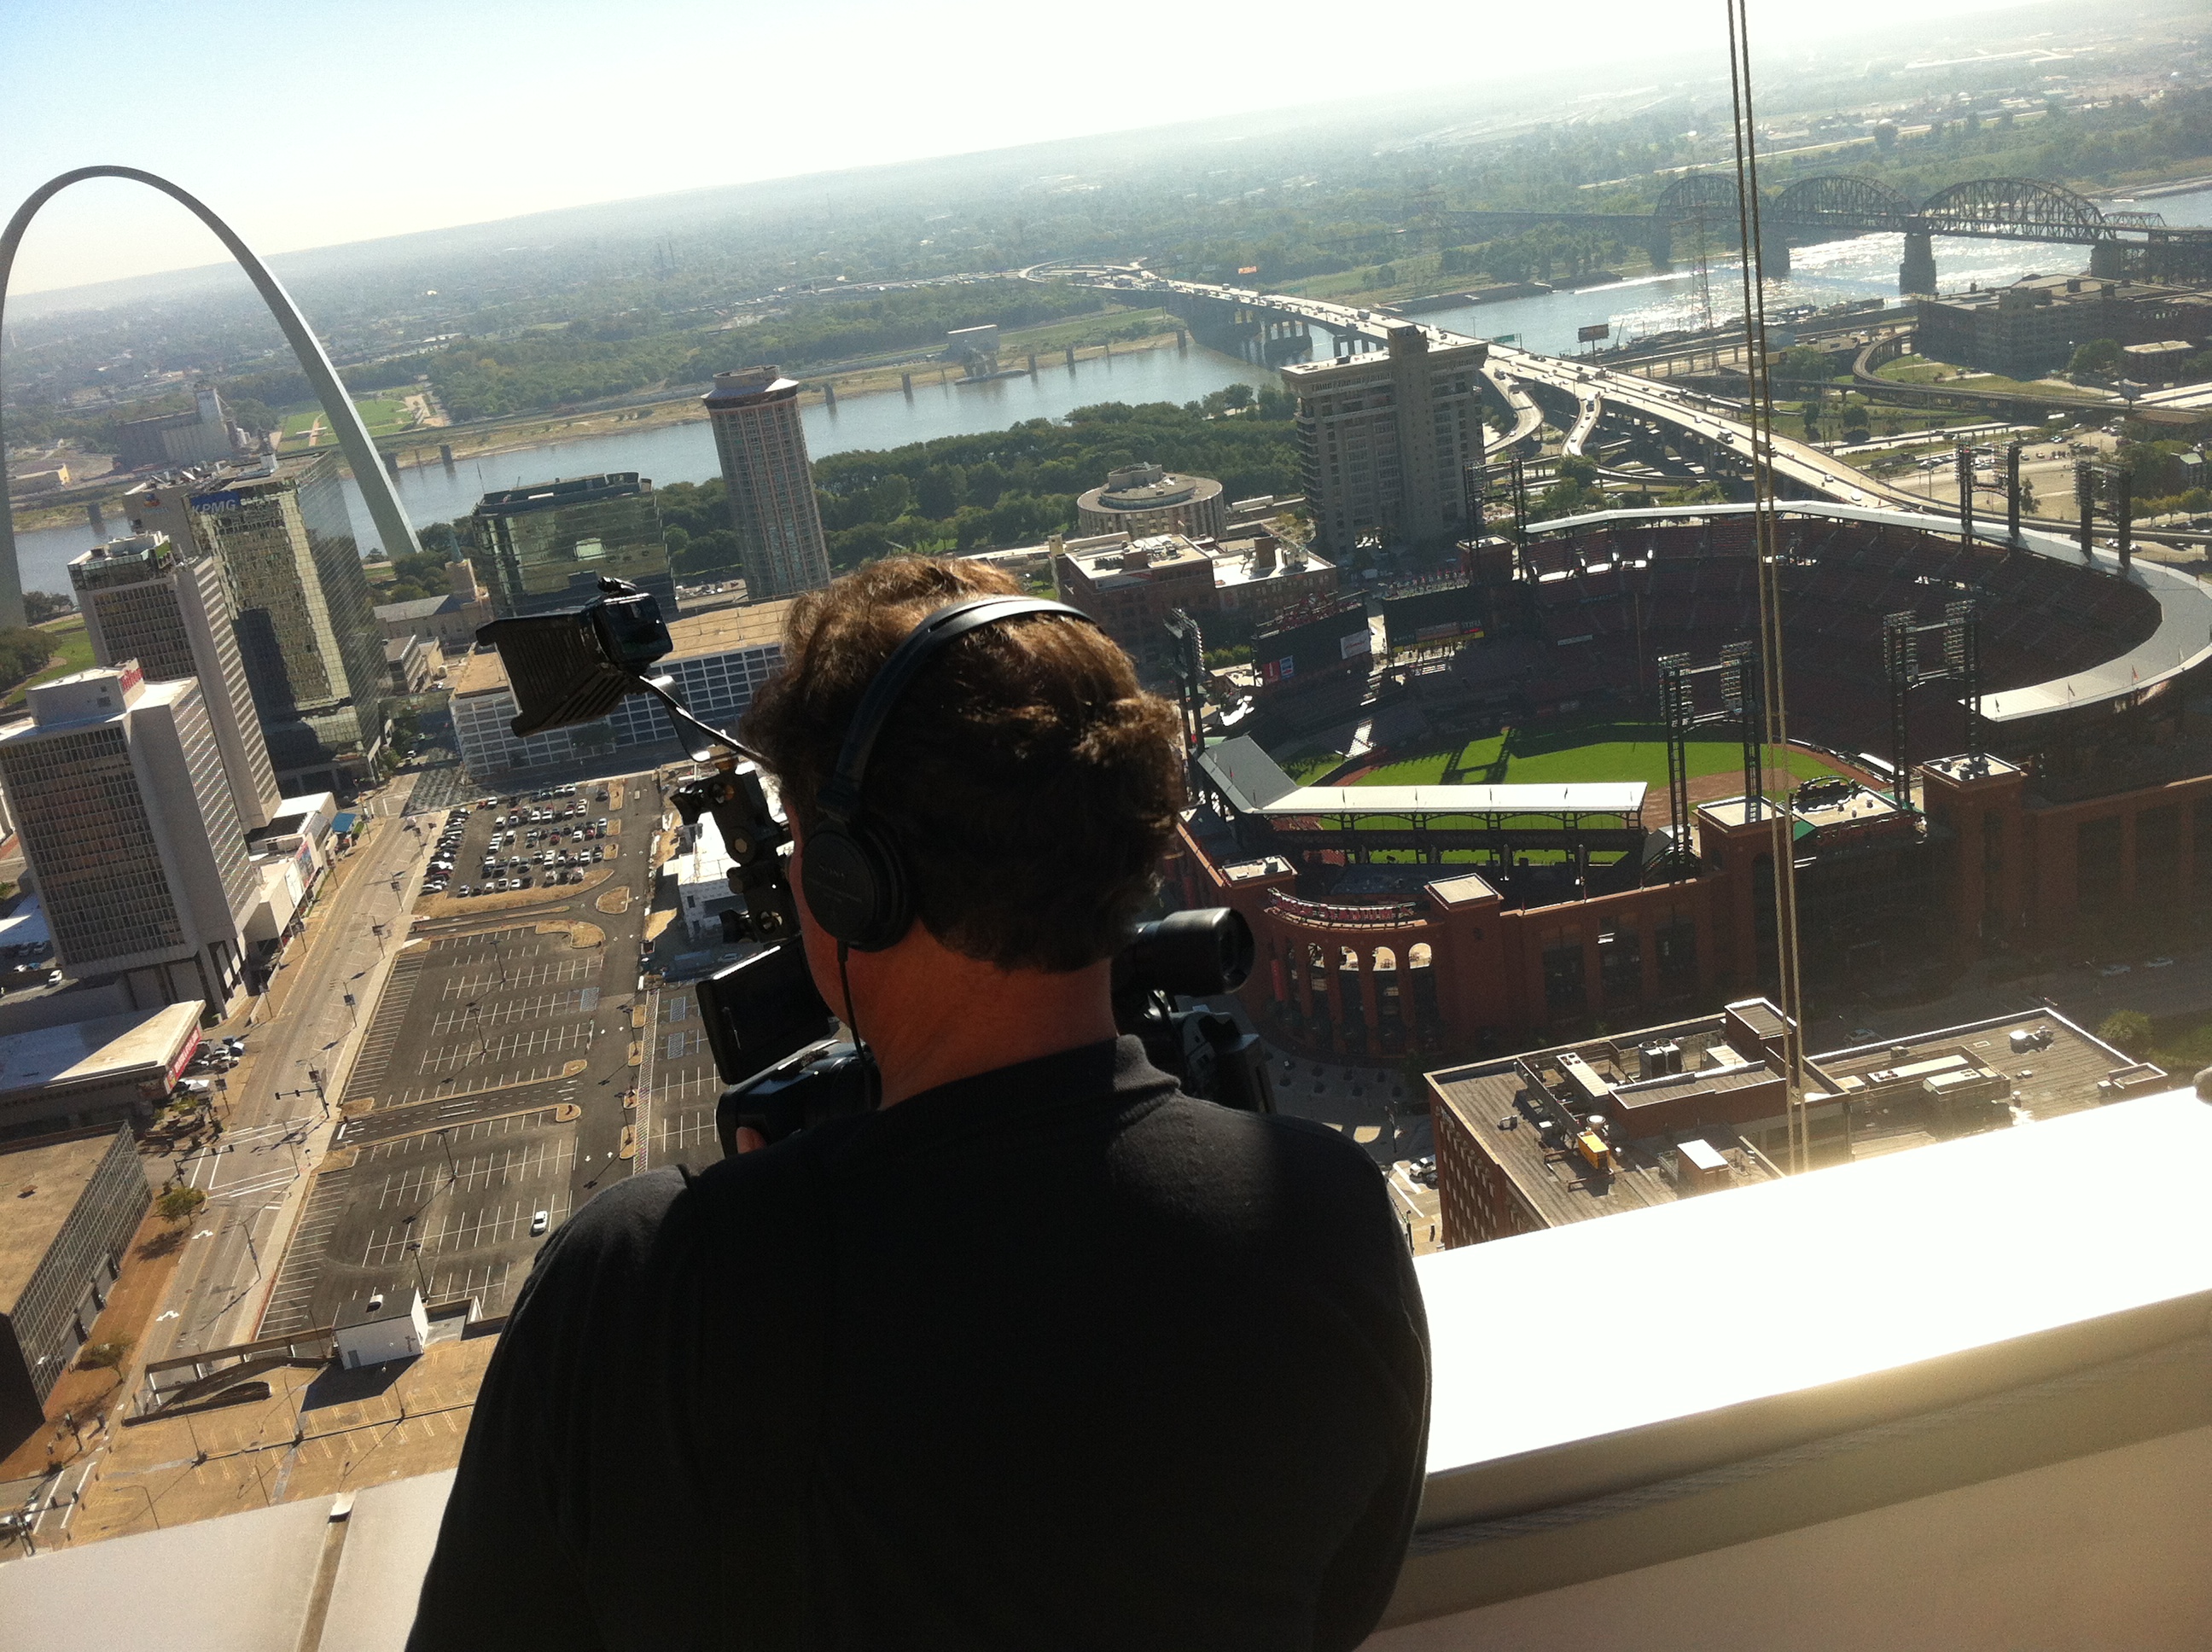
We offer full-service studio and location video and photography, as well as expert editing, post-production, and licensed drone pilots. St. Louis Video Studio excels in customizing productions for diverse media requirements, ensuring that your video aligns perfectly with your brand and messaging.
Repurposing your photography and video branding is one of our specialties. We understand how to take existing assets and reformat them for different platforms, helping your company maintain consistent and effective messaging. We’re well-versed in all types of file formats and media styles, ensuring that your video production is both versatile and ready for any distribution channel.
Whether you’re planning an interview, a testimonial, or a full-fledged marketing campaign, our private studio lighting and setup are perfect for small productions and interviews. We can accommodate props, and our crew is skilled in all aspects of production, from camera and sound operators to the use of indoor drones for dynamic shots.
Since 1982, St. Louis Video Studio has been serving businesses, marketing firms, and agencies across the St. Louis area. Our extensive experience means we understand how to create videos that make a real impact. Let us help you bring your next video project to life, creating engaging, authentic content that connects with your audience on a personal level.