Unknown's avatar

Best Practices Studio Production Techniques

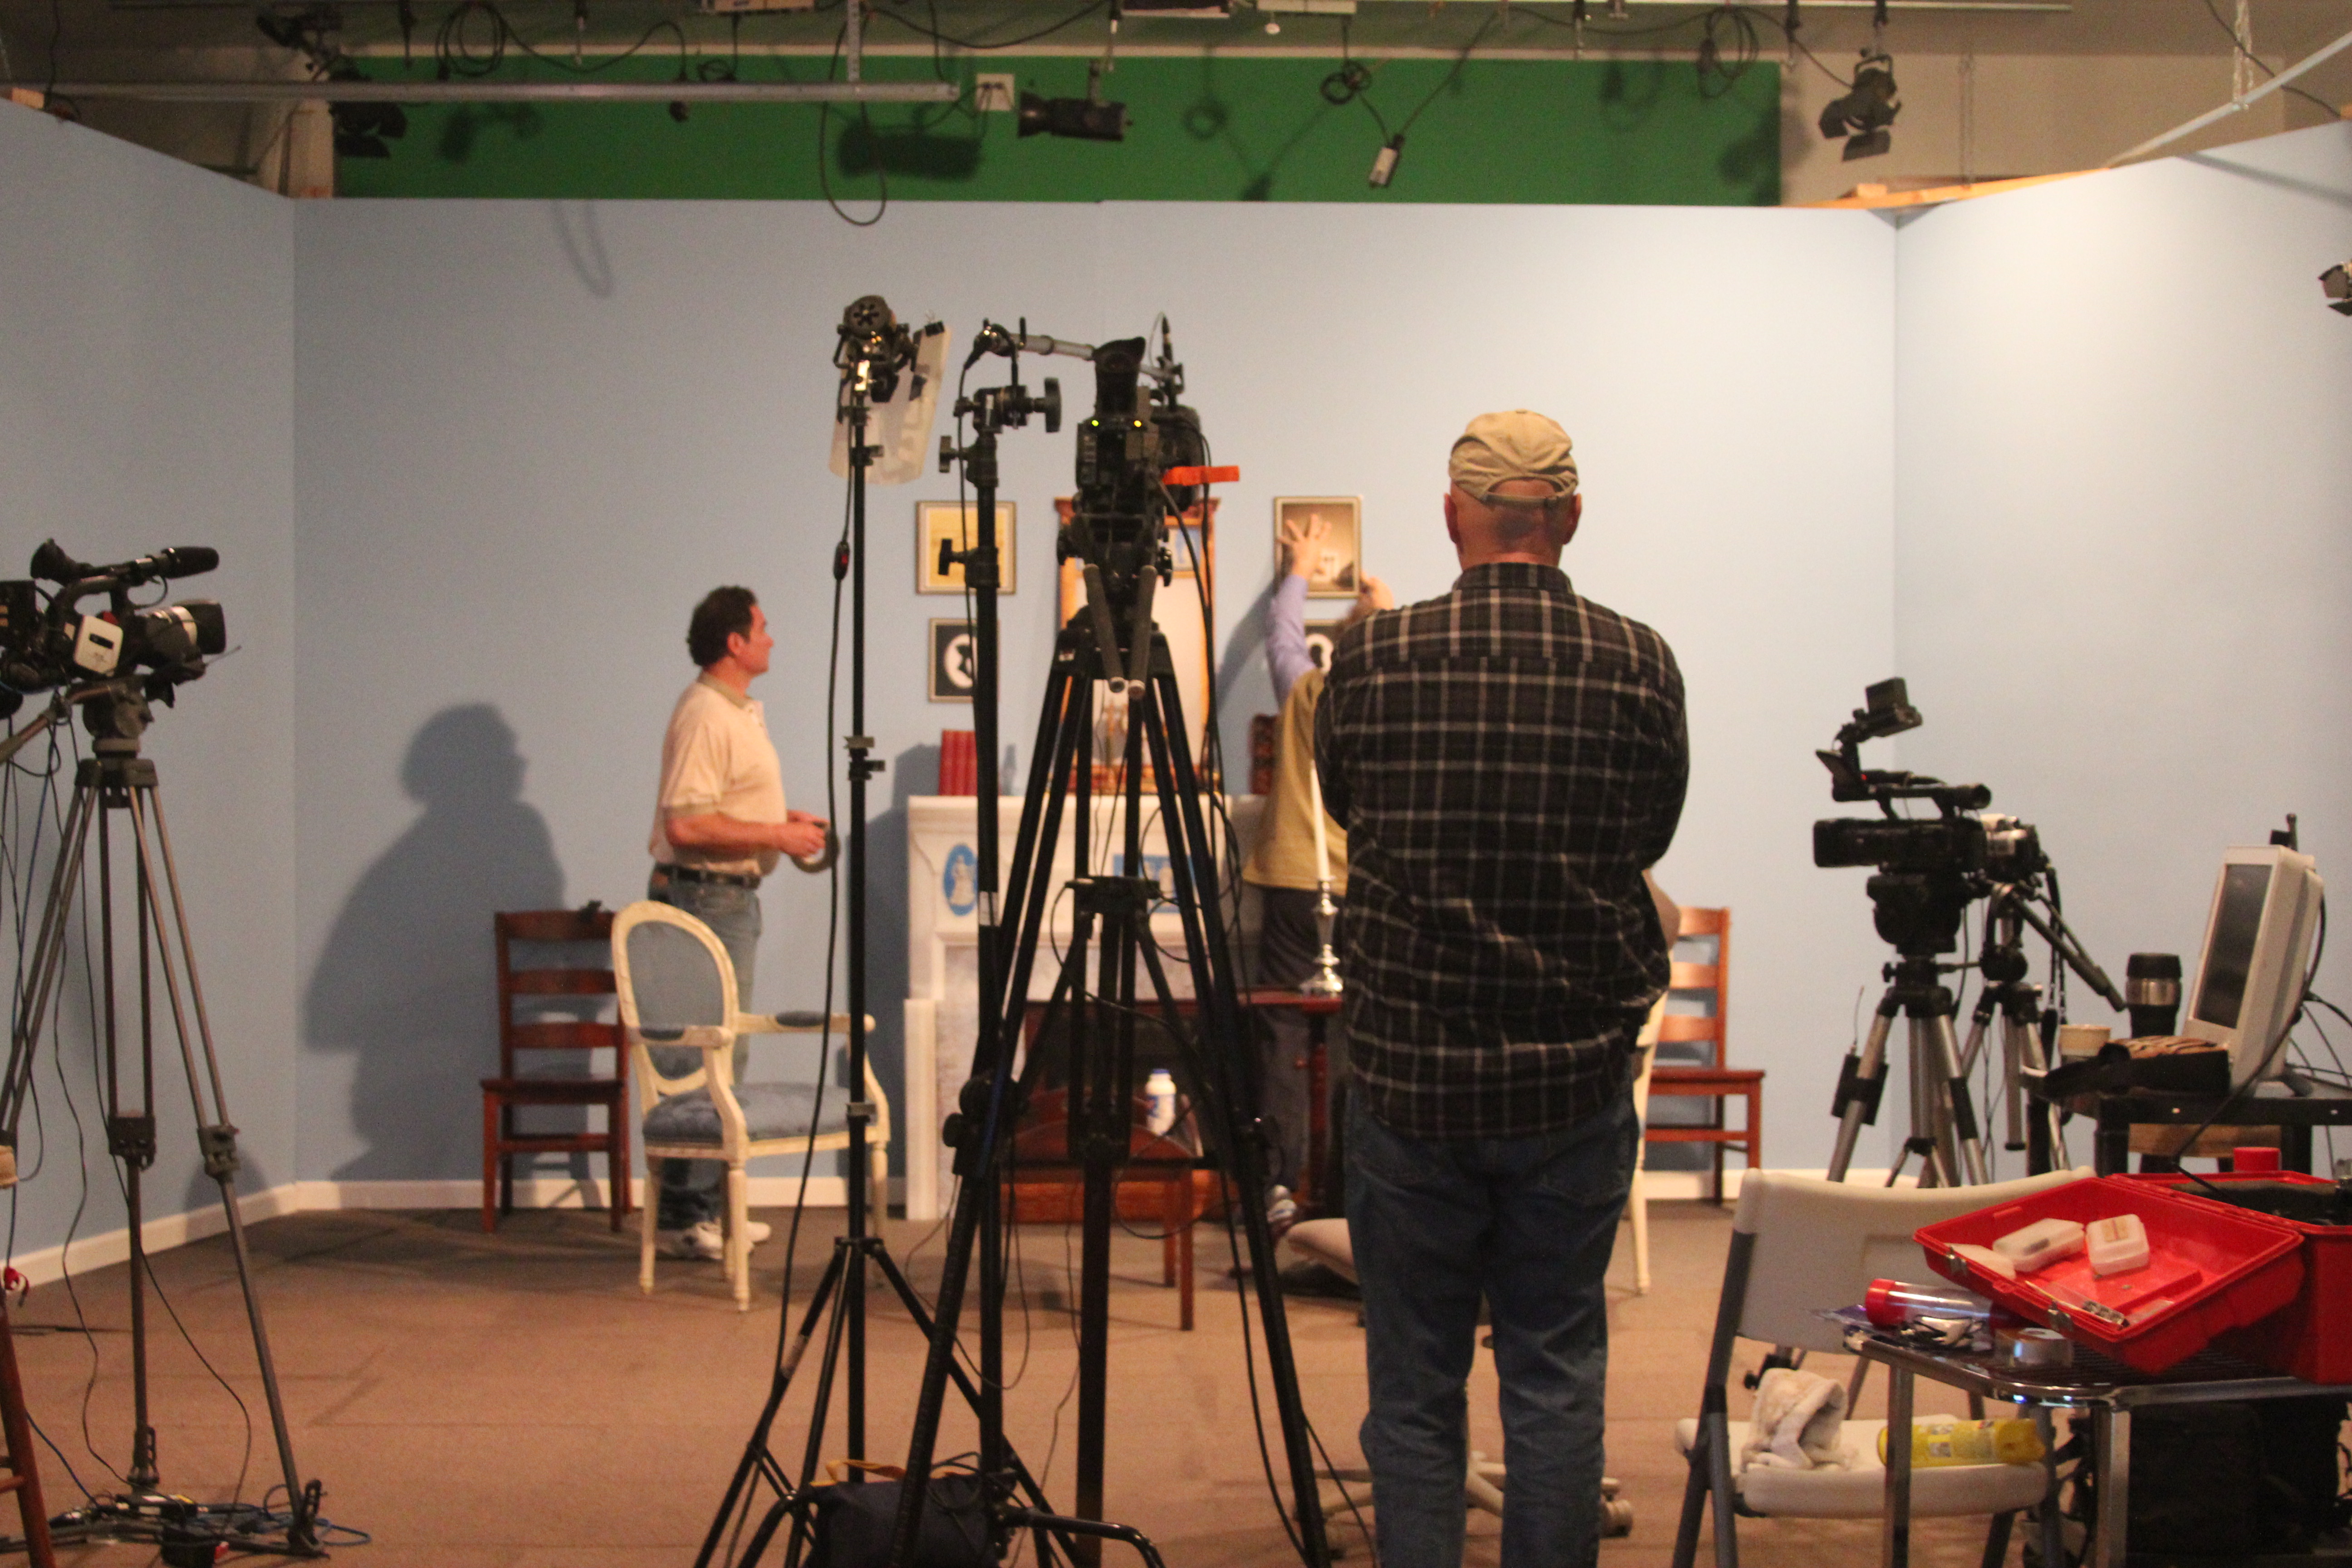
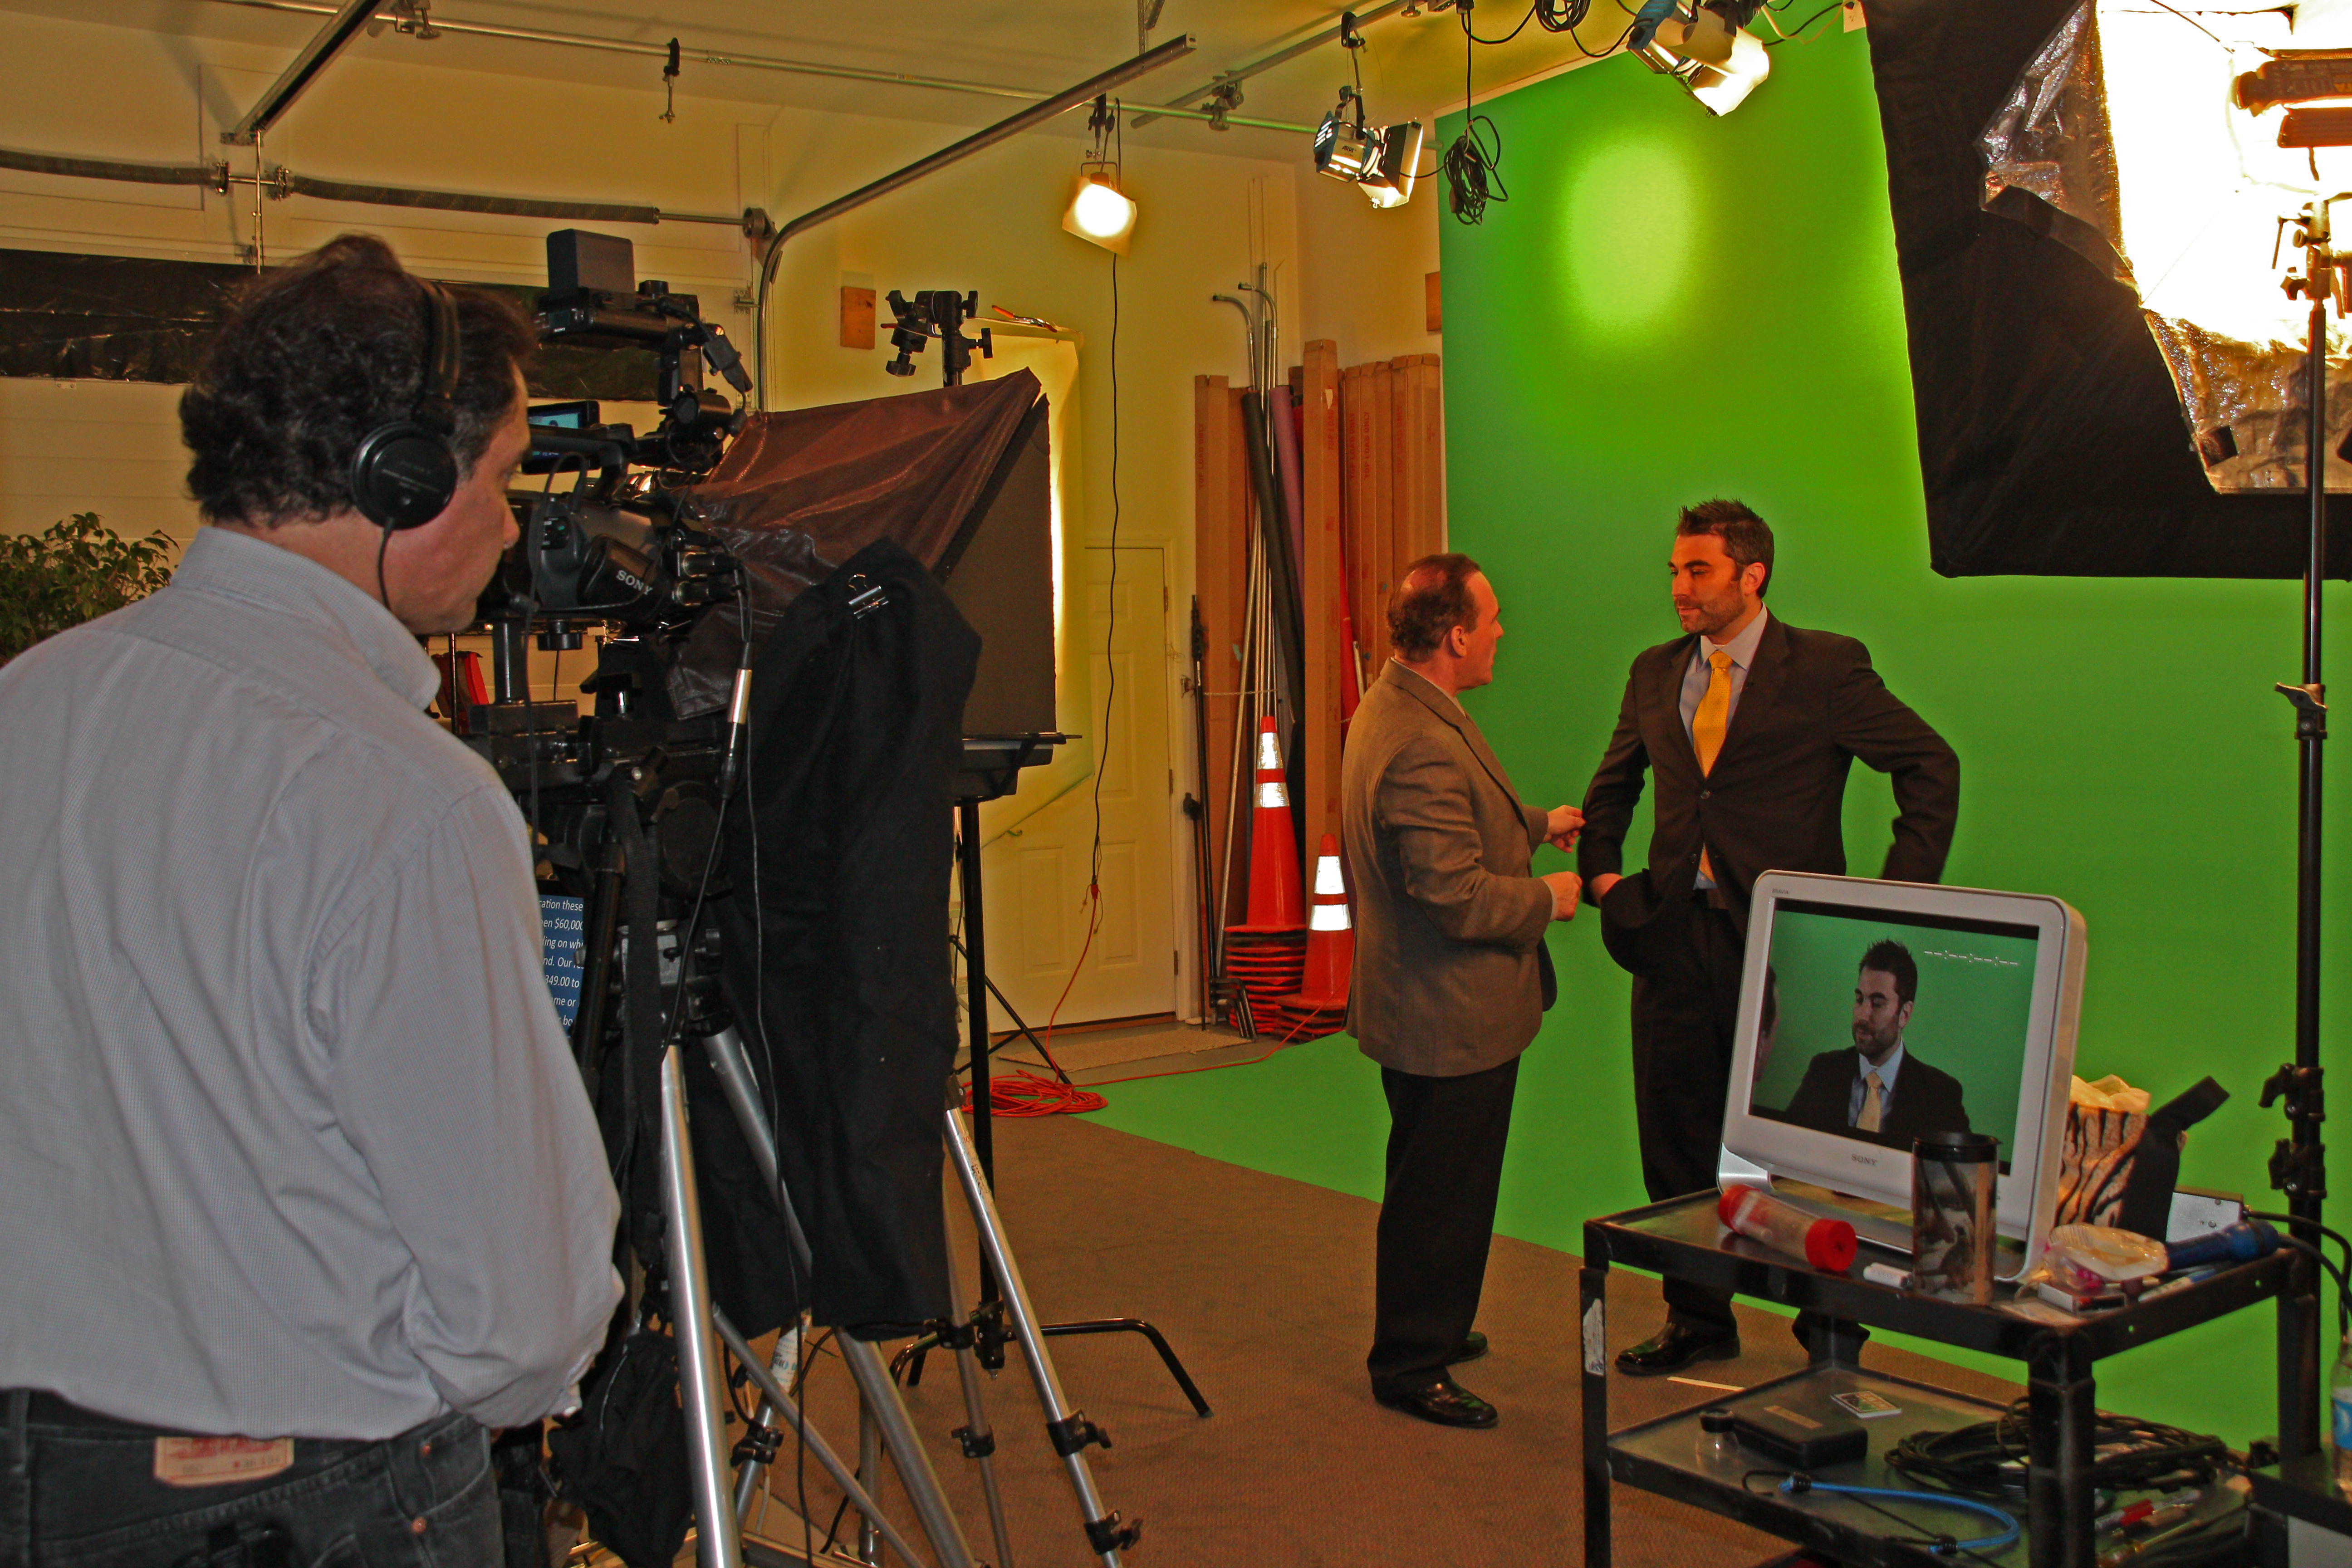
In today’s competitive market, the quality of your visual content can significantly influence your brand’s perception and reach. Whether you’re capturing the essence of a product, telling a compelling story, or engaging your audience with dynamic video content, adhering to best practices in studio production is crucial. Here, we explore essential techniques to elevate your photography and video production, ensuring you make a lasting impact.

Pre-Production Planning

Define Your Objectives

Before diving into the technical aspects, clearly define the purpose of your shoot. Are you aiming to showcase a product, conduct an interview, or create a promotional video? Understanding your goals will guide every subsequent decision, from equipment selection to post-production.

Storyboarding and Scripting

For video productions, storyboarding and scripting are vital. Create a visual and textual outline of your project to ensure a smooth flow during shooting. This preparation helps in visualizing the final product and identifying potential challenges early on.

Scouting Locations

If you’re shooting outside your studio, scout locations in advance. Consider lighting conditions, space availability, and potential background noise. For studio shoots, plan your set design meticulously to reflect the desired mood and message.

Lighting Techniques

Three-Point Lighting

The three-point lighting setup is a staple in both photography and videography. It consists of:

  1. Key Light: The primary light source that highlights the subject.
  2. Fill Light: A softer light that reduces shadows created by the key light.
  3. Back Light: Adds depth by separating the subject from the background.

Soft Lighting

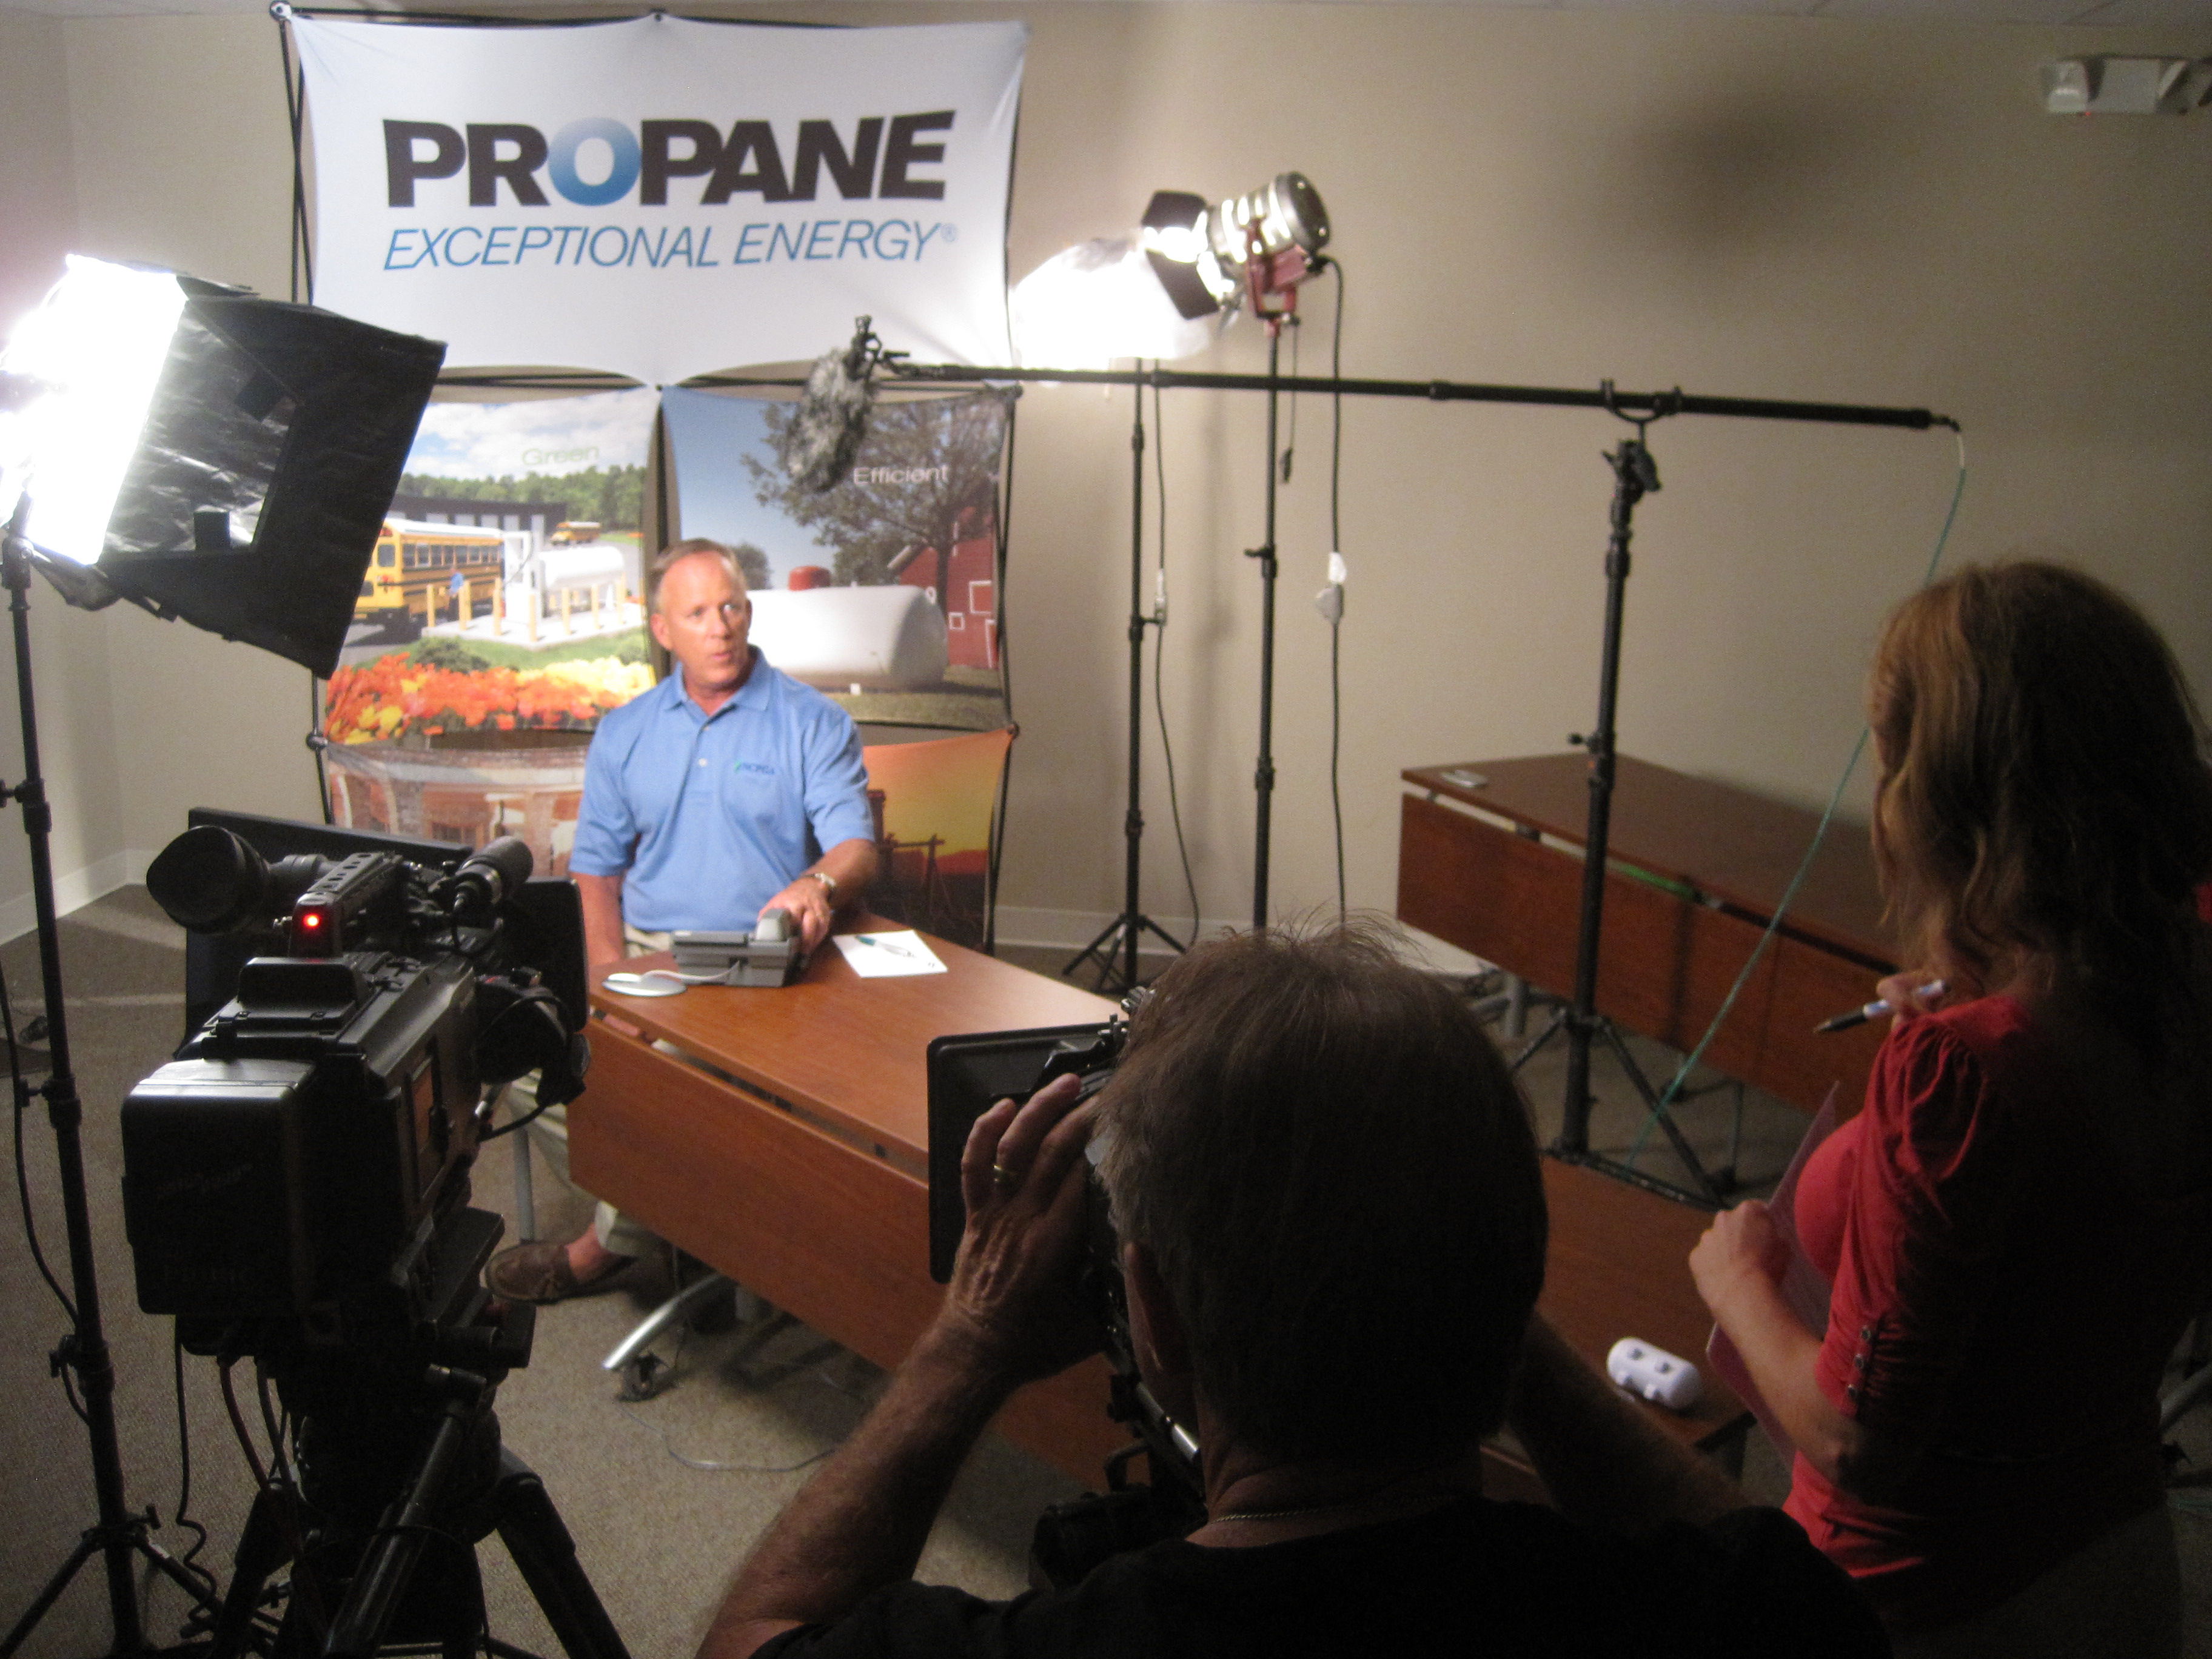
Soft lighting creates a more flattering and natural look, ideal for portraits and interviews. Use diffusers or softboxes to achieve this effect, avoiding harsh shadows and creating a gentle glow.

Lighting for Mood

Adjust your lighting to convey the desired mood. Warm lights create a cozy and inviting atmosphere, while cool lights can evoke a sense of professionalism and modernity.

Sound Considerations

Microphone Selection

Select the right microphone for your needs. Lavaliere mics are excellent for interviews, while shotgun mics are great for capturing directional sound. Ensure your microphones are positioned correctly to avoid background noise and echo.

Soundproofing

Soundproof your studio to minimize external noise. Use acoustic panels, carpets, and heavy curtains to absorb sound and create a controlled audio environment.

Camera Techniques

Camera Settings

Familiarize yourself with your camera’s settings. Adjust the ISO, aperture, and shutter speed to suit your lighting conditions and achieve the desired depth of field and motion blur.

Framing and Composition

Use the rule of thirds, leading lines, and other composition techniques to create visually appealing shots. Ensure your subject is well-framed and the background complements the overall composition.

Camera Movement

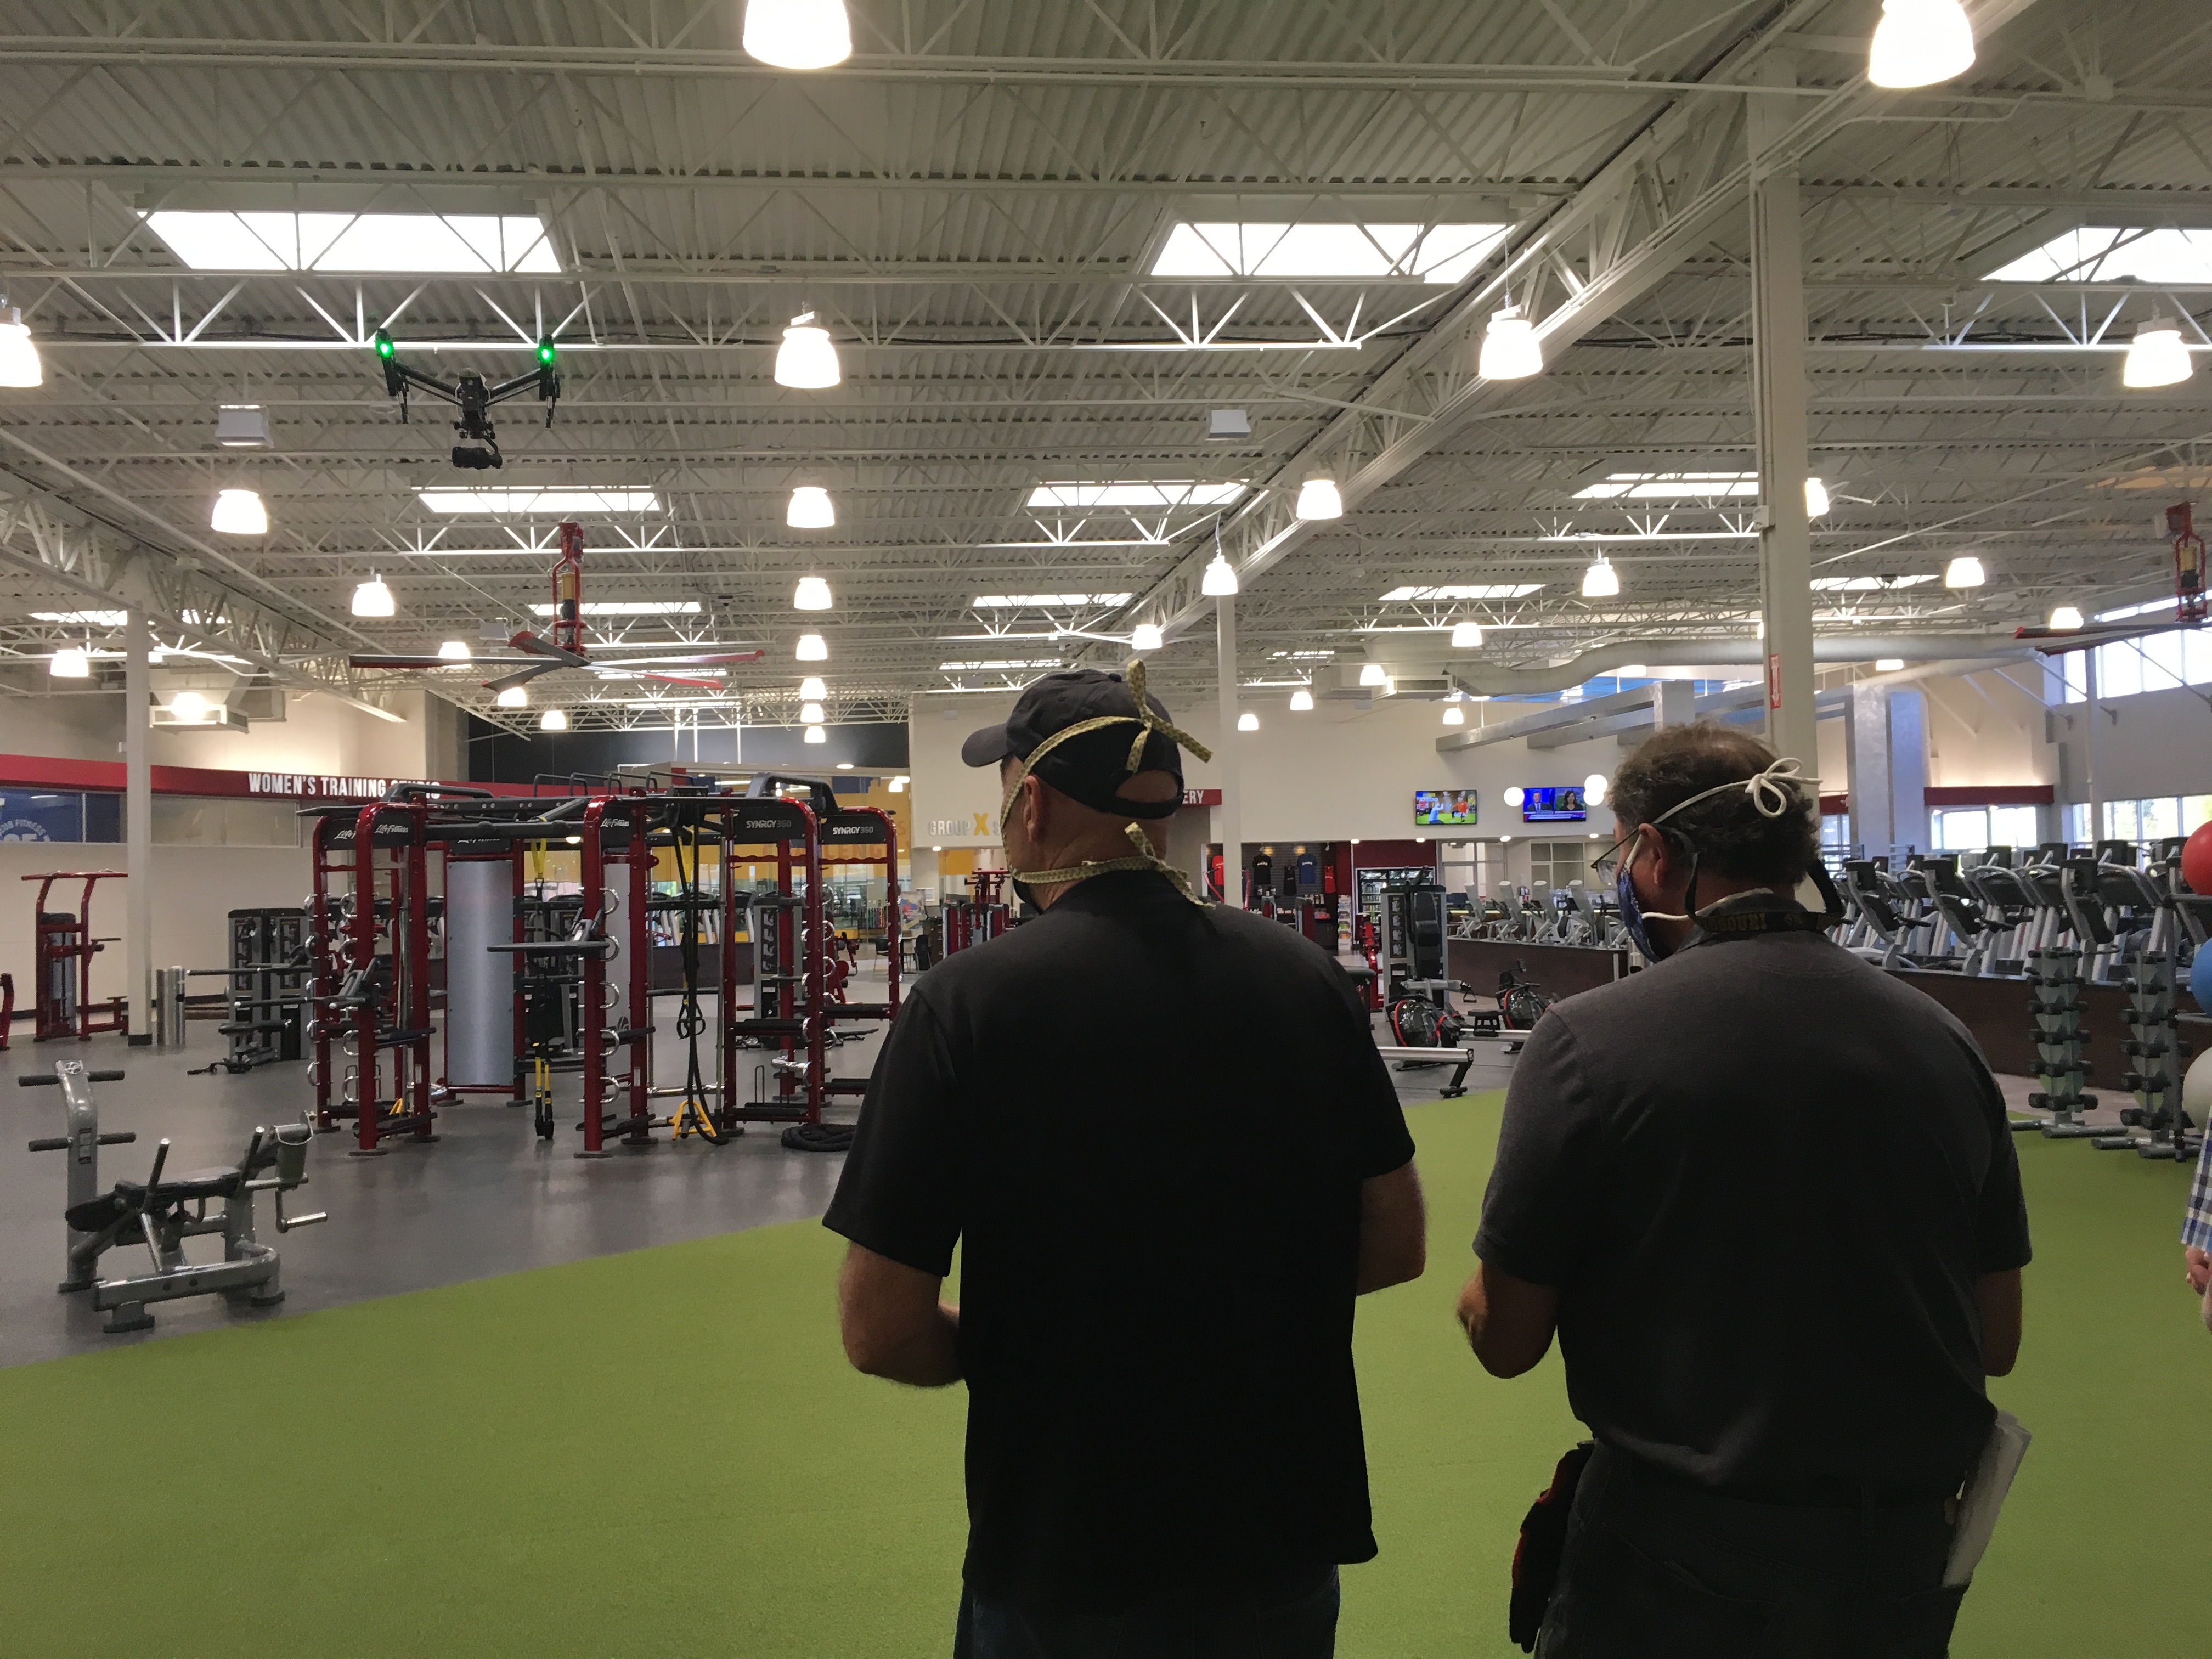
Incorporate smooth camera movements to add dynamism to your shots. Use gimbals, sliders, or drones for stable and creative motion.

Post-Production

Editing Software

Invest in professional editing software like Adobe Premiere Pro, Final Cut Pro, or DaVinci Resolve. These tools offer advanced features for color grading, audio mixing, and special effects.

Color Grading

Enhance your footage with color grading to achieve a consistent and polished look. Adjust the brightness, contrast, and color balance to match your project’s tone.

Sound Editing

Clean up your audio tracks by removing background noise, balancing levels, and adding effects where necessary. Clear and crisp audio is as important as high-quality visuals.

Drone Photography and Videography

Safety and Regulations

Ensure your drone operations comply with local regulations and safety guidelines. Obtain the necessary permits and licenses, and always conduct a pre-flight check.

Creative Angles

Drones offer unique perspectives that can add a wow factor to your productions. Experiment with different heights, angles, and movements to capture stunning aerial shots.

Repurposing Content

Multi-Platform Optimization

Repurpose your content for various platforms by creating different versions tailored to each medium’s requirements. This approach maximizes your reach and engagement across social media, websites, and traditional media.

Consistent Branding

Maintain consistent branding across all your visual content. Use the same color schemes, fonts, and logo placements to reinforce brand identity and recognition.

Conclusion

St. Louis Video Studio is a full-service professional commercial photography and video production company with the right equipment and creative crew service experience for successful image acquisition. We offer full-service studio and location video and photography, as well as editing, post-production, and licensed drone pilots.

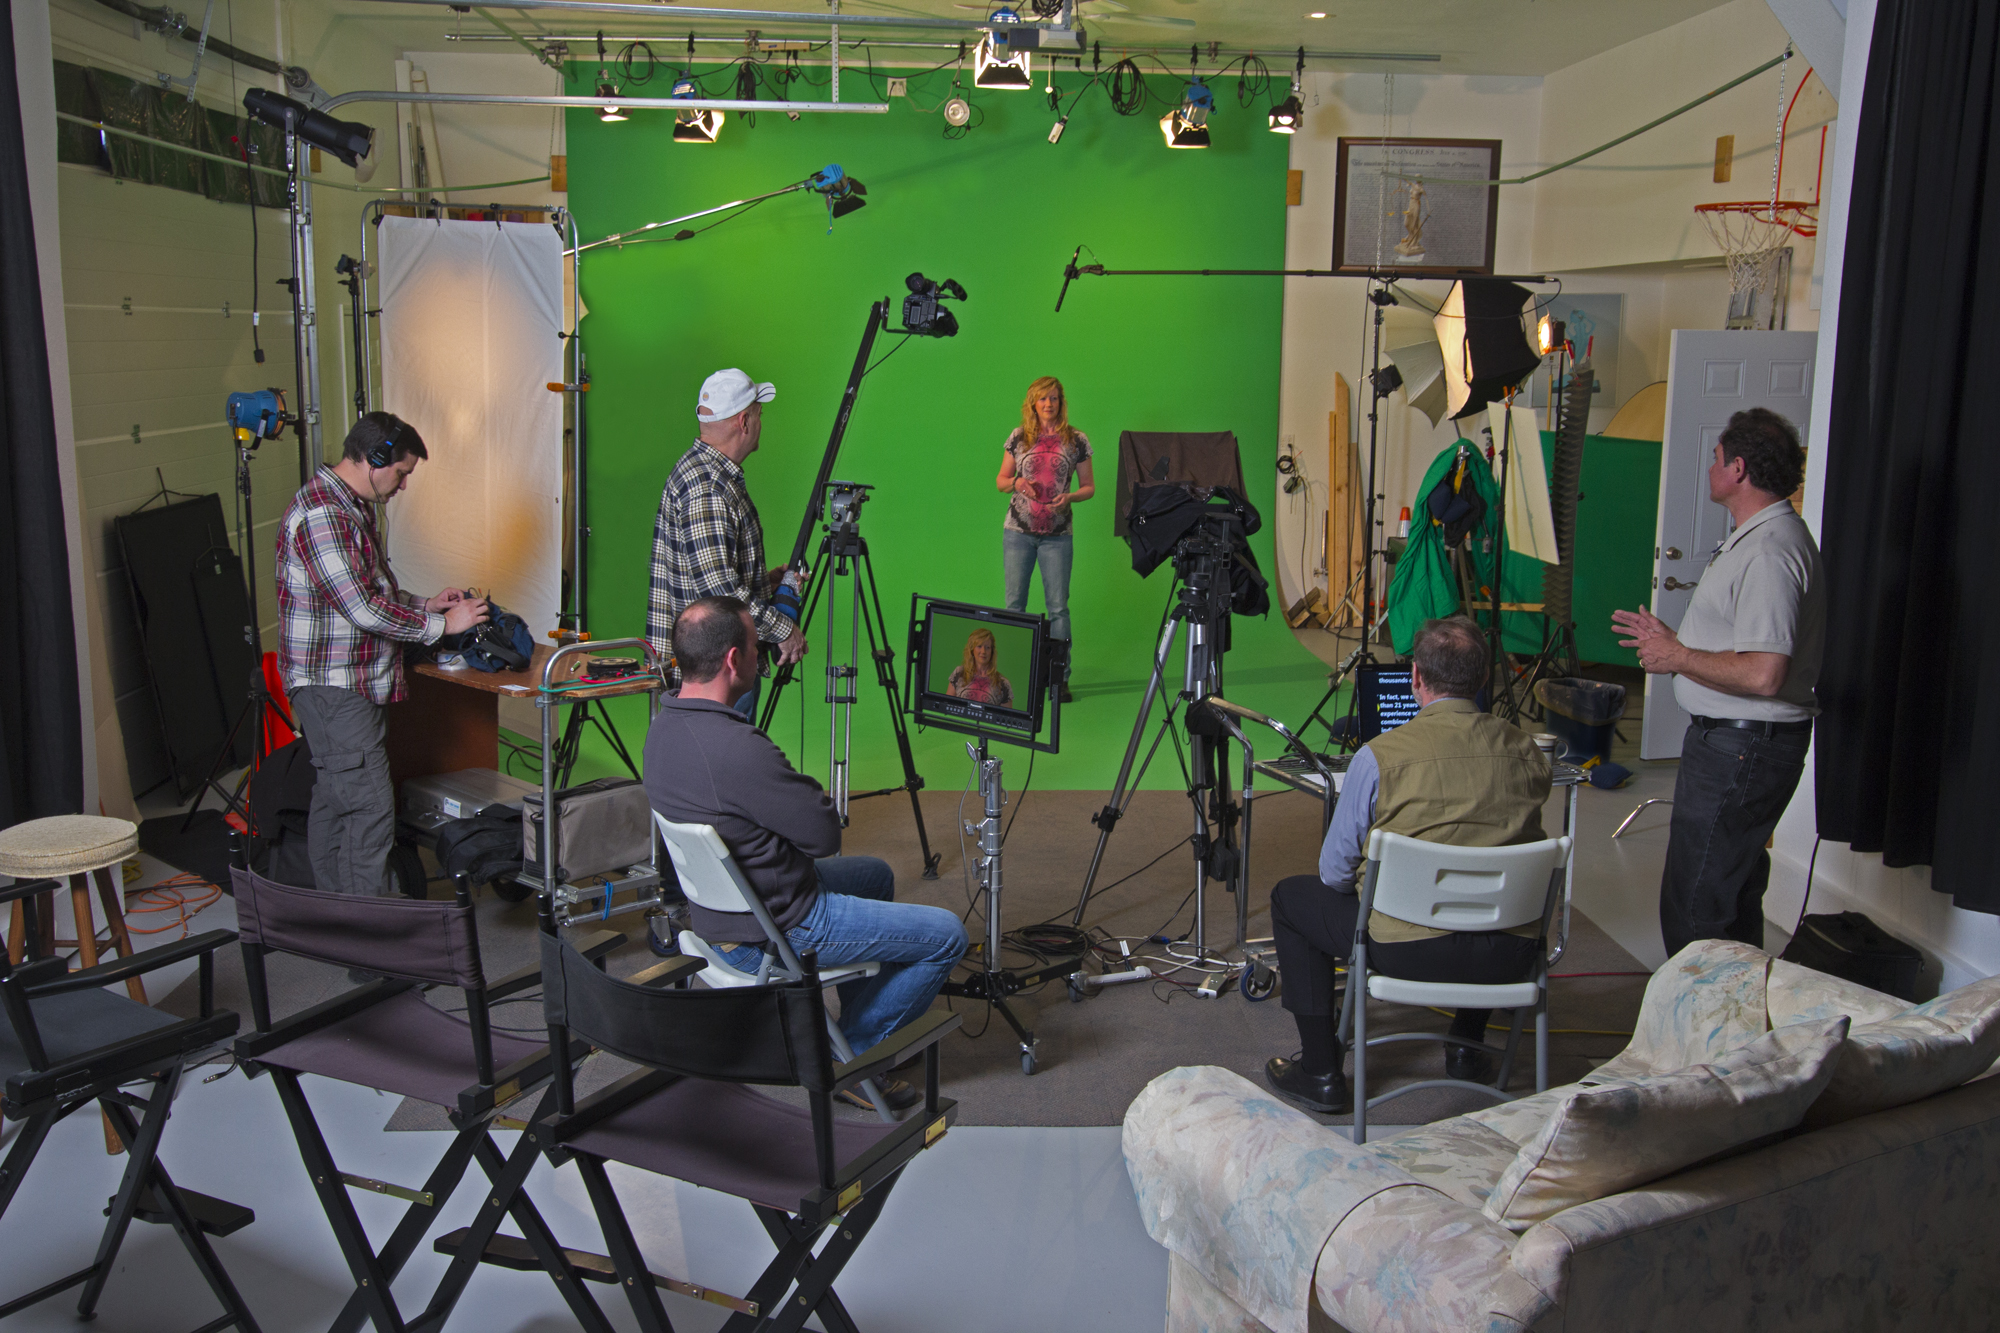
St. Louis Video Studio can customize your productions for diverse types of media requirements. Repurposing your photography and video branding to gain more traction is another specialty. We are well-versed in all file types and styles of media and accompanying software. Our private studio lighting and visual setup is perfect for small productions and interview scenes, large enough to incorporate props to round out your set.

We can help with every part of your production, from a private custom interview studio setup to providing sound and camera operators to equipment. We have everything to make your next video production perfect, including flying our specialized drones indoors. As a full-service video and photography production company, St. Louis Video Studio has worked with many businesses, marketing firms, and agencies in the St. Louis area for their corporate photography and video needs.

Choose St. Louis Video Studio for your next project, and let us help you create visual content that captivates and engages your audience.

314-913-5626

stlouisvideostudio@gmail.com

Unknown's avatar

Essential Tips for Retouching Professional Headshots

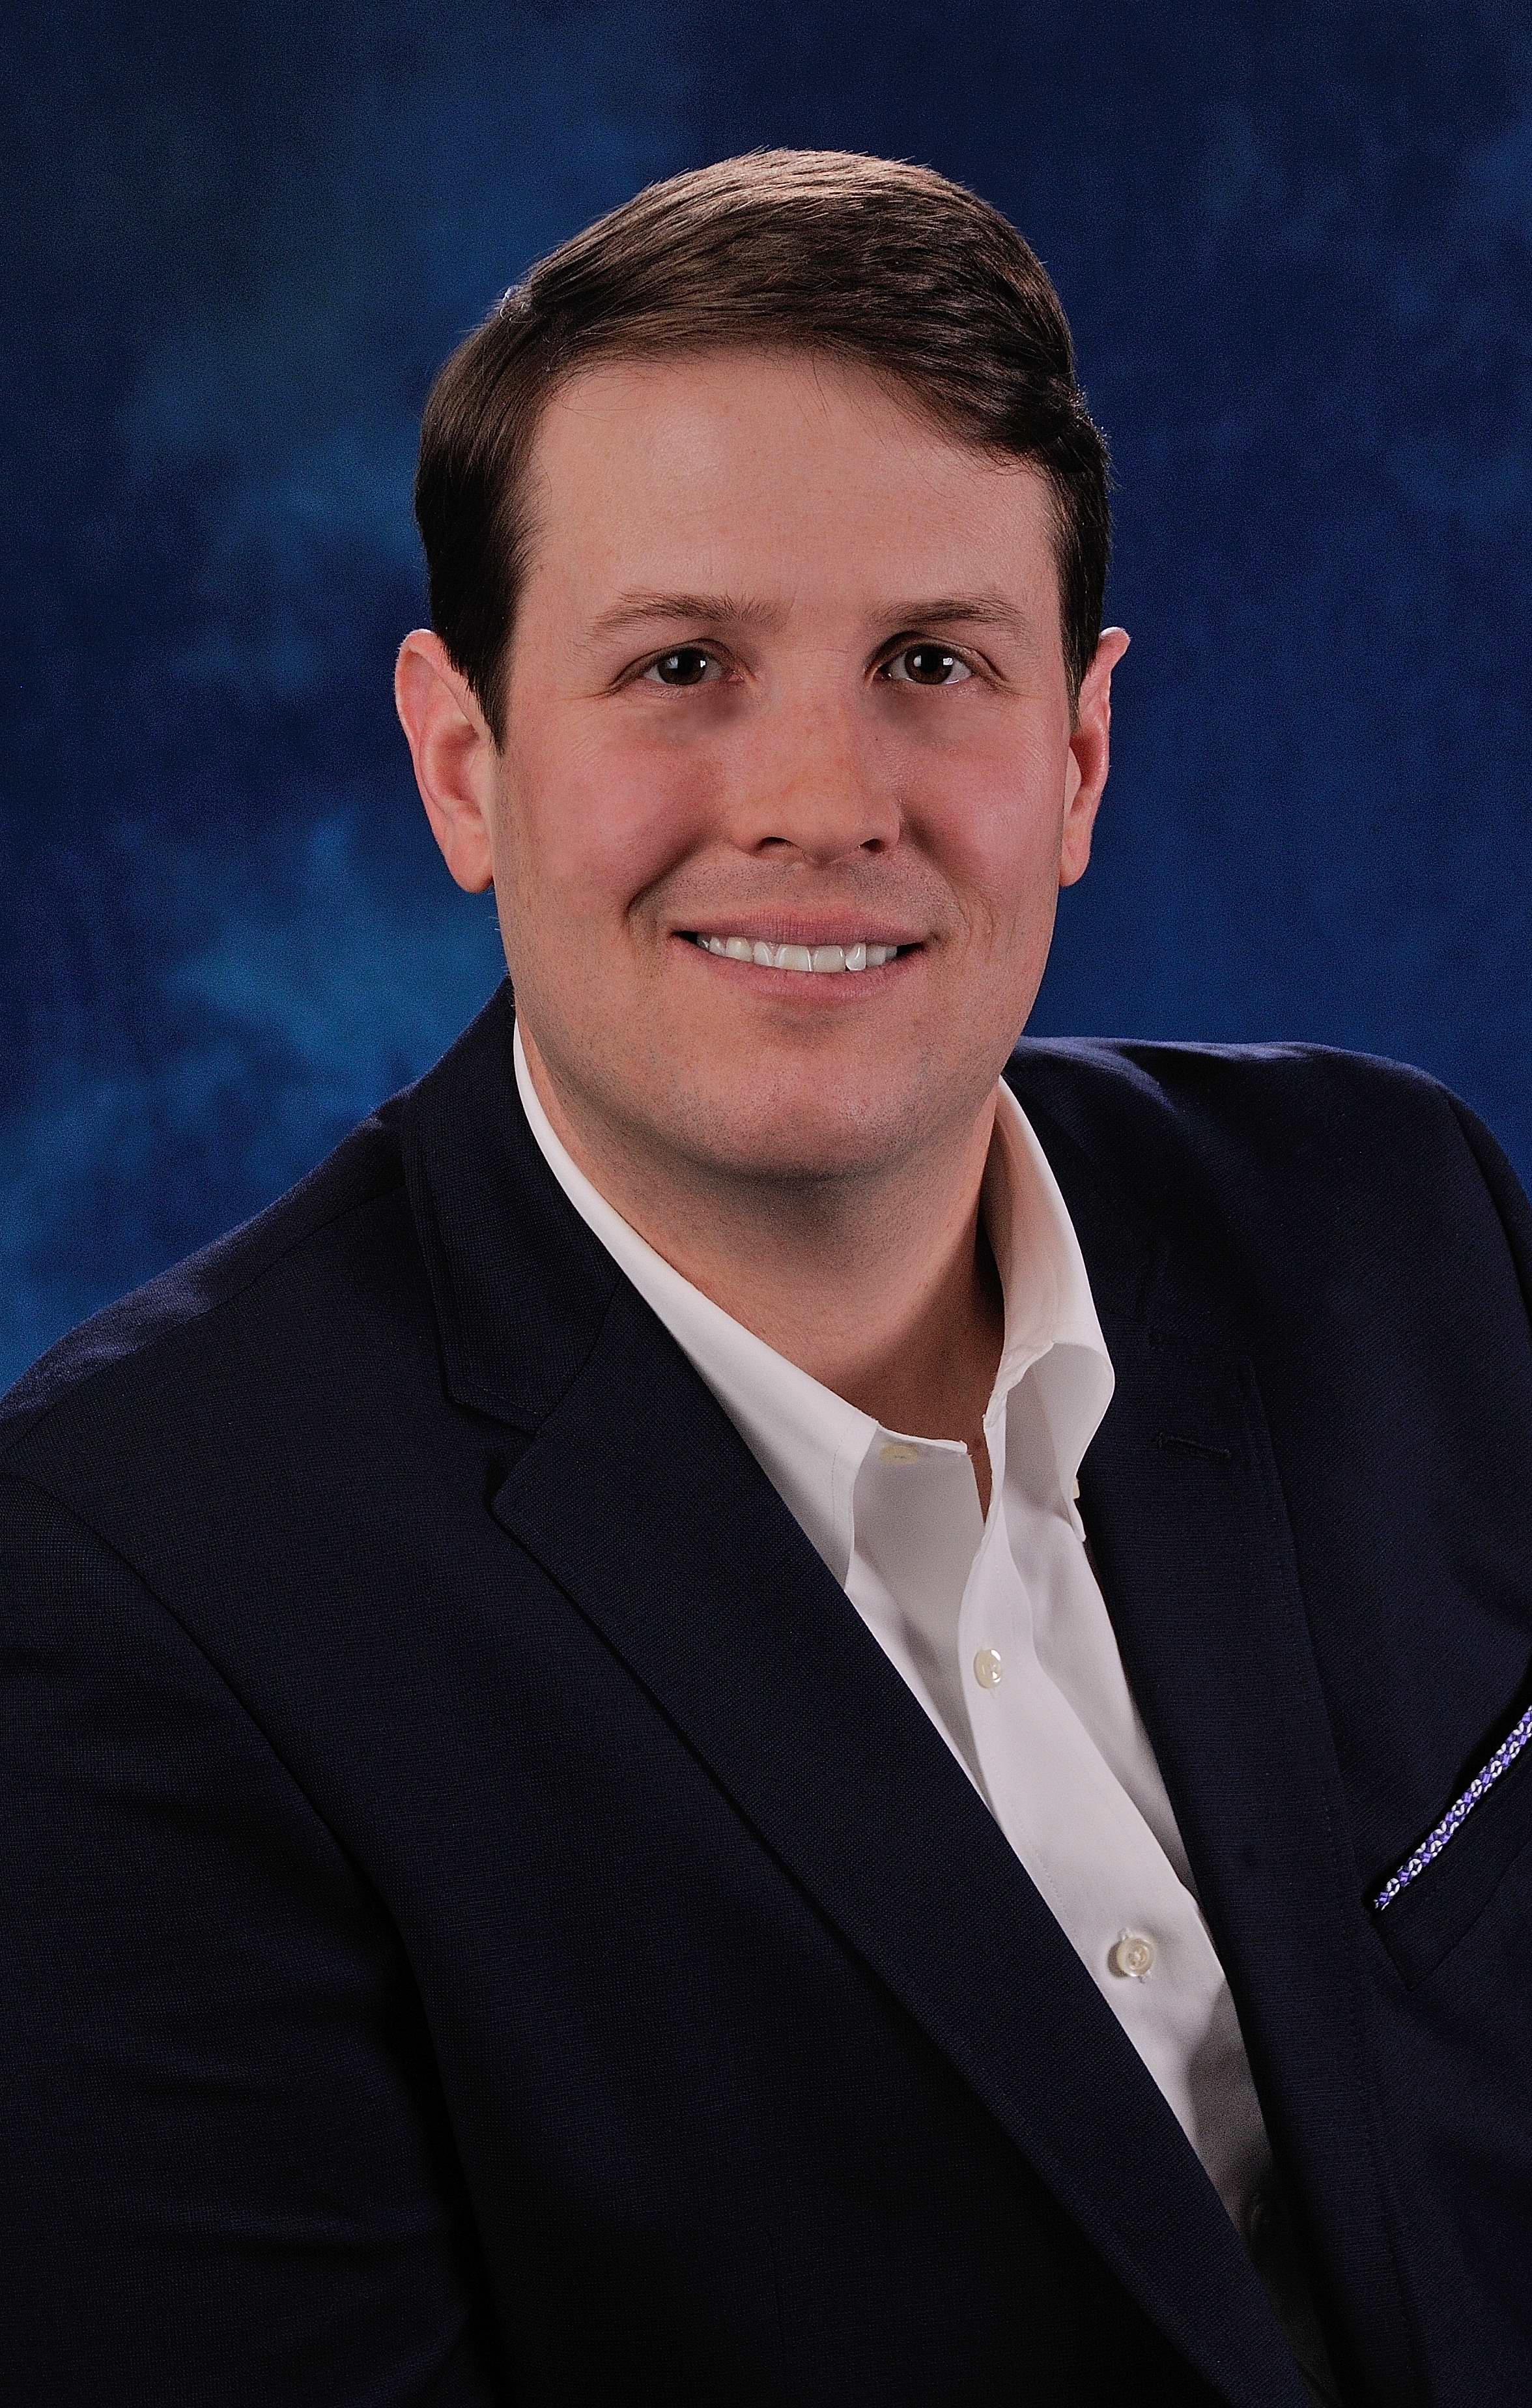
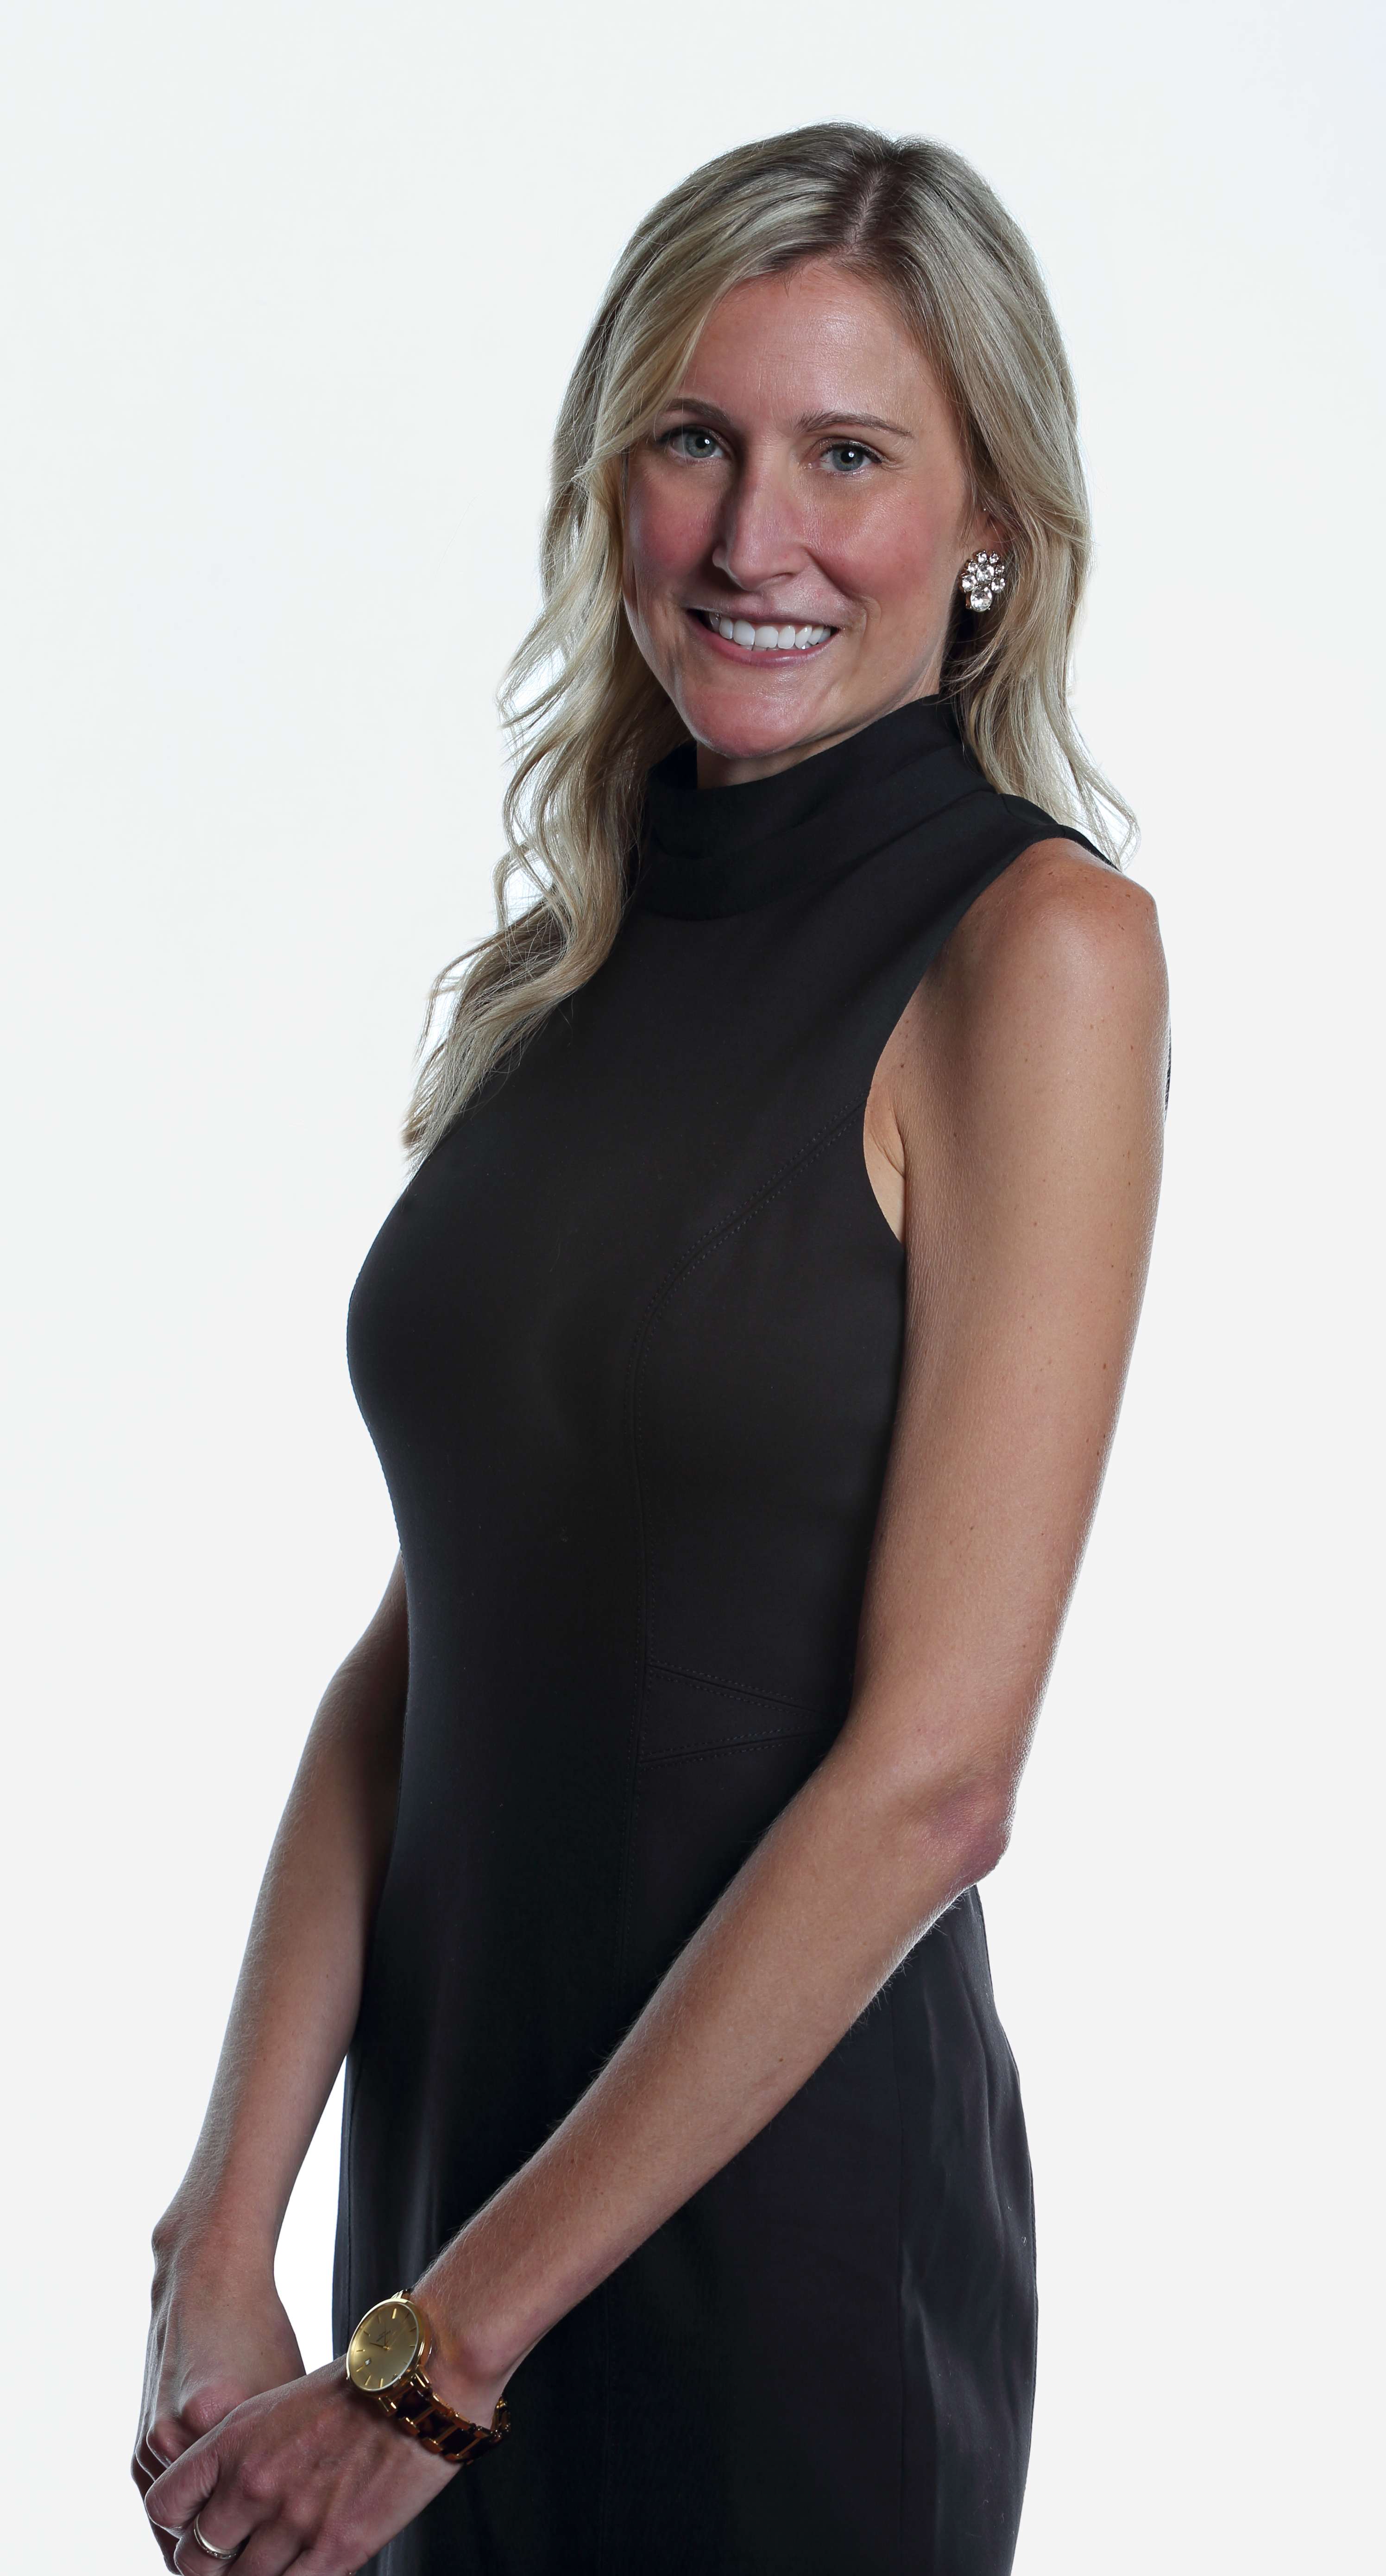
In the world of business, first impressions matter. And when it comes to making a lasting impression, a professional headshot can be your secret weapon. Whether it’s for your LinkedIn profile, company website, or promotional materials, a well-retouched headshot can convey confidence, professionalism, and approachability. At St. Louis Video Studio, we understand the importance of a polished image, and as experienced business photographers, we’re here to share some essential tips for retouching professional headshots.

Skin retouching is often the most crucial step in headshot retouching.

Why a Professional Headshot Matters

Before we dive into the nitty-gritty of retouching, let’s briefly discuss why having a professional headshot is so crucial in today’s business landscape.

  1. First Impressions: Your headshot is often the first thing potential clients, employers, or colleagues see. A professional headshot can leave a positive and memorable impression.
  2. Brand Image: Your headshot is a reflection of your personal and corporate brand. It conveys a sense of professionalism, trustworthiness, and attention to detail.
  3. Consistency: Using professionally retouched headshots across all your marketing materials ensures consistency in your brand image, making it easier for your audience to recognize and remember you.
  4. Engagement: Research has shown that profiles with professional headshots receive more engagement and connection requests on platforms like LinkedIn.

Now that we’ve established the importance of professional headshots, let’s delve into the art of retouching to make those headshots shine.

The Art of Retouching

1. Start with the Basics

Before diving into advanced retouching techniques, start with the basics. Ensure that the exposure, color balance, and sharpness of your headshot are on point. Use professional software like Adobe Photoshop or Lightroom to make these adjustments. Properly exposed and well-balanced photos provide a solid foundation for further enhancements.

2. Skin Retouching

Skin retouching is often the most crucial step in headshot retouching. Here’s how to do it effectively:

  • Blemish Removal: Use the healing brush or spot healing tool to eliminate minor blemishes, acne, or skin imperfections. Be cautious not to overdo it, as you want to maintain a natural appearance.
  • Skin Smoothing: The key to skin smoothing is subtlety. Use the frequency separation technique to separate texture and color. Then, use a soft brush to even out skin tones without losing skin texture completely.
  • Dodge and Burn: Use the dodge and burn tools to emphasize highlights and shadows, giving the skin a more three-dimensional look.

3. Eyes and Teeth

The eyes are the windows to the soul, and they should be the focus of your headshot. Here’s how to make them pop:

  • Whiten Teeth: Use the teeth whitening tool to brighten the subject’s smile. Keep it natural; overly white teeth can look unnatural.
  • Enhance Eyes: Use the dodge tool to brighten the whites of the eyes and enhance the iris’s color. Pay attention to removing any red-eye effect if present.

4. Hair Retouching

Hair is another crucial element of a headshot. Here’s how to make it look its best:

  • Flyaway Hair: Use the clone stamp or healing brush to remove stray hairs that may be distracting.
  • Hair Volume: To add volume to hair, use the dodge and burn tools selectively. Enhance the highlights and shadows to give hair a fuller look.

5. Clothing and Accessories

Pay attention to clothing and accessories, as they contribute to the overall impression:

  • Wrinkles: Use the clone stamp or healing brush to remove wrinkles or creases in clothing.
  • Jewelry and Accessories: Enhance the appearance of jewelry or accessories by adjusting highlights and shadows.

6. Background

Consider the background of your headshot. A clean and simple background often works best for professional headshots. Use the selection tools to isolate the subject and then apply changes to the background if necessary.

7. Color Grading

Color grading can help create a cohesive and visually appealing look for your headshot. Adjust the colors to match your brand or desired mood. Be subtle with color grading to maintain a natural appearance.

8. Save in the Right Format

When you’ve completed the retouching process, save your headshot in the appropriate format. JPEG is suitable for web use, while TIFF or PNG may be preferable for high-quality prints.

Customizing Headshot Images for Diverse Media

At St. Louis Video Studio, we understand that different media platforms and purposes require tailored headshot images. Our experienced team of photographers and retouchers can customize your headshots to meet the specific requirements of various media types. Whether you need headshots for your website, social media profiles, business cards, or printed materials, we’ve got you covered.

Repurposing Your Branding Images

In today’s fast-paced digital world, repurposing your branding images can help you gain more traction and extend the lifespan of your content. At St. Louis Video Studio, we are well-versed in all file types and styles of media, as well as the accompanying software necessary for repurposing. We can assist you in repurposing your headshots for different marketing campaigns, presentations, and social media posts, ensuring that your brand message reaches a wider audience.

St. Louis Video Studio: Your Trusted Partner in Professional Headshots

In conclusion, a professional headshot is a powerful tool for making a strong first impression in the business world. However, achieving the perfect headshot often requires expert retouching skills. Whether you’re a corporate professional, entrepreneur, or job seeker, having a polished headshot can make a significant difference in how you are perceived.

At St. Louis Video Studio, we have the expertise, experience, and state-of-the-art equipment needed to create stunning headshots that align with your brand and convey professionalism. Our full-service approach means we can handle every aspect of your headshot, from the initial photoshoot to retouching and customization for diverse media needs.

As a full-service photographer, St. Louis Video Studio has worked with many businesses and agencies in the St. Louis area for their corporate photography and video. Trust us to deliver exceptional headshots that will elevate your professional image and leave a lasting impression. Contact us today to schedule your headshot session and experience the difference our expertise can make.

Contact St. Louis Video Studio for all your professional headshot needs, and let us help you shine in the business world.

314-913-5626

stlouisvideostudio@gmail.com

Unknown's avatar

Mastering the Art of Speaking on Camera with Teleprompters

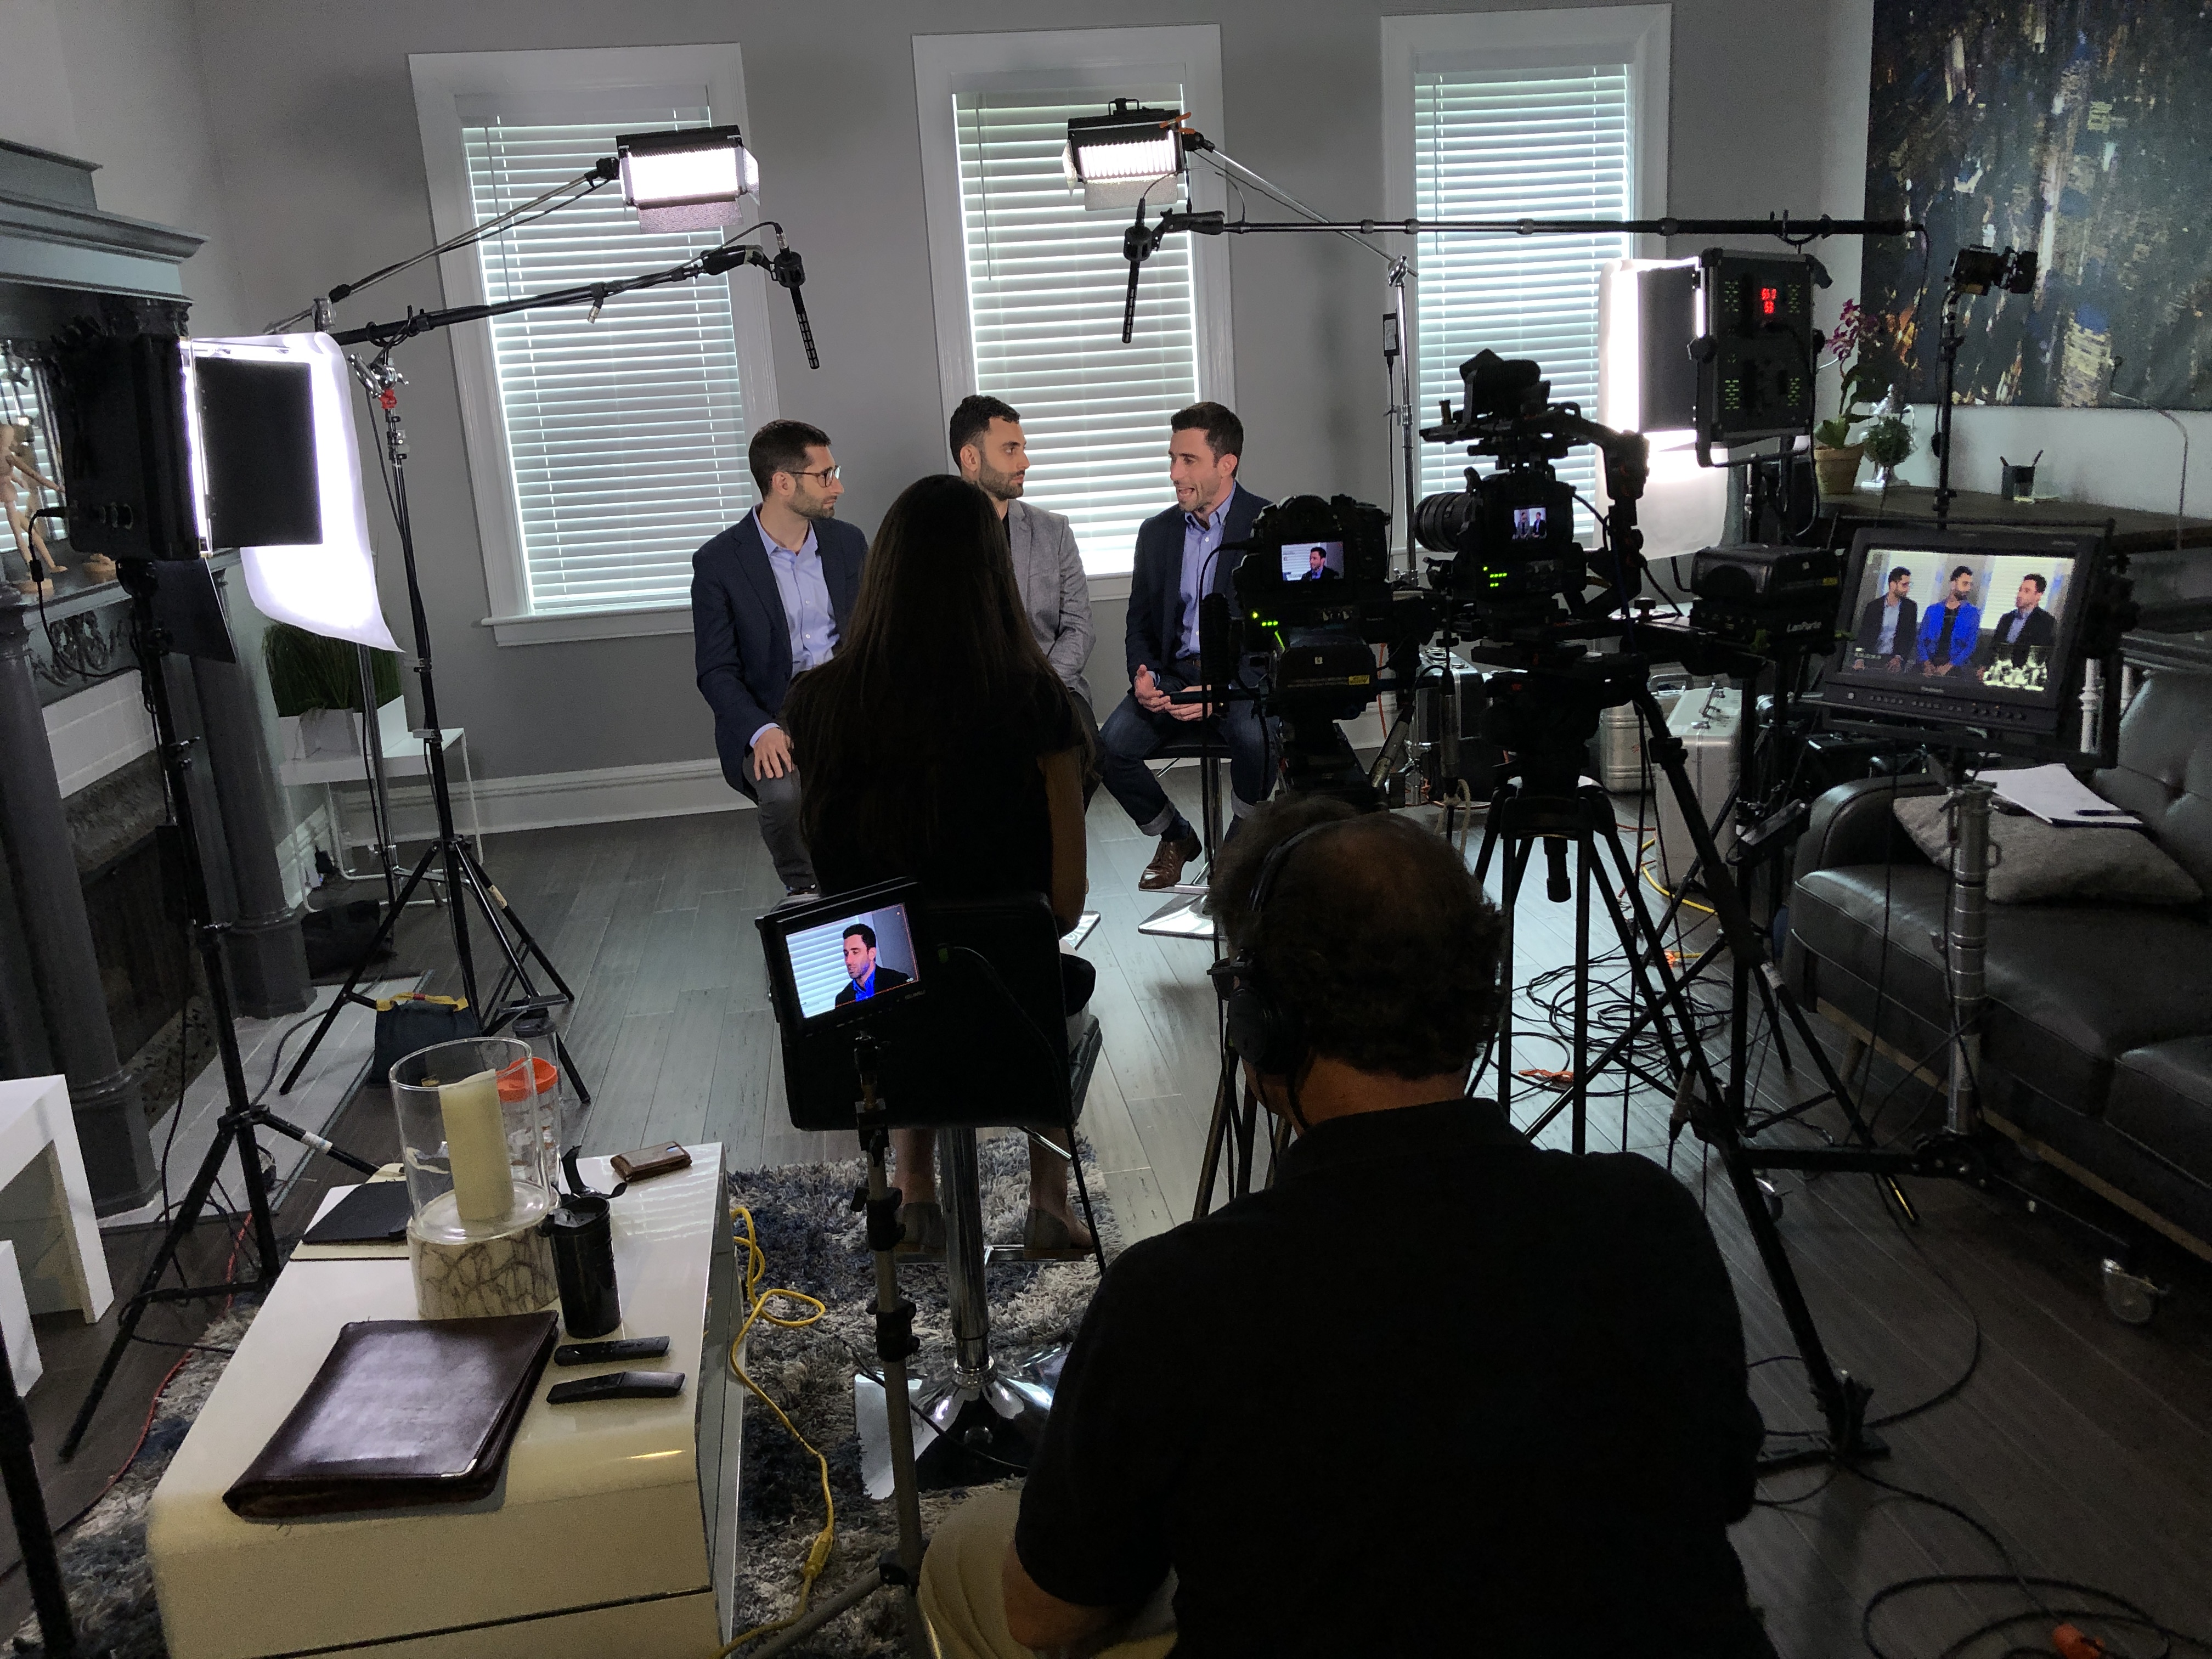
In the world of videography, the ability to speak confidently and smoothly on camera is a skill that can make or break a production. Whether you’re filming a corporate interview, a promotional video, or a documentary, delivering your message effectively is paramount. One tool that can greatly assist in this endeavor is the teleprompter. In this comprehensive guide, we will delve into the art of speaking on camera with teleprompters, covering everything from setup and usage to tips and tricks for a natural and engaging delivery.

To appear more authentic, incorporate natural hand gestures and facial expressions while speaking.

What is a Teleprompter?

A teleprompter, short for “television prompter,” is a device used to display a script or text for a presenter or speaker to read while looking directly into the camera lens. It consists of a transparent glass or acrylic screen that is mounted in front of the camera lens, with a screen positioned at the base of the teleprompter. The text is displayed on this screen in a mirrored format, making it appear normal when reflected onto the glass in front of the camera. This allows the speaker to maintain eye contact with the audience while reading the script.

Teleprompters are widely used in various media productions, including news broadcasts, talk shows, and video marketing content, to ensure that the speaker can deliver their lines smoothly and confidently.

The Benefits of Using a Teleprompter

Using a teleprompter offers several advantages, especially for individuals who may not have extensive experience speaking on camera. Here are some key benefits:

1. Improved Script Delivery

One of the primary advantages of using a teleprompter is that it helps ensure the speaker delivers the script exactly as intended. This can be crucial when conveying important information, maintaining a consistent tone, or sticking to a specific time frame.

2. Enhanced Eye Contact

Maintaining eye contact with the camera is essential for connecting with your audience. Teleprompters enable speakers to read their lines while appearing to look directly at the viewers, creating a more engaging and personal connection.

3. Reduced Memorization Stress

For those who struggle with memorizing lengthy scripts, a teleprompter can alleviate the pressure. Instead of relying on memory, speakers can focus on delivering their lines naturally and confidently.

4. Greater Efficiency

Teleprompters can significantly speed up the production process. With the script displayed in front of them, speakers can read their lines more quickly and reduce the number of retakes, saving time and resources.

5. Professional Appearance

Using a teleprompter can elevate the overall production quality and make your videos appear more polished and professional.

Setting Up a Teleprompter

Now that we’ve covered the benefits of using a teleprompter, let’s dive into the process of setting one up for your video shoot.

1. Choose the Right Teleprompter

There are various teleprompter models available, ranging from portable options for on-location shoots to larger studio setups. Consider your specific needs and budget when selecting the right teleprompter for your project.

2. Mounting the Teleprompter

Position the teleprompter in front of the camera lens. It should be at eye level or slightly above the camera, ensuring the text is aligned with the lens. Use a sturdy tripod or mount to secure the teleprompter in place.

3. Adjusting Font Size and Speed

Most teleprompter software allows you to customize the font size and scrolling speed of the text. Adjust these settings to suit the speaker’s reading pace and comfort.

4. Calibrating the Reflection

Ensure that the text on the teleprompter screen is reflected correctly onto the glass or acrylic panel. The text should be easy to read and not distorted.

5. Rehearse with the Teleprompter

Before the actual shoot, have the speaker practice reading from the teleprompter. This will help them become comfortable with the device and ensure a more natural delivery.

Tips for Speaking Effectively with a Teleprompter

While using a teleprompter can make script delivery smoother, it still requires some practice and technique to appear natural and engaging. Here are some tips for mastering the art of speaking on camera with a teleprompter:

1. Focus on Pacing

Pay attention to the speed at which you read the text. Avoid rushing through it or speaking too slowly. Practice maintaining a steady pace that matches the tone of your message.

2. Use Natural Gestures

To appear more authentic, incorporate natural hand gestures and facial expressions while speaking. Avoid rigid or robotic movements, which can make you seem disconnected from the content.

3. Emphasize Key Points

Even when using a teleprompter, it’s essential to emphasize key points and convey enthusiasm or conviction when appropriate. Adjust your tone and delivery to match the content.

4. Maintain Eye Contact

While it’s tempting to focus solely on the teleprompter, make a conscious effort to connect with the camera lens. This creates a sense of engagement with your audience.

5. Practice, Practice, Practice

The more you practice with a teleprompter, the more comfortable and proficient you will become. Consider rehearsing with different scripts to improve your versatility.

Common Challenges and How to Overcome Them

Using a teleprompter may seem straightforward, but like any skill, it comes with its own set of challenges. Here are some common issues and strategies to address them:

1. Appearing Stiff

Some speakers may appear stiff or unnatural when using a teleprompter. To overcome this, practice relaxation techniques and focus on maintaining a relaxed posture.

2. Losing Your Place

It’s not uncommon for speakers to lose their place on the teleprompter screen. To avoid this, use a pointer or your finger to follow along as you read. This can help you stay on track.

3. Over-Reliance on the Teleprompter

While a teleprompter is a valuable tool, it’s essential not to become overly dependent on it. Familiarize yourself with the content beforehand so that you can speak confidently even if the teleprompter fails.

4. Technical Issues

Teleprompters can sometimes experience technical glitches. Have a backup plan in place, such as printed cue cards or a memorized version of the script, just in case.

Teleprompter Software and Apps

In addition to the physical teleprompter hardware, there is a wide range of teleprompter software and apps available for various devices and platforms. These tools offer additional features and flexibility for teleprompter users. Here are a few popular options:

  • Teleprompter Pro: A versatile teleprompter app available for iOS and Android devices. It offers customizable text settings, remote control options, and mirroring capabilities.
  • ProPrompter: A professional teleprompter software used by many broadcasters and production companies. It offers advanced features such as script editing, live script updates, and compatibility with external controllers.
  • CuePrompter: A free web-based teleprompter tool that is simple to use. It allows you to import and edit scripts, control scrolling speed, and offers a clean and user-friendly interface.
  • PromptSmart: A teleprompter app for iOS devices that uses voice recognition to scroll the script automatically. It also provides adjustable scrolling speed and customizable fonts.

Conclusion

Mastering the art of speaking on camera with teleprompters can significantly enhance the quality of your video productions. By using this valuable tool effectively, you can ensure that your message is delivered smoothly, maintain eye contact with your audience, and project a professional image.

As a full-service photo and video creation company, St Louis Video Studio has worked with many businesses in the St. Louis area to create impactful communication and branding productions. We specialize in business video either on location or in our studio. We have experienced videographers and photographers to cover any project that you might have. If you’re looking to take your video production to the next level and want to explore the possibilities of using teleprompters, don’t hesitate to reach out to us. Our extensive equipment and broad crew experience ensure that we can help you create memorable videos that get results. Contact us today to discuss your video needs and how we can assist you in achieving your communication goals.

314-913-5626

stlouisvideostudio@gmail.com