As decision-makers in photography, marketing, and video production, you are constantly seeking innovative tools to gain a competitive edge and make more informed strategic choices. In today’s data-driven landscape, advanced drone technology, specifically equipped with LIDAR and Thermal imaging sensors, has emerged as a game-changer across numerous industries, providing unparalleled visual and structural information.
LIDAR Drones: Creating Precise 3D Worlds
LIDAR, an acronym for Light Detection and Ranging, uses rapid laser pulses to map the environment in three dimensions. While conventional aerial photography captures a visual representation, LIDAR creates a dense “point cloud” that accurately measures distances and shapes. For businesses, this translates to incredibly precise topographic maps, detailed 3D models of infrastructure, and accurate volumetric calculations for stockpiles or construction materials.
Imagine being able to survey vast or challenging terrains in a fraction of the time and cost compared to traditional ground methods. LIDAR can penetrate vegetation, revealing the true ground surface, which is invaluable for pre-construction planning, flood modeling, and forestry management. For infrastructure maintenance, LIDAR scans can detect subtle structural changes over time, allowing for proactive repairs and enhanced safety protocols.


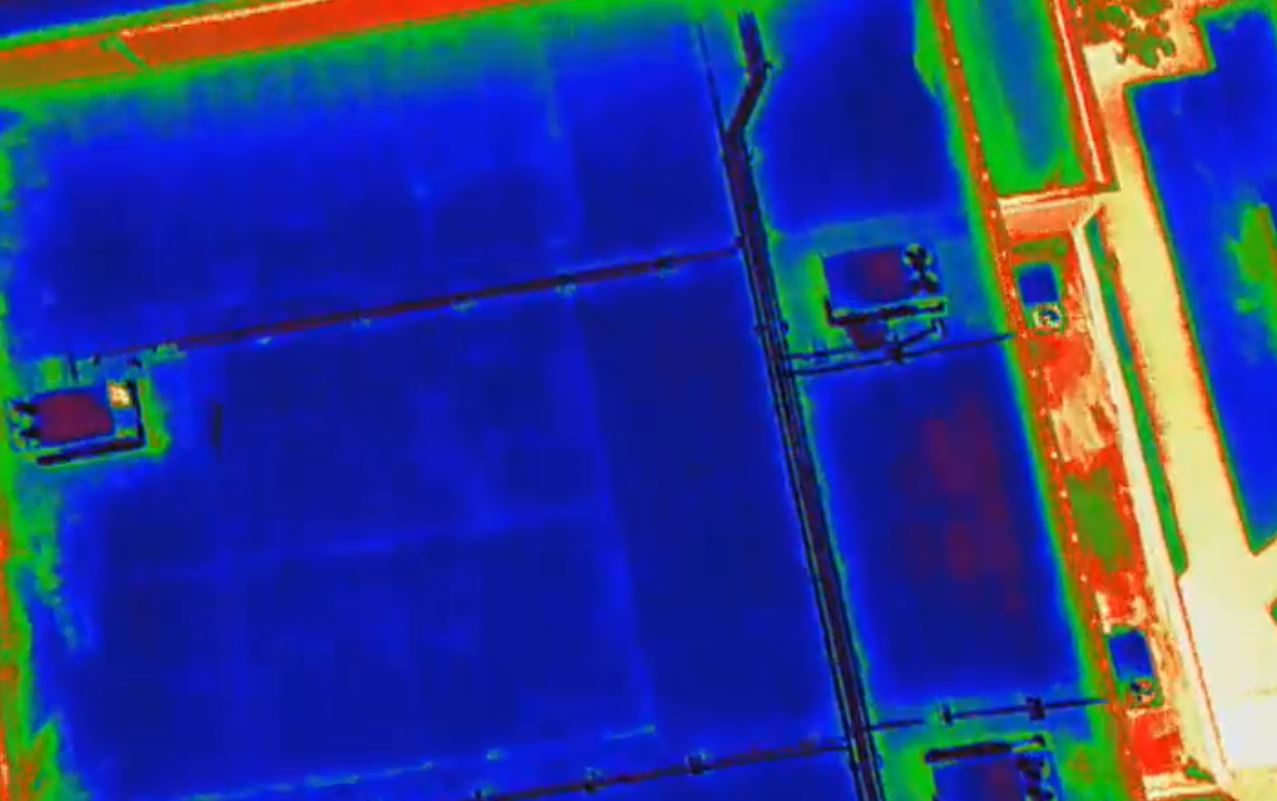
Thermal Imaging Drones: Seeing Heat Signatures
Complementing LIDAR’s structural data, thermal imaging sensors on drones detect heat radiation, not just visible light. This technology visualizes temperature variations across surfaces, revealing hidden issues invisible to the naked eye. Businesses use thermal drones for energy audits, identifying insulation voids, moisture penetration in roofing, or heat loss from buildings.
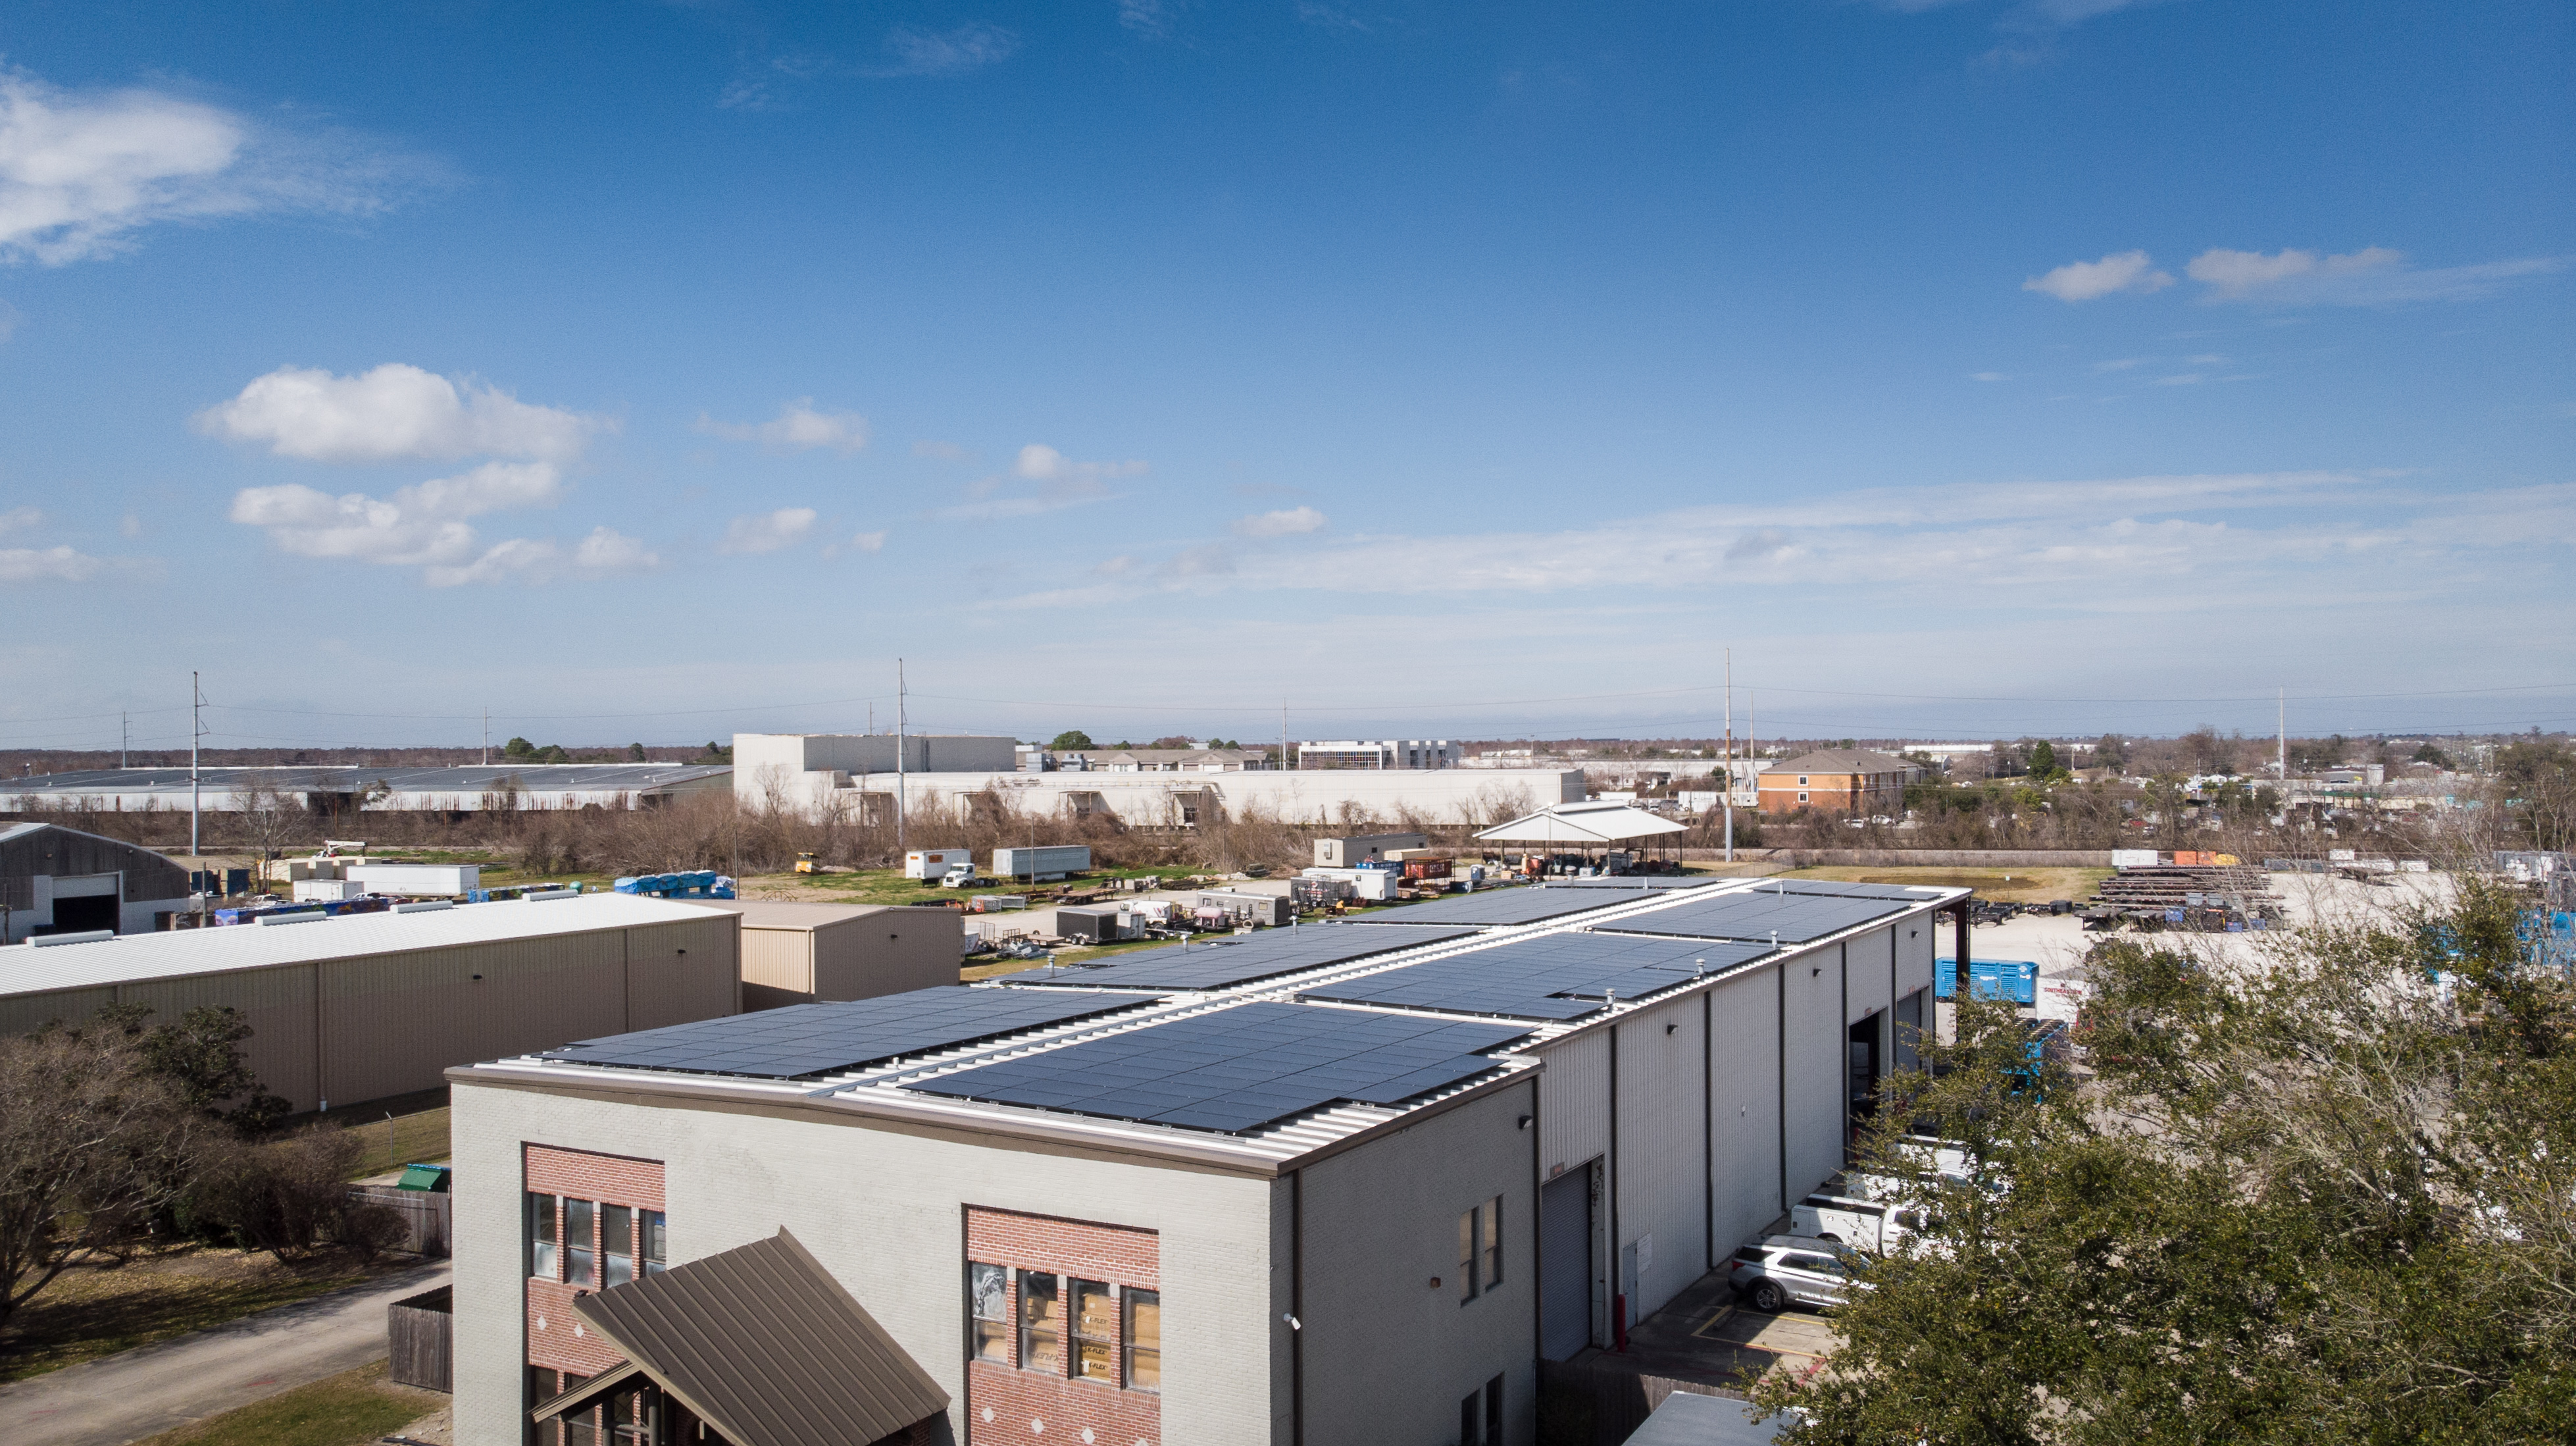
In industrial settings, thermal inspections can pinpoint overheating electrical components, leaking pipelines, or failing mechanical systems, preventing costly downtime and potential hazards. Thermal drones are also critical for solar panel maintenance, quickly identifying malfunctioning cells. Beyond inspections, they enhance security operations and search and rescue efforts by detecting heat signatures in diverse environments.

Integrating Data for Actionable Insights
The true power lies in the synergistic use of LIDAR and thermal data. Imagine overlaying thermal temperature information onto a precise 3D model generated by LIDAR. This comprehensive perspective enables you to not only visualize the structure but also immediately understand its thermal characteristics. This combined data empowers decision-makers to optimize energy usage, prioritize maintenance, ensure safety compliance, and streamline operations with unprecedented clarity.
St. Louis Video Studio: Your Expert Partner for Advanced Drone Solutions
Unlocking these sophisticated insights requires more than just advanced technology; it demands a seasoned partner with deep expertise, the right equipment, and a creative, capable crew. As a long-standing fixture in the St. Louis production community since 1982, St. Louis Video Studio has evolved alongside technology, positioning itself as a premier full-service professional commercial photography and video production company.

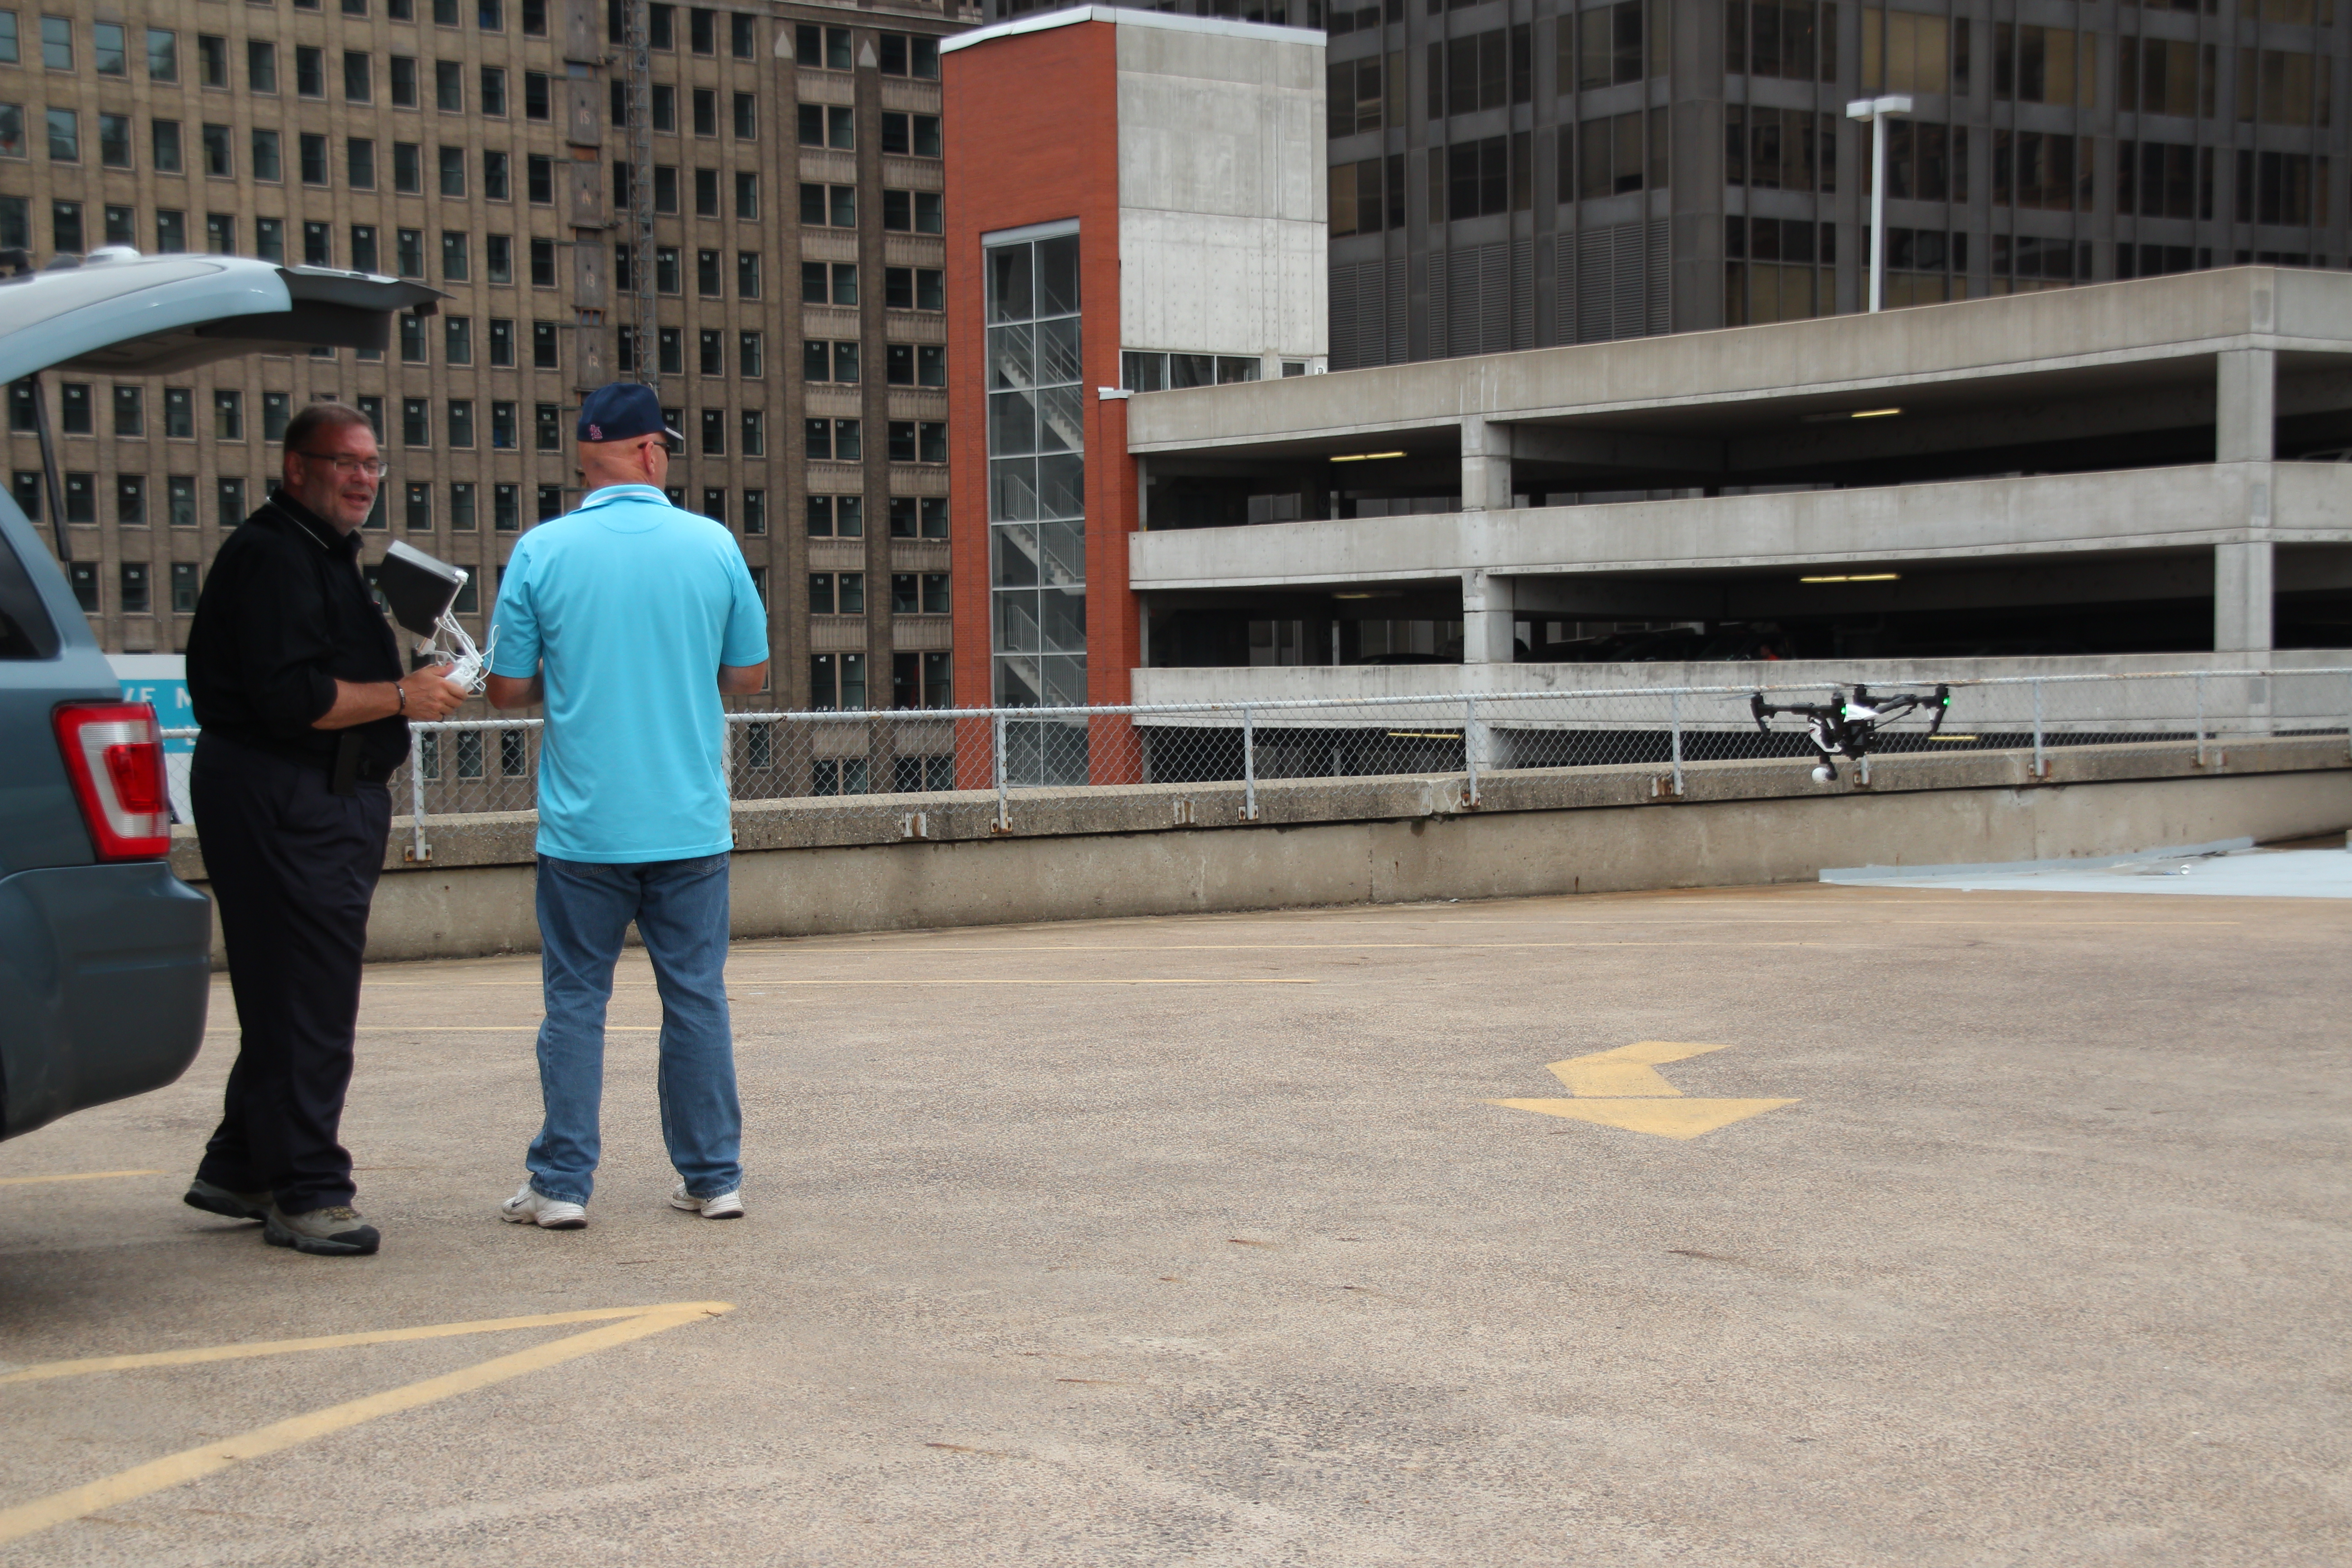
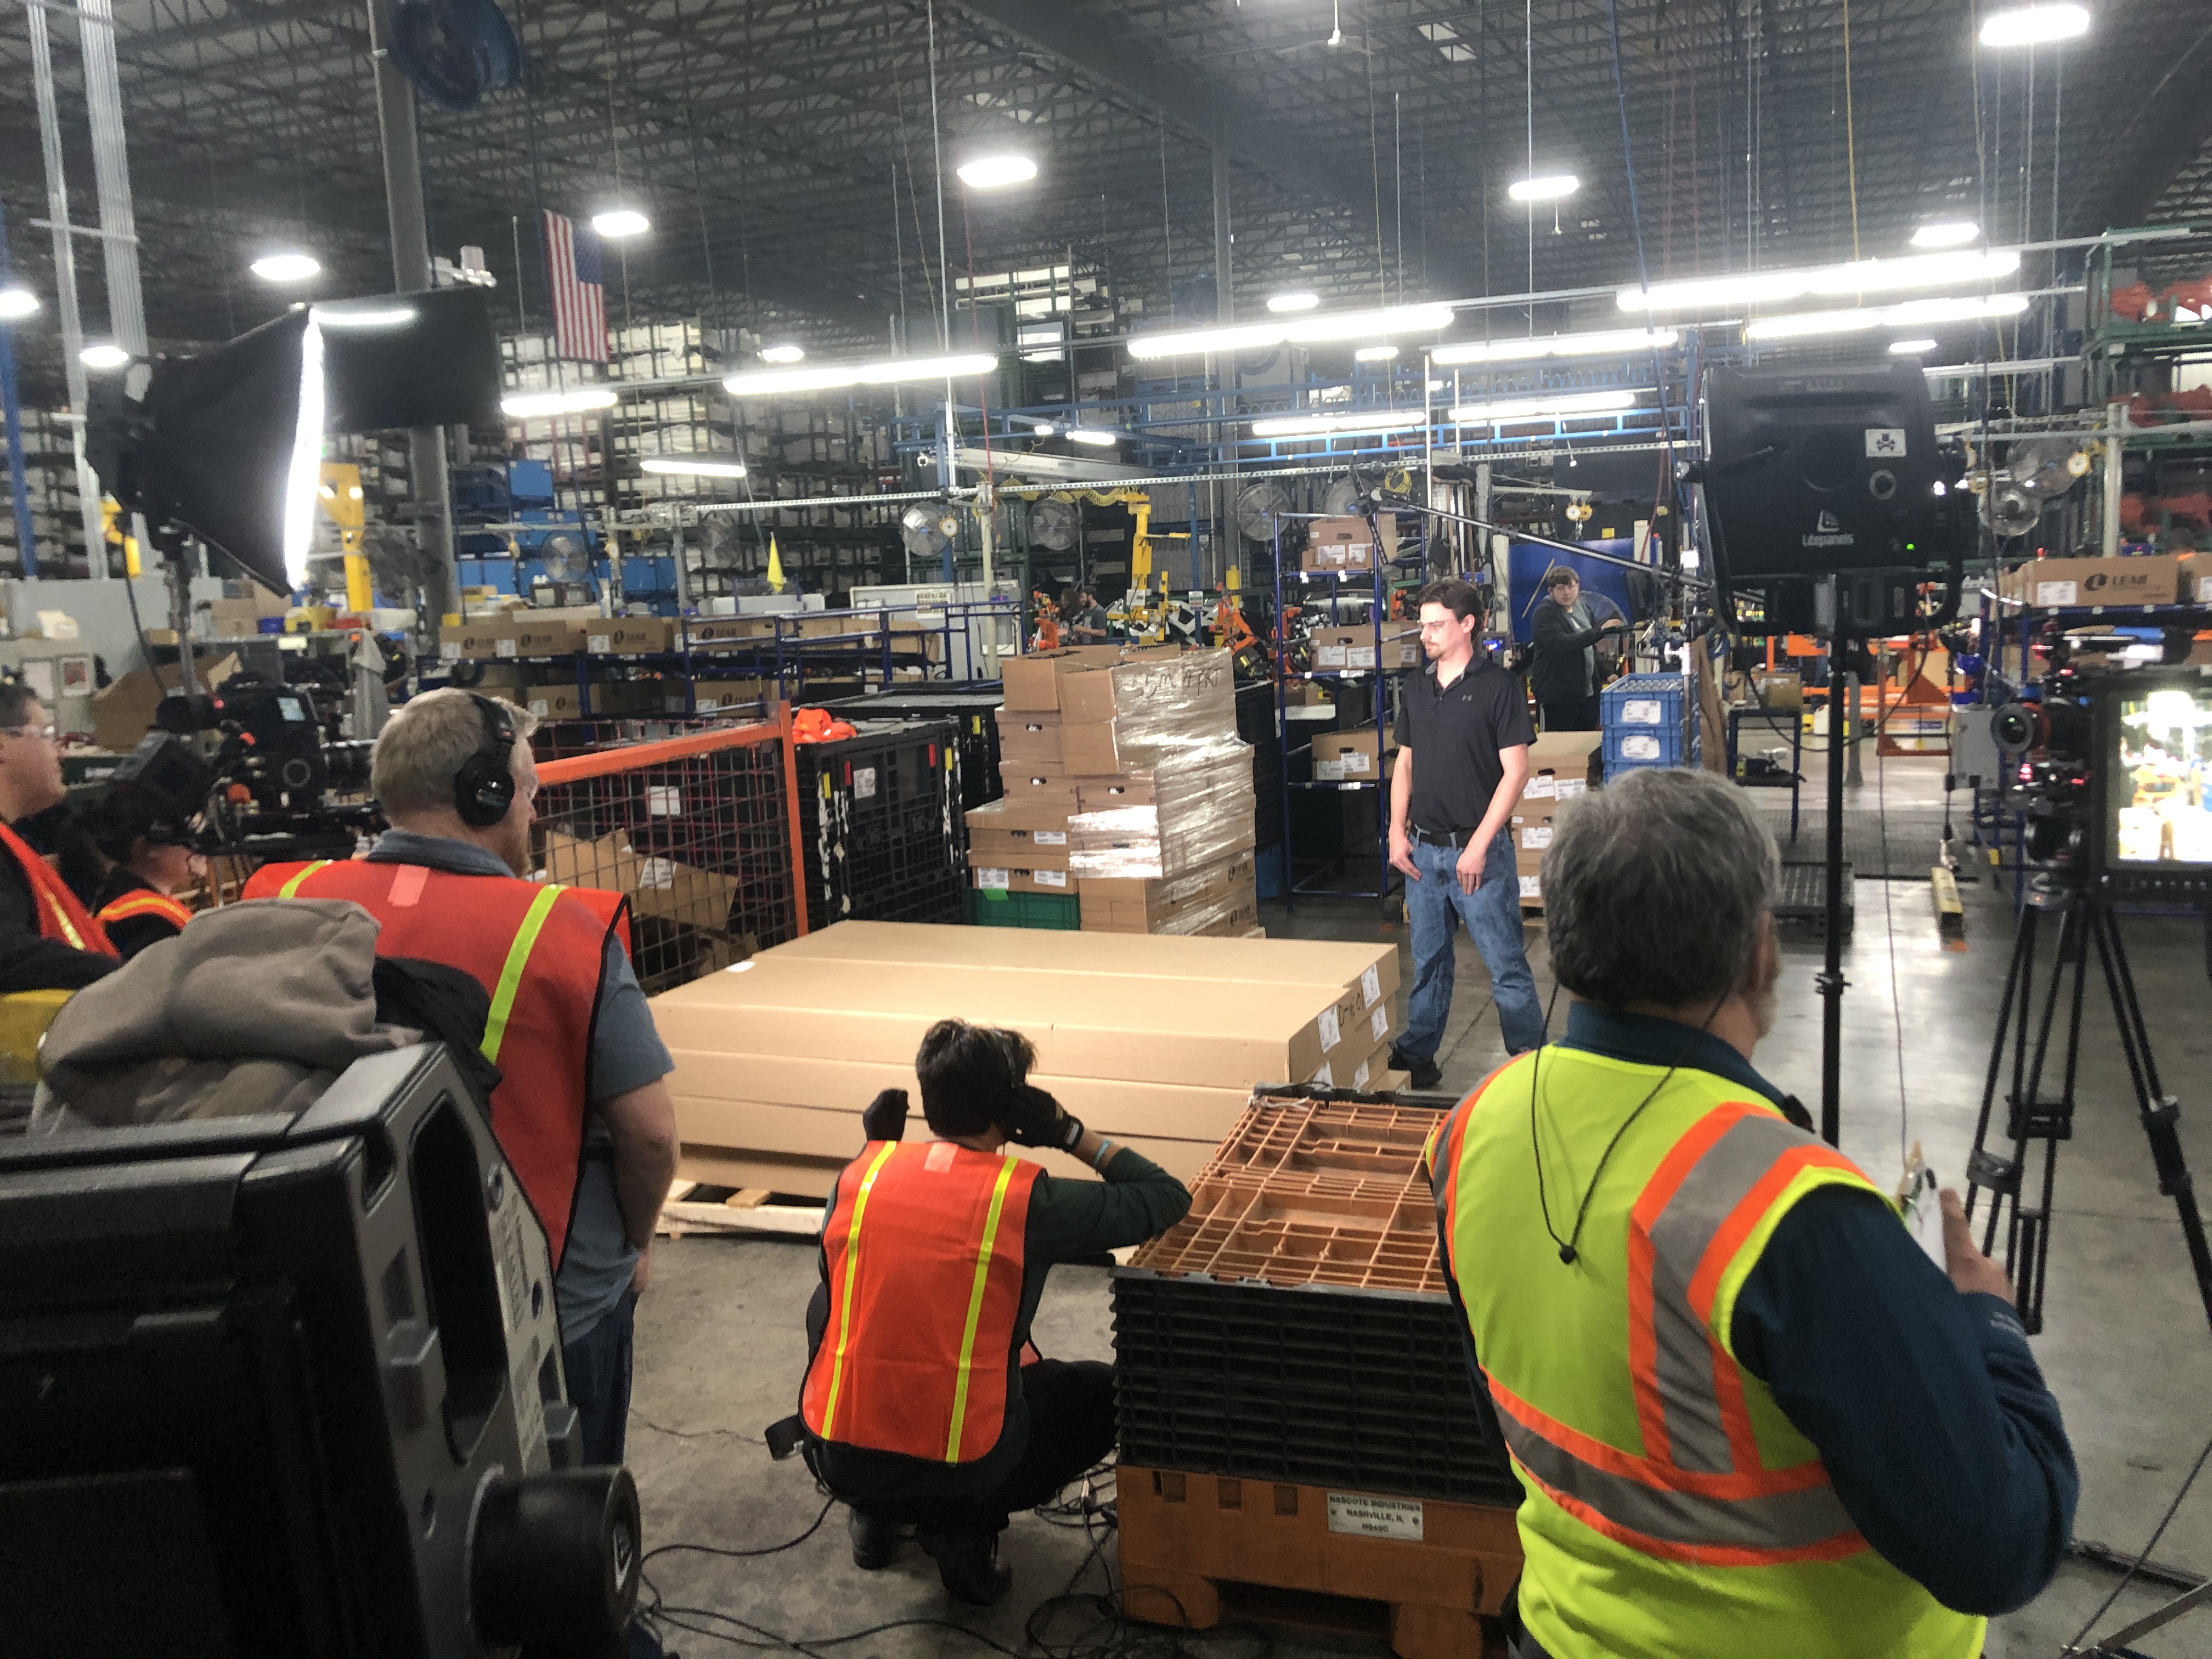
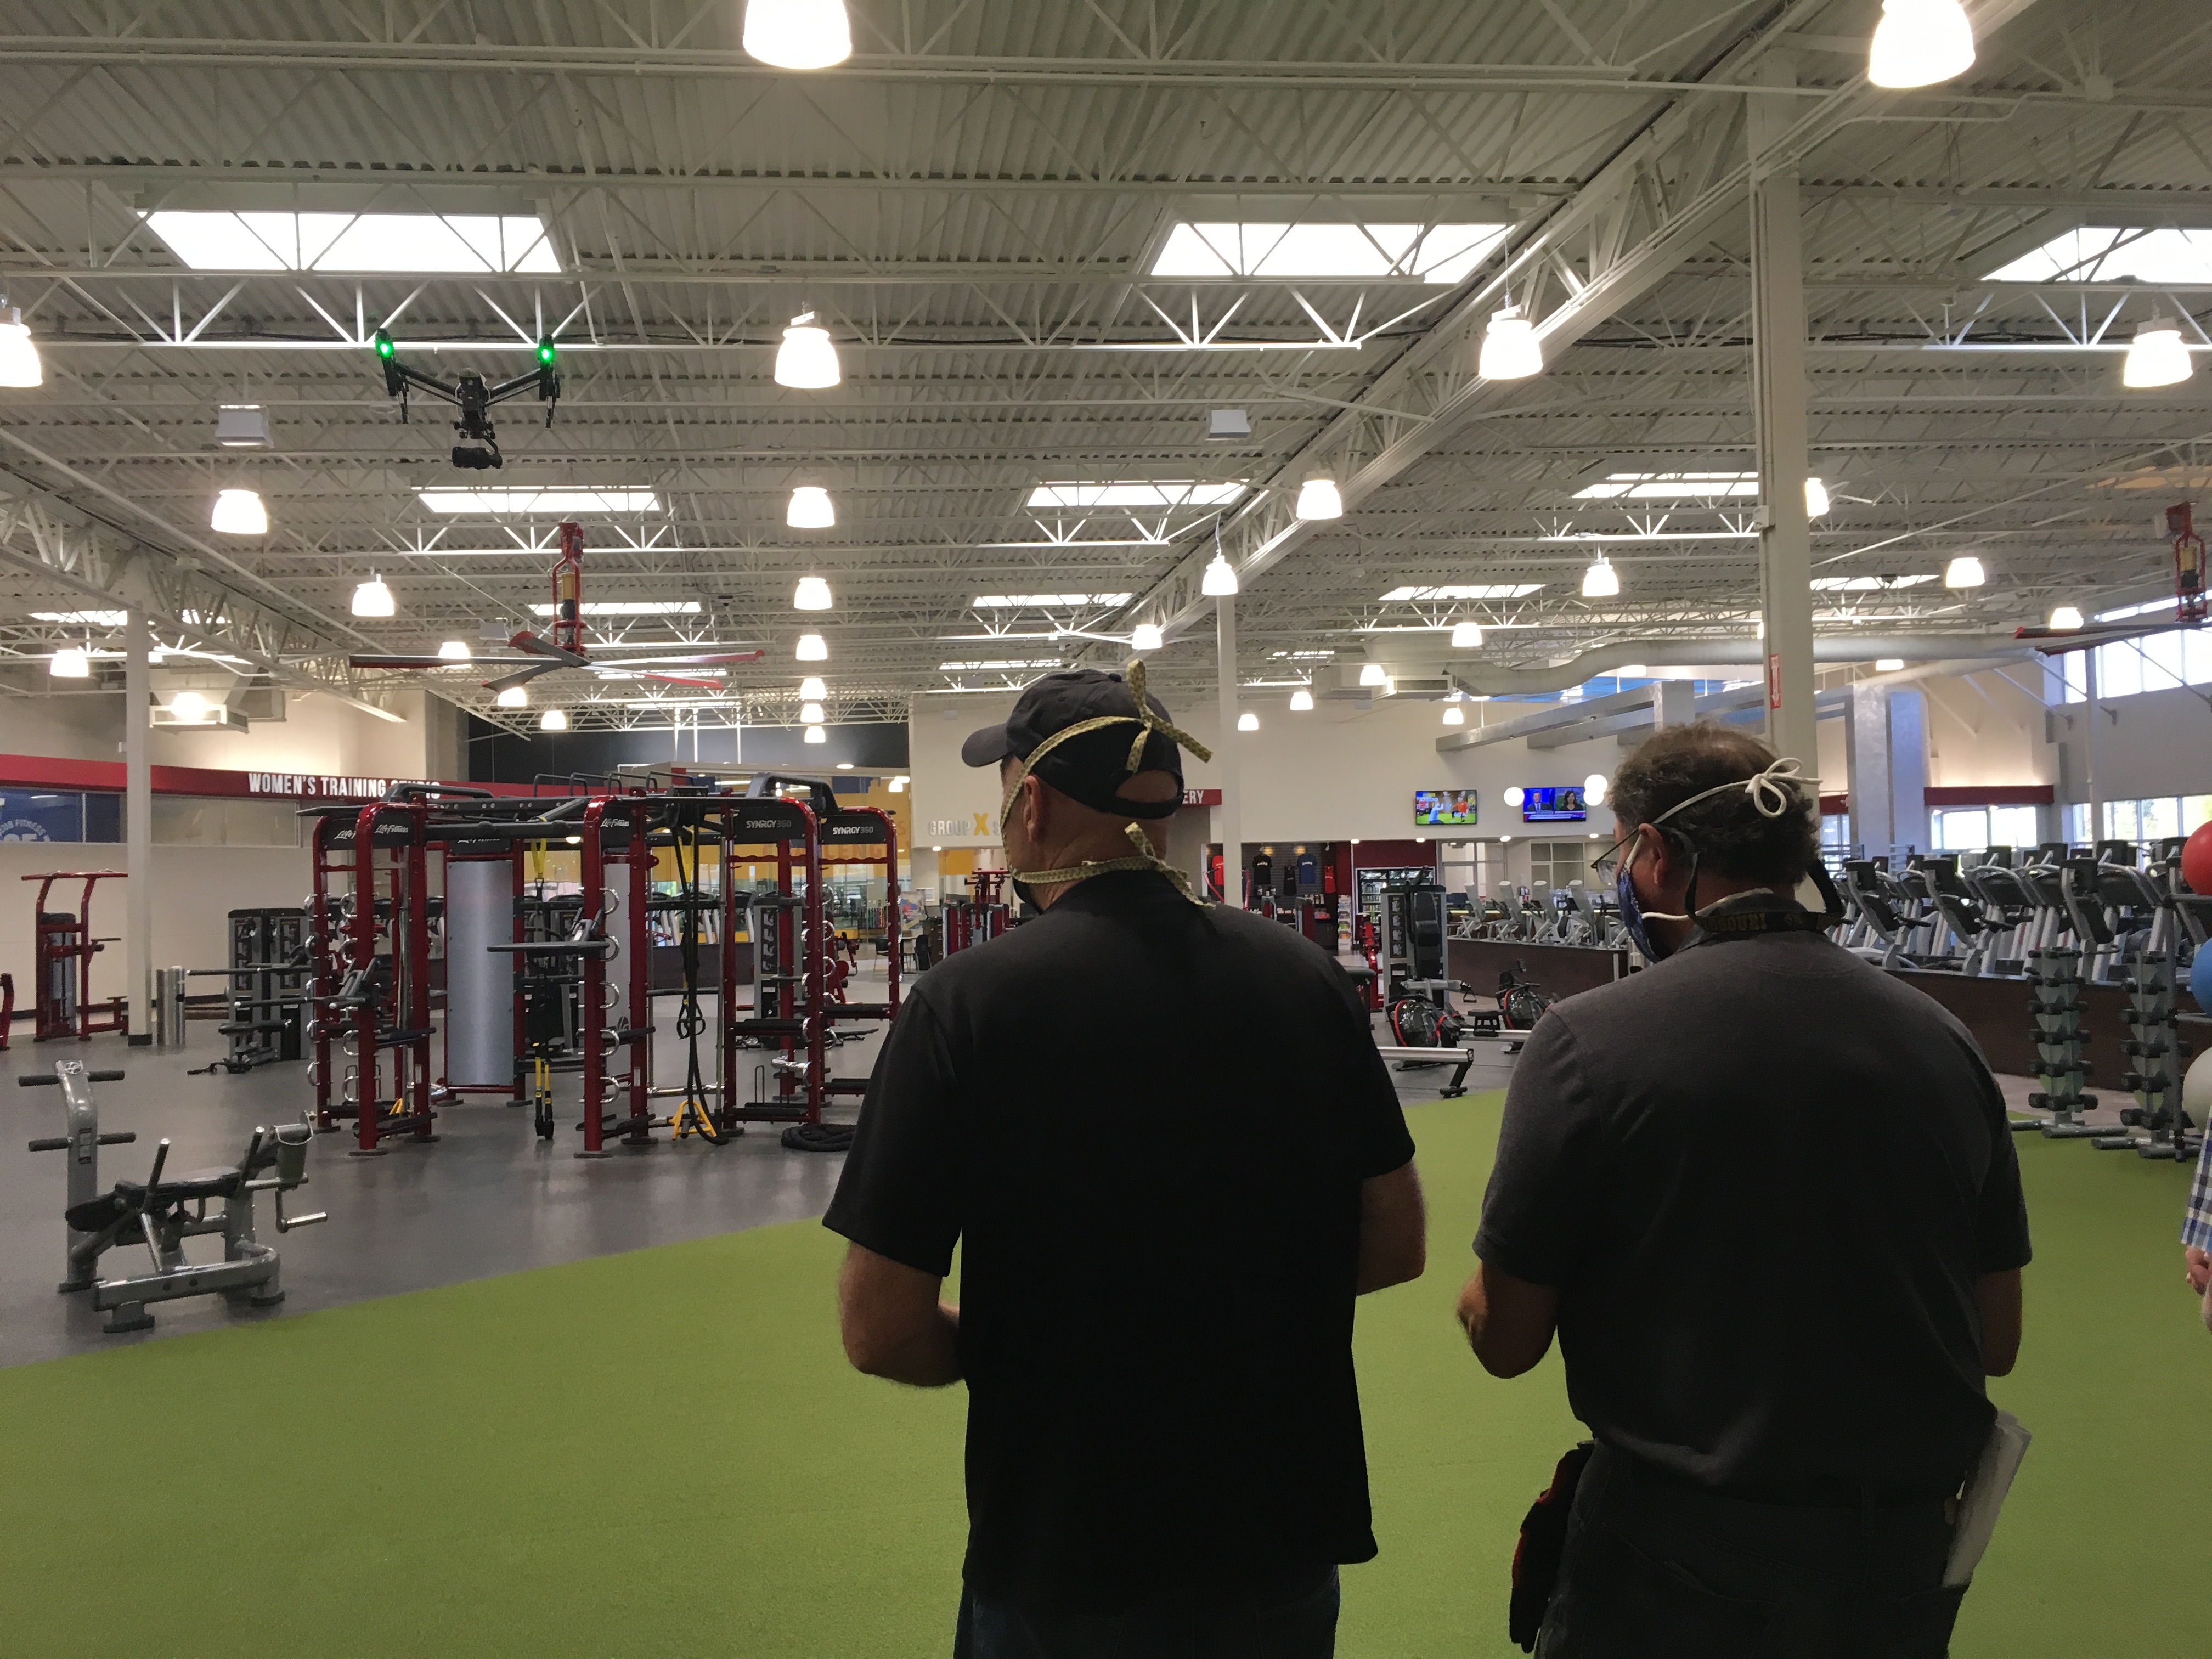
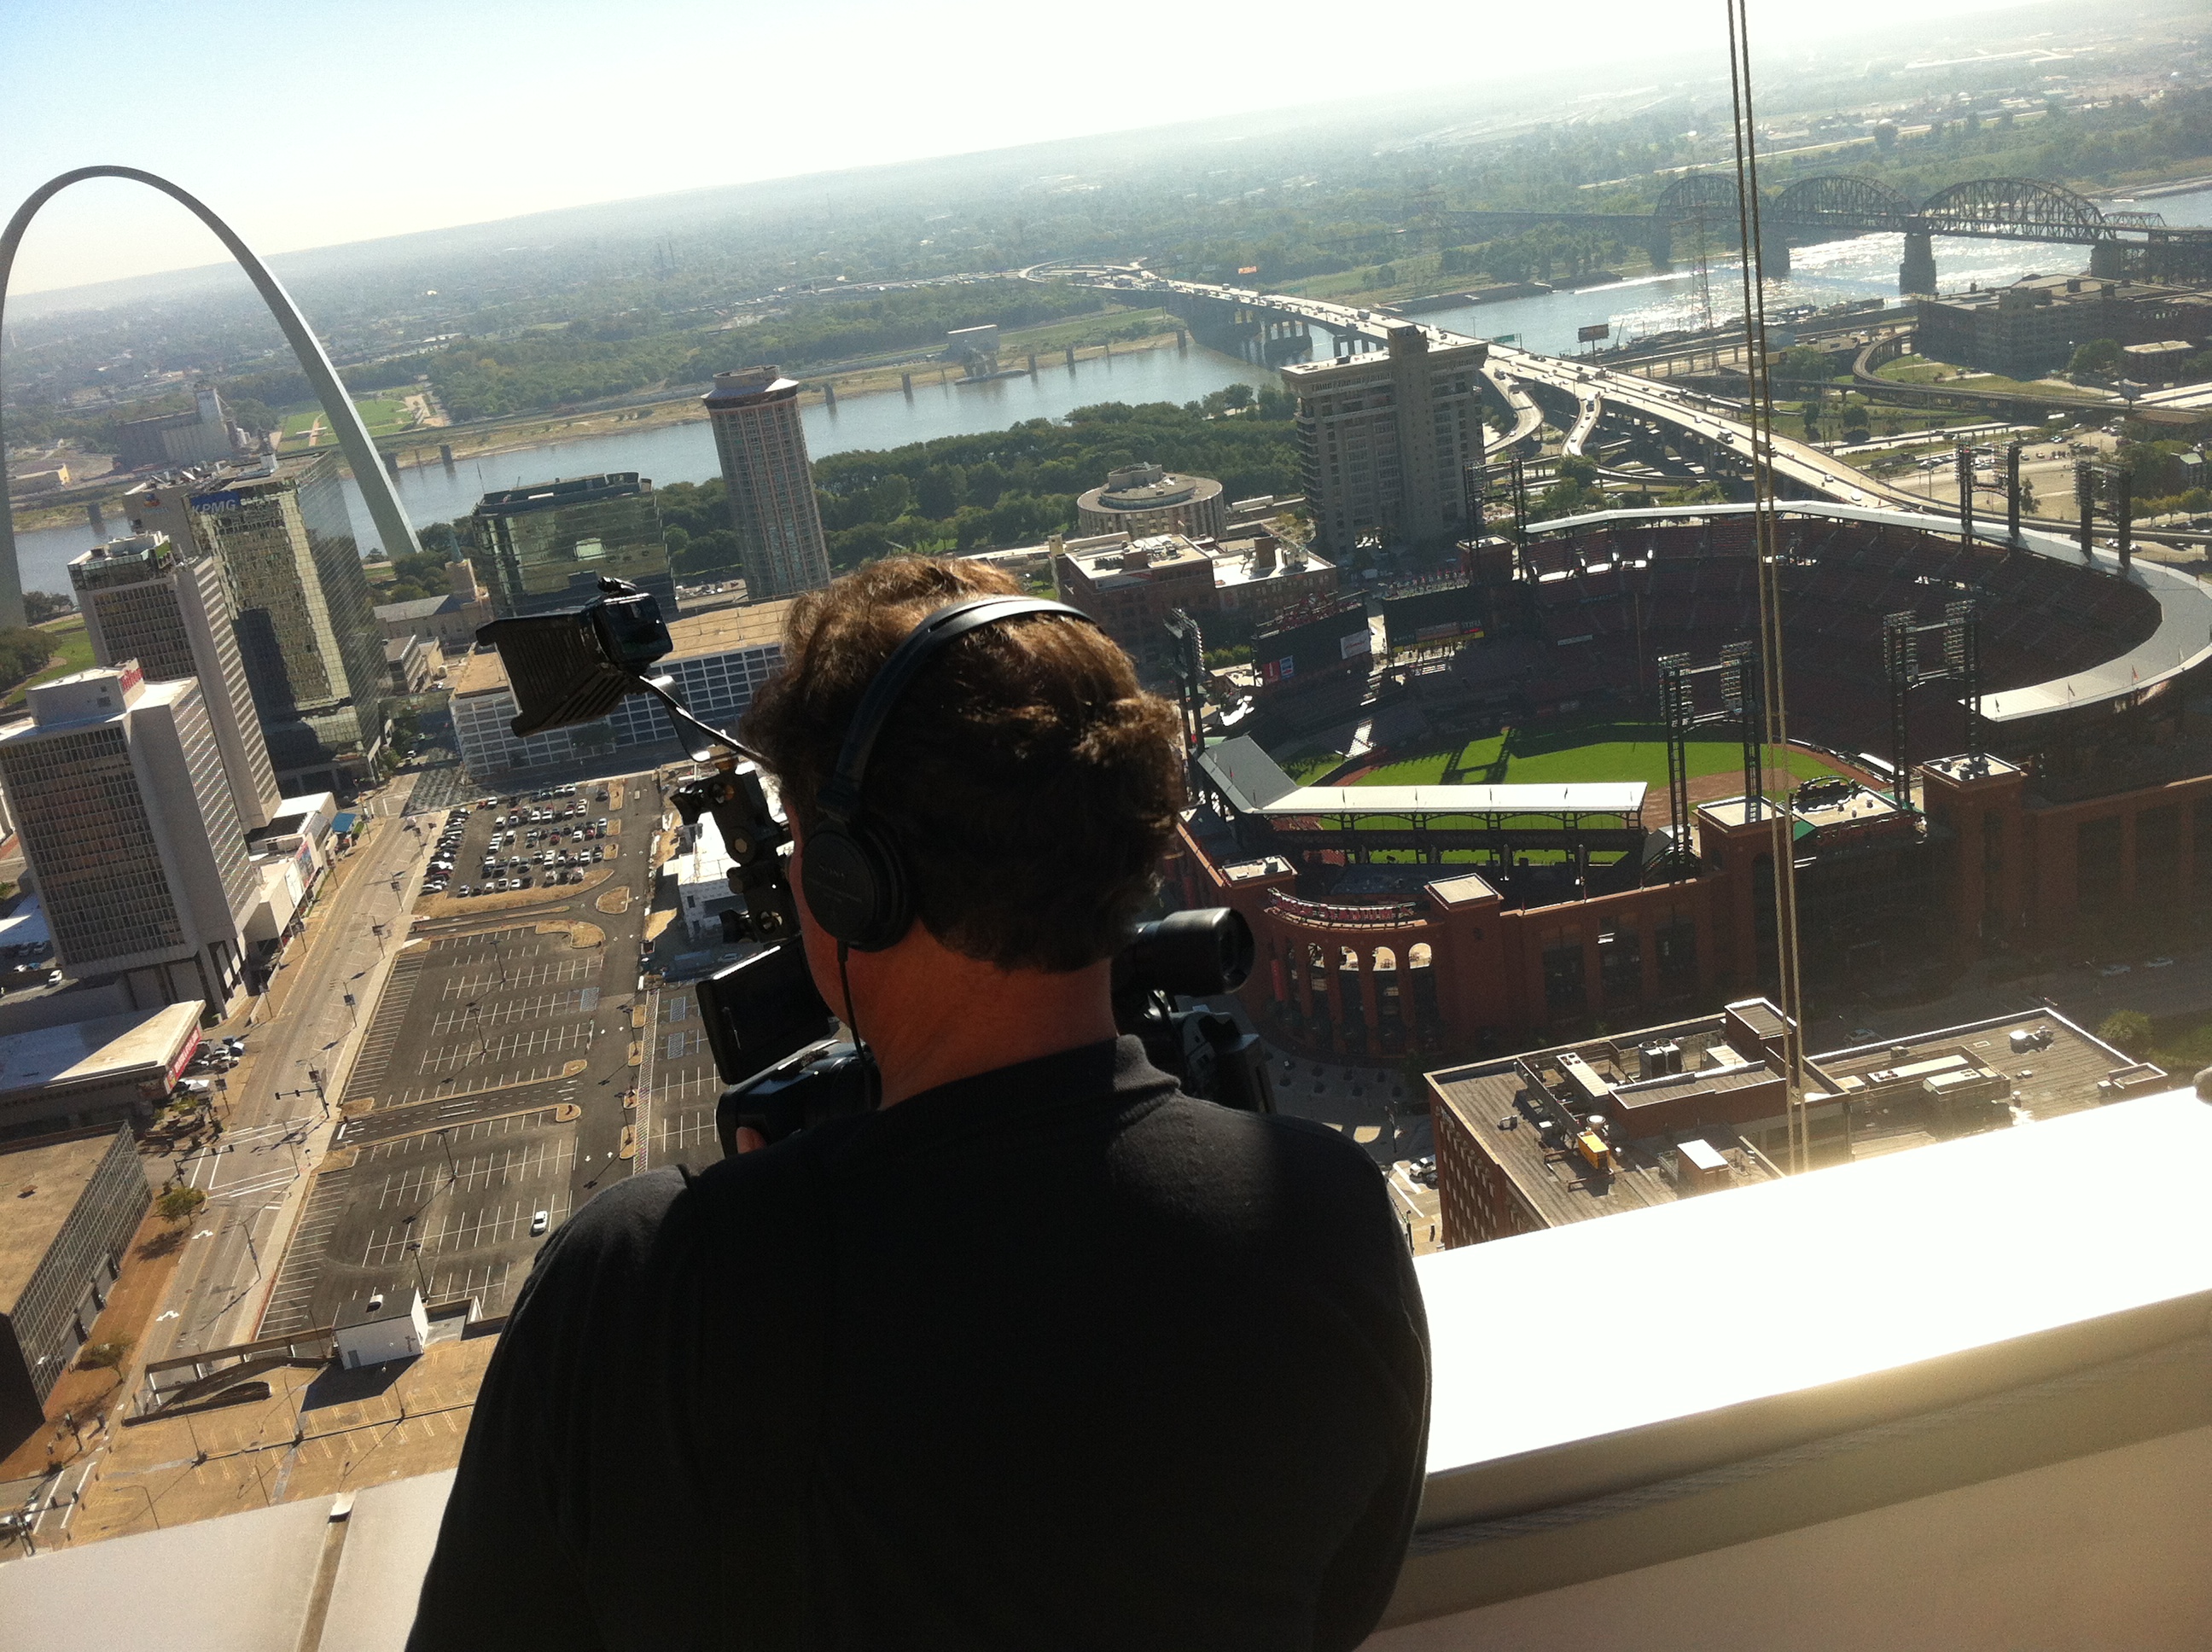
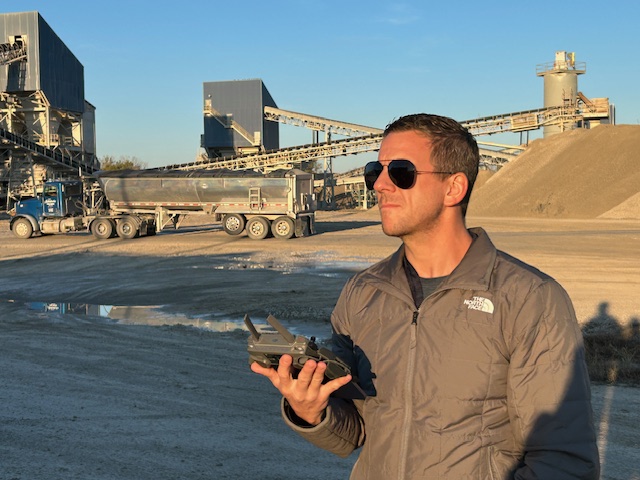
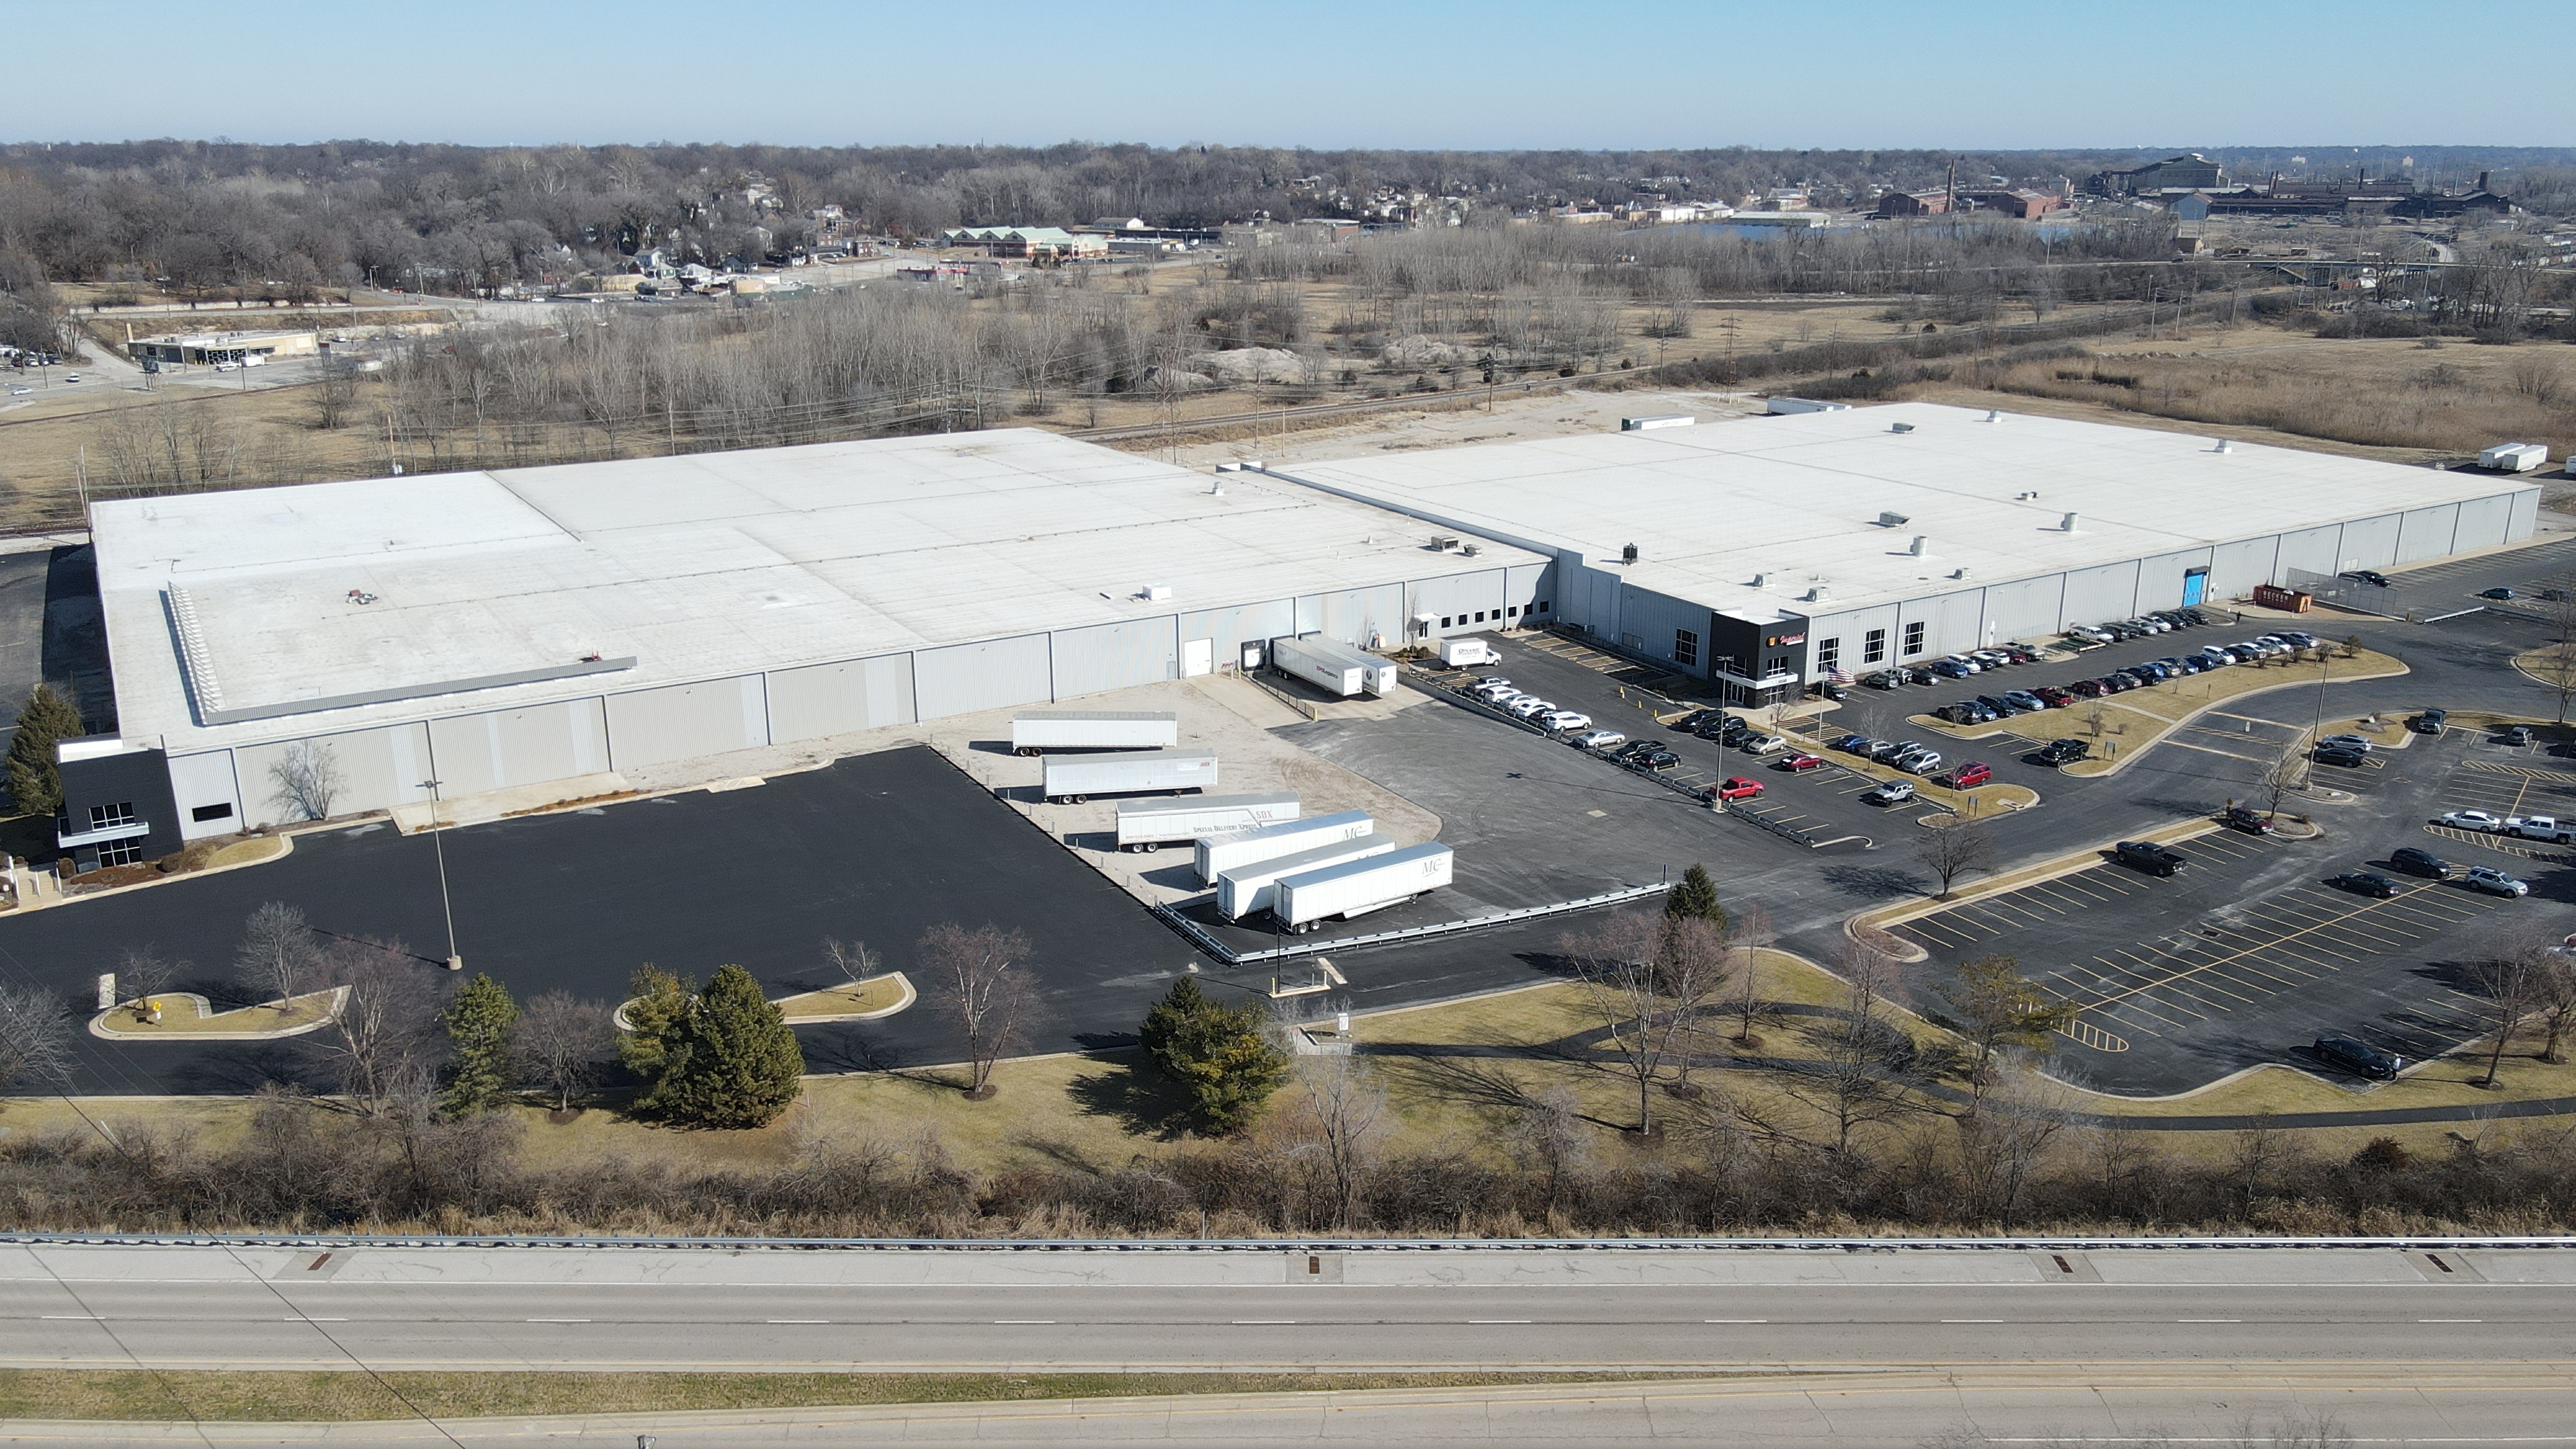
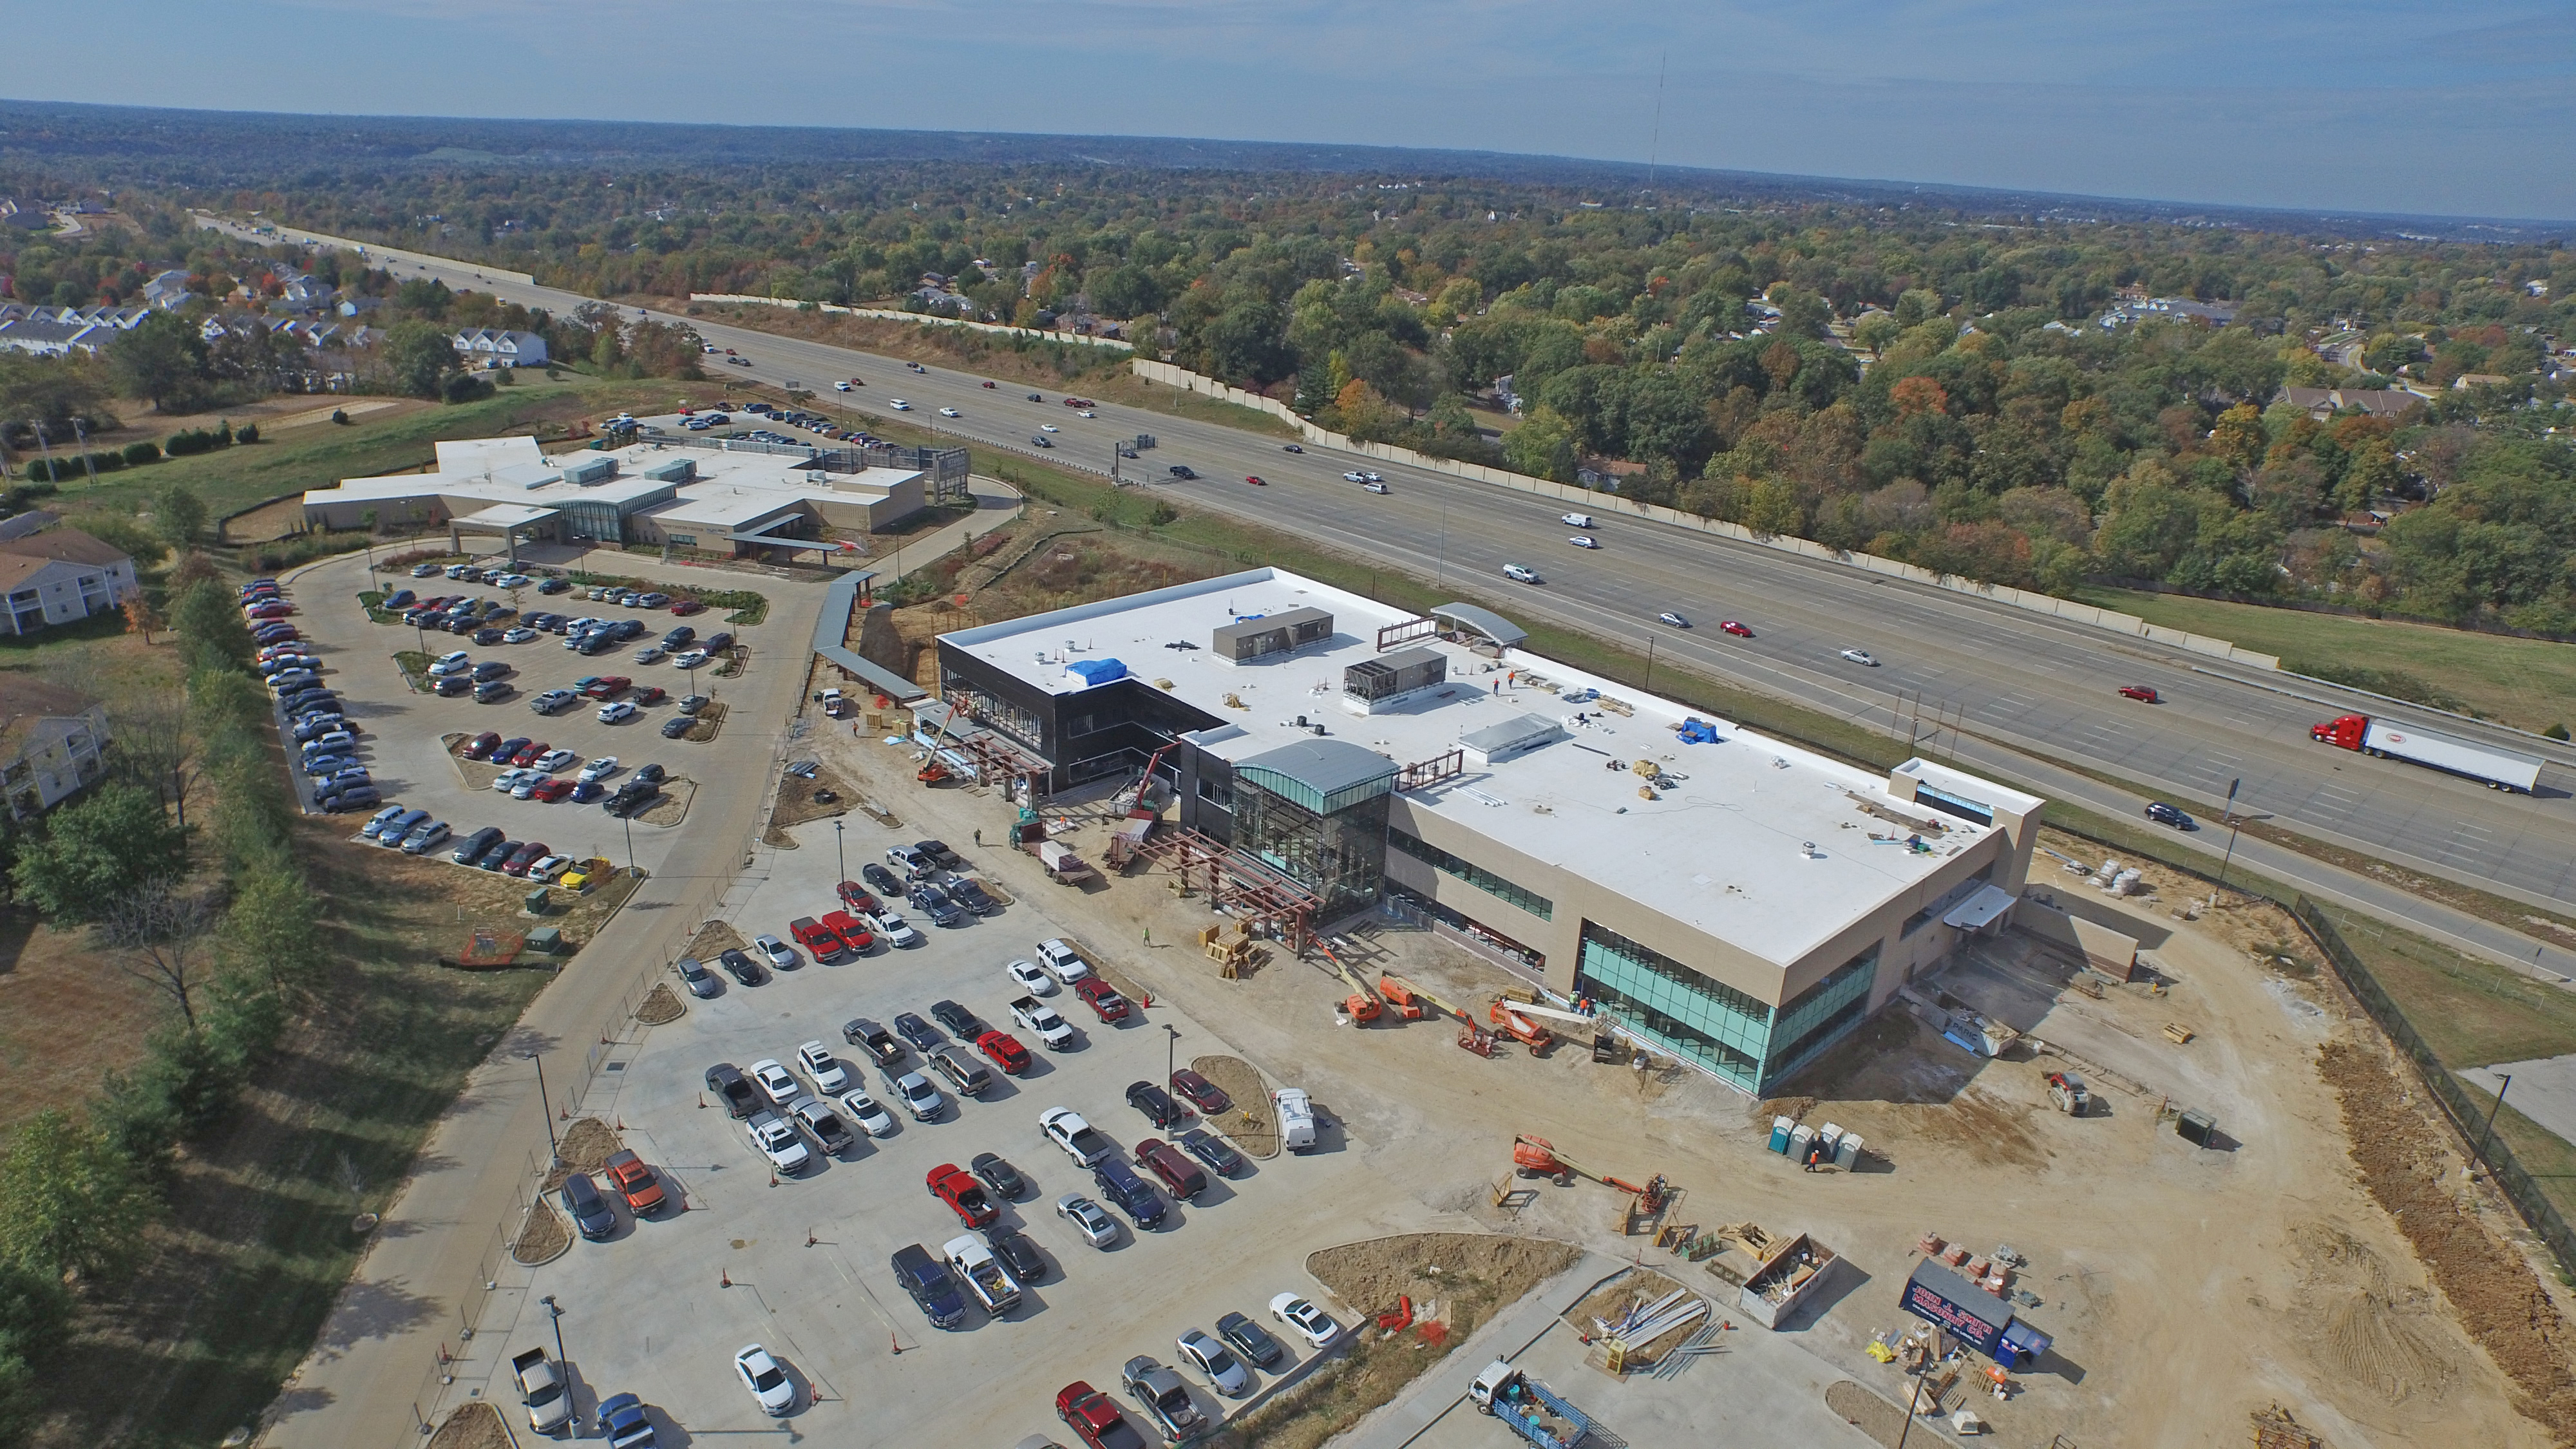
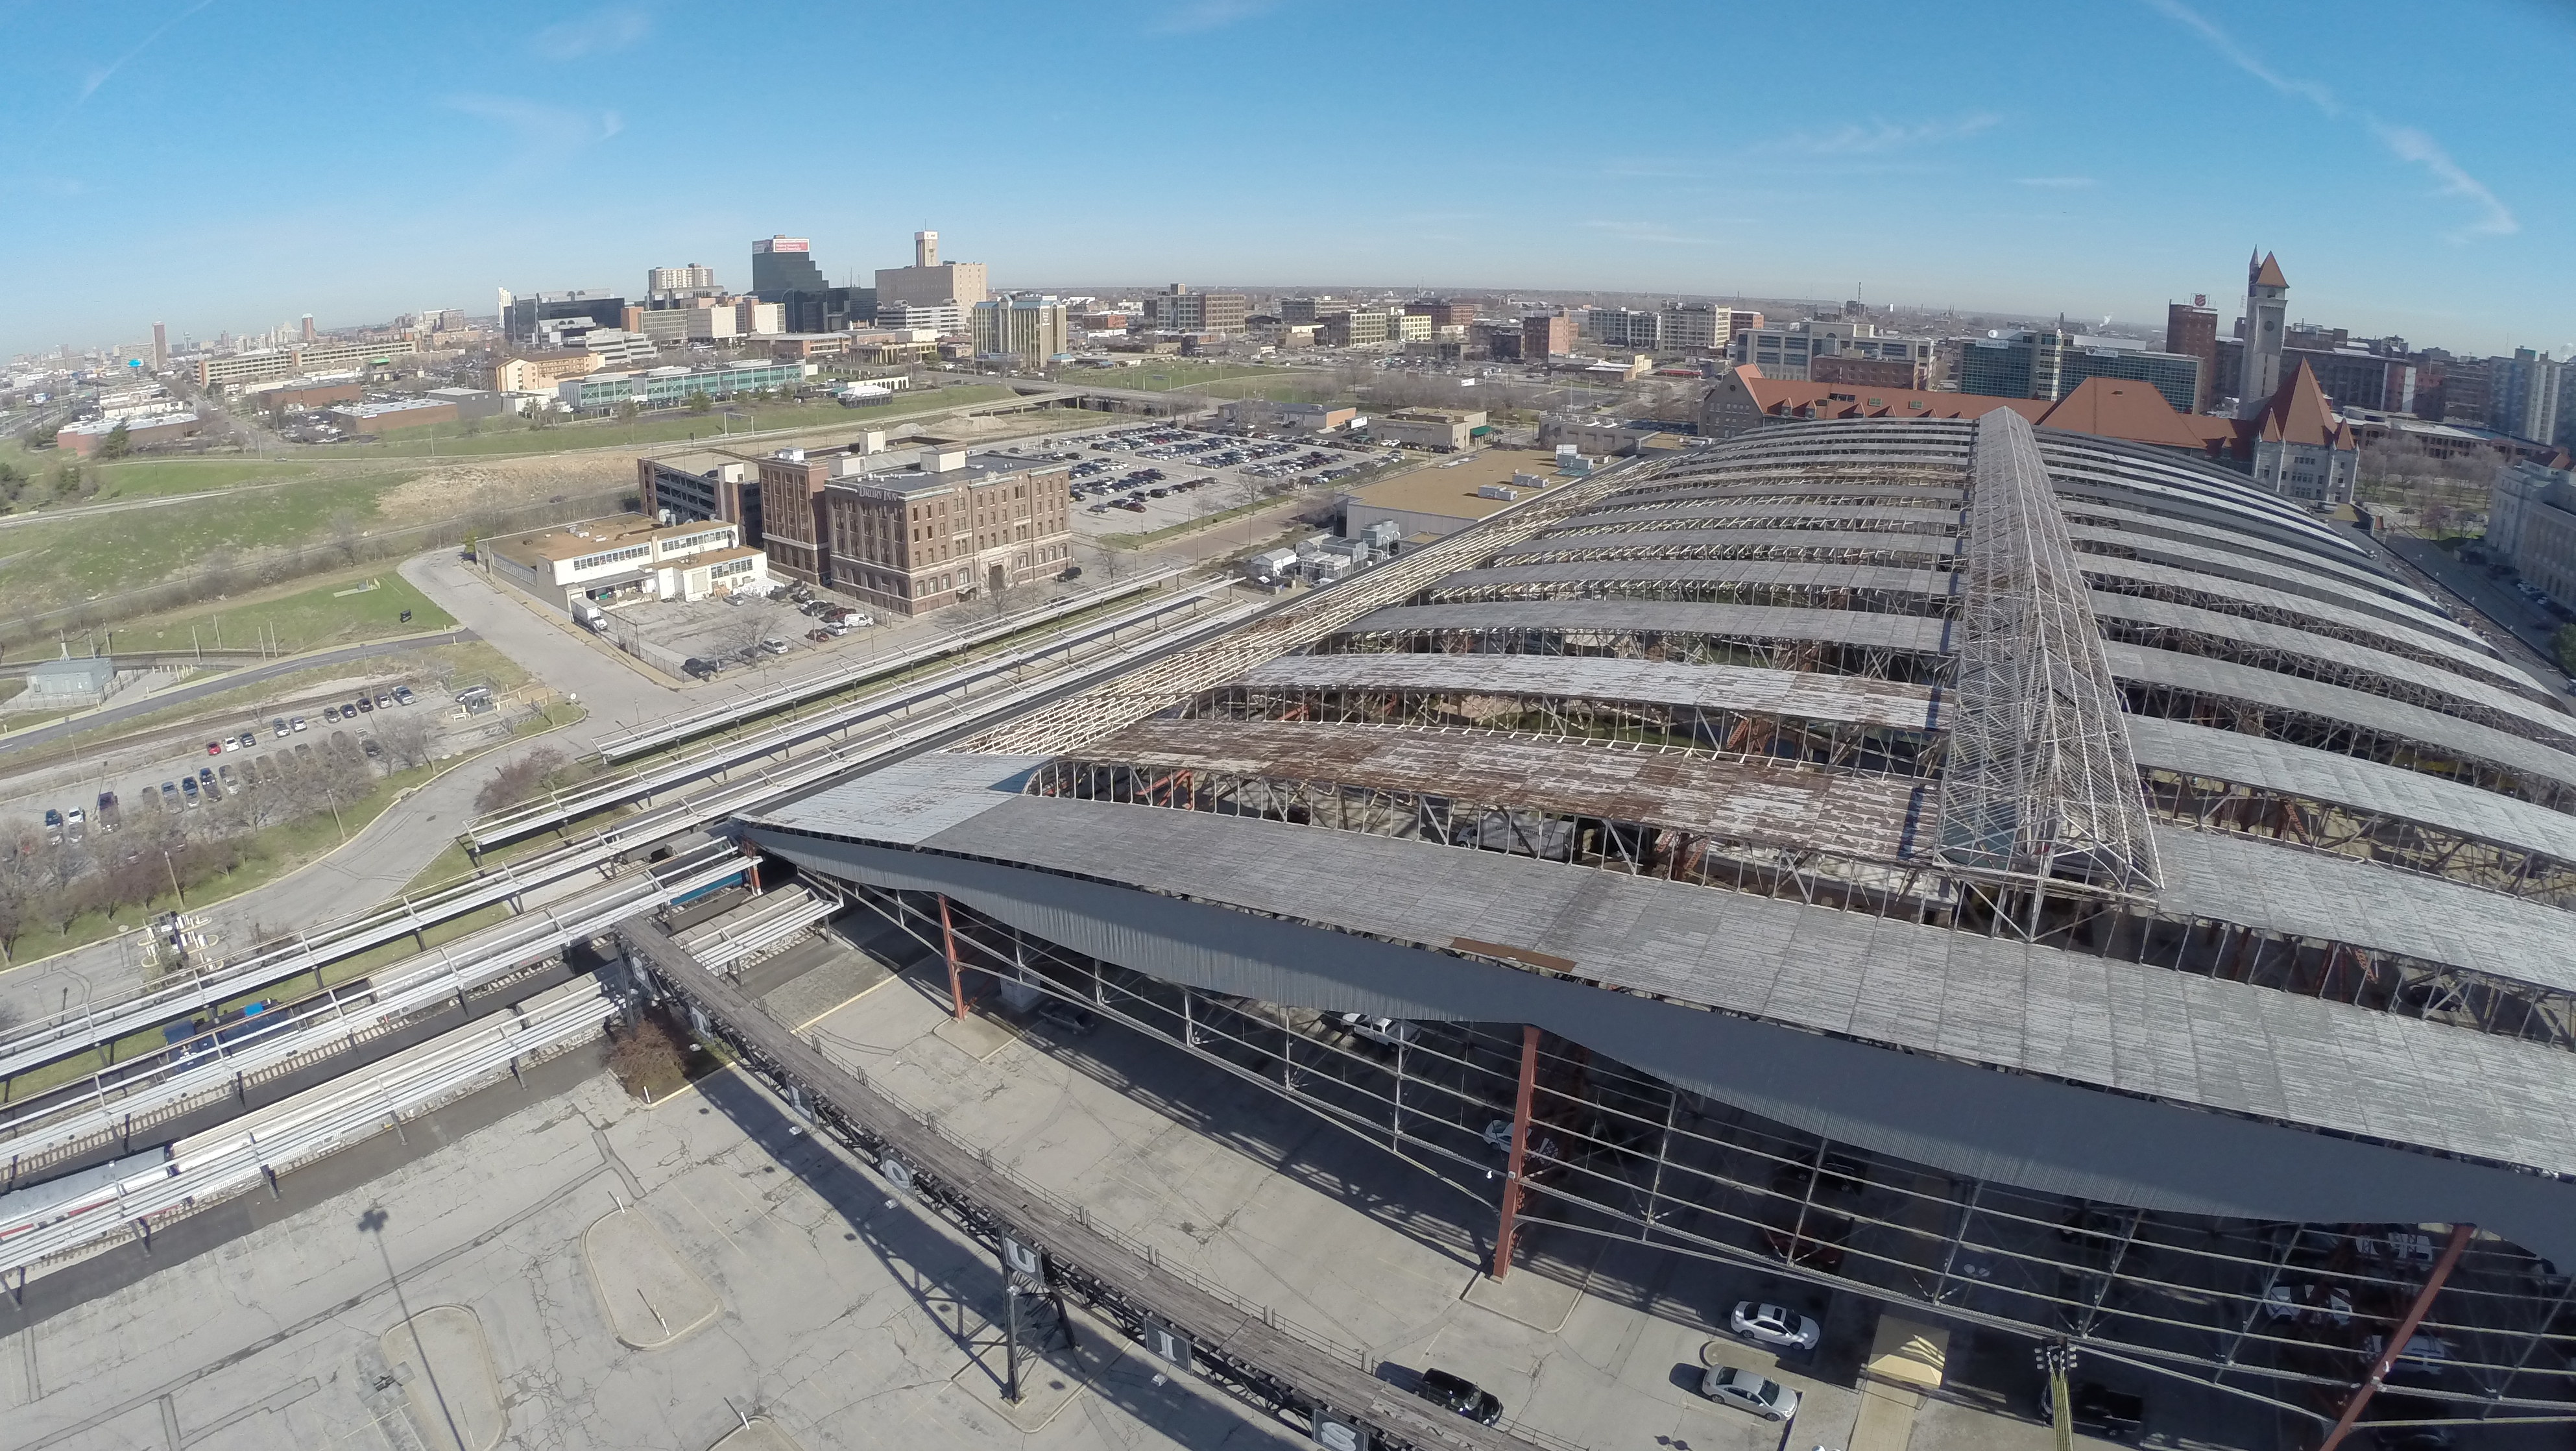
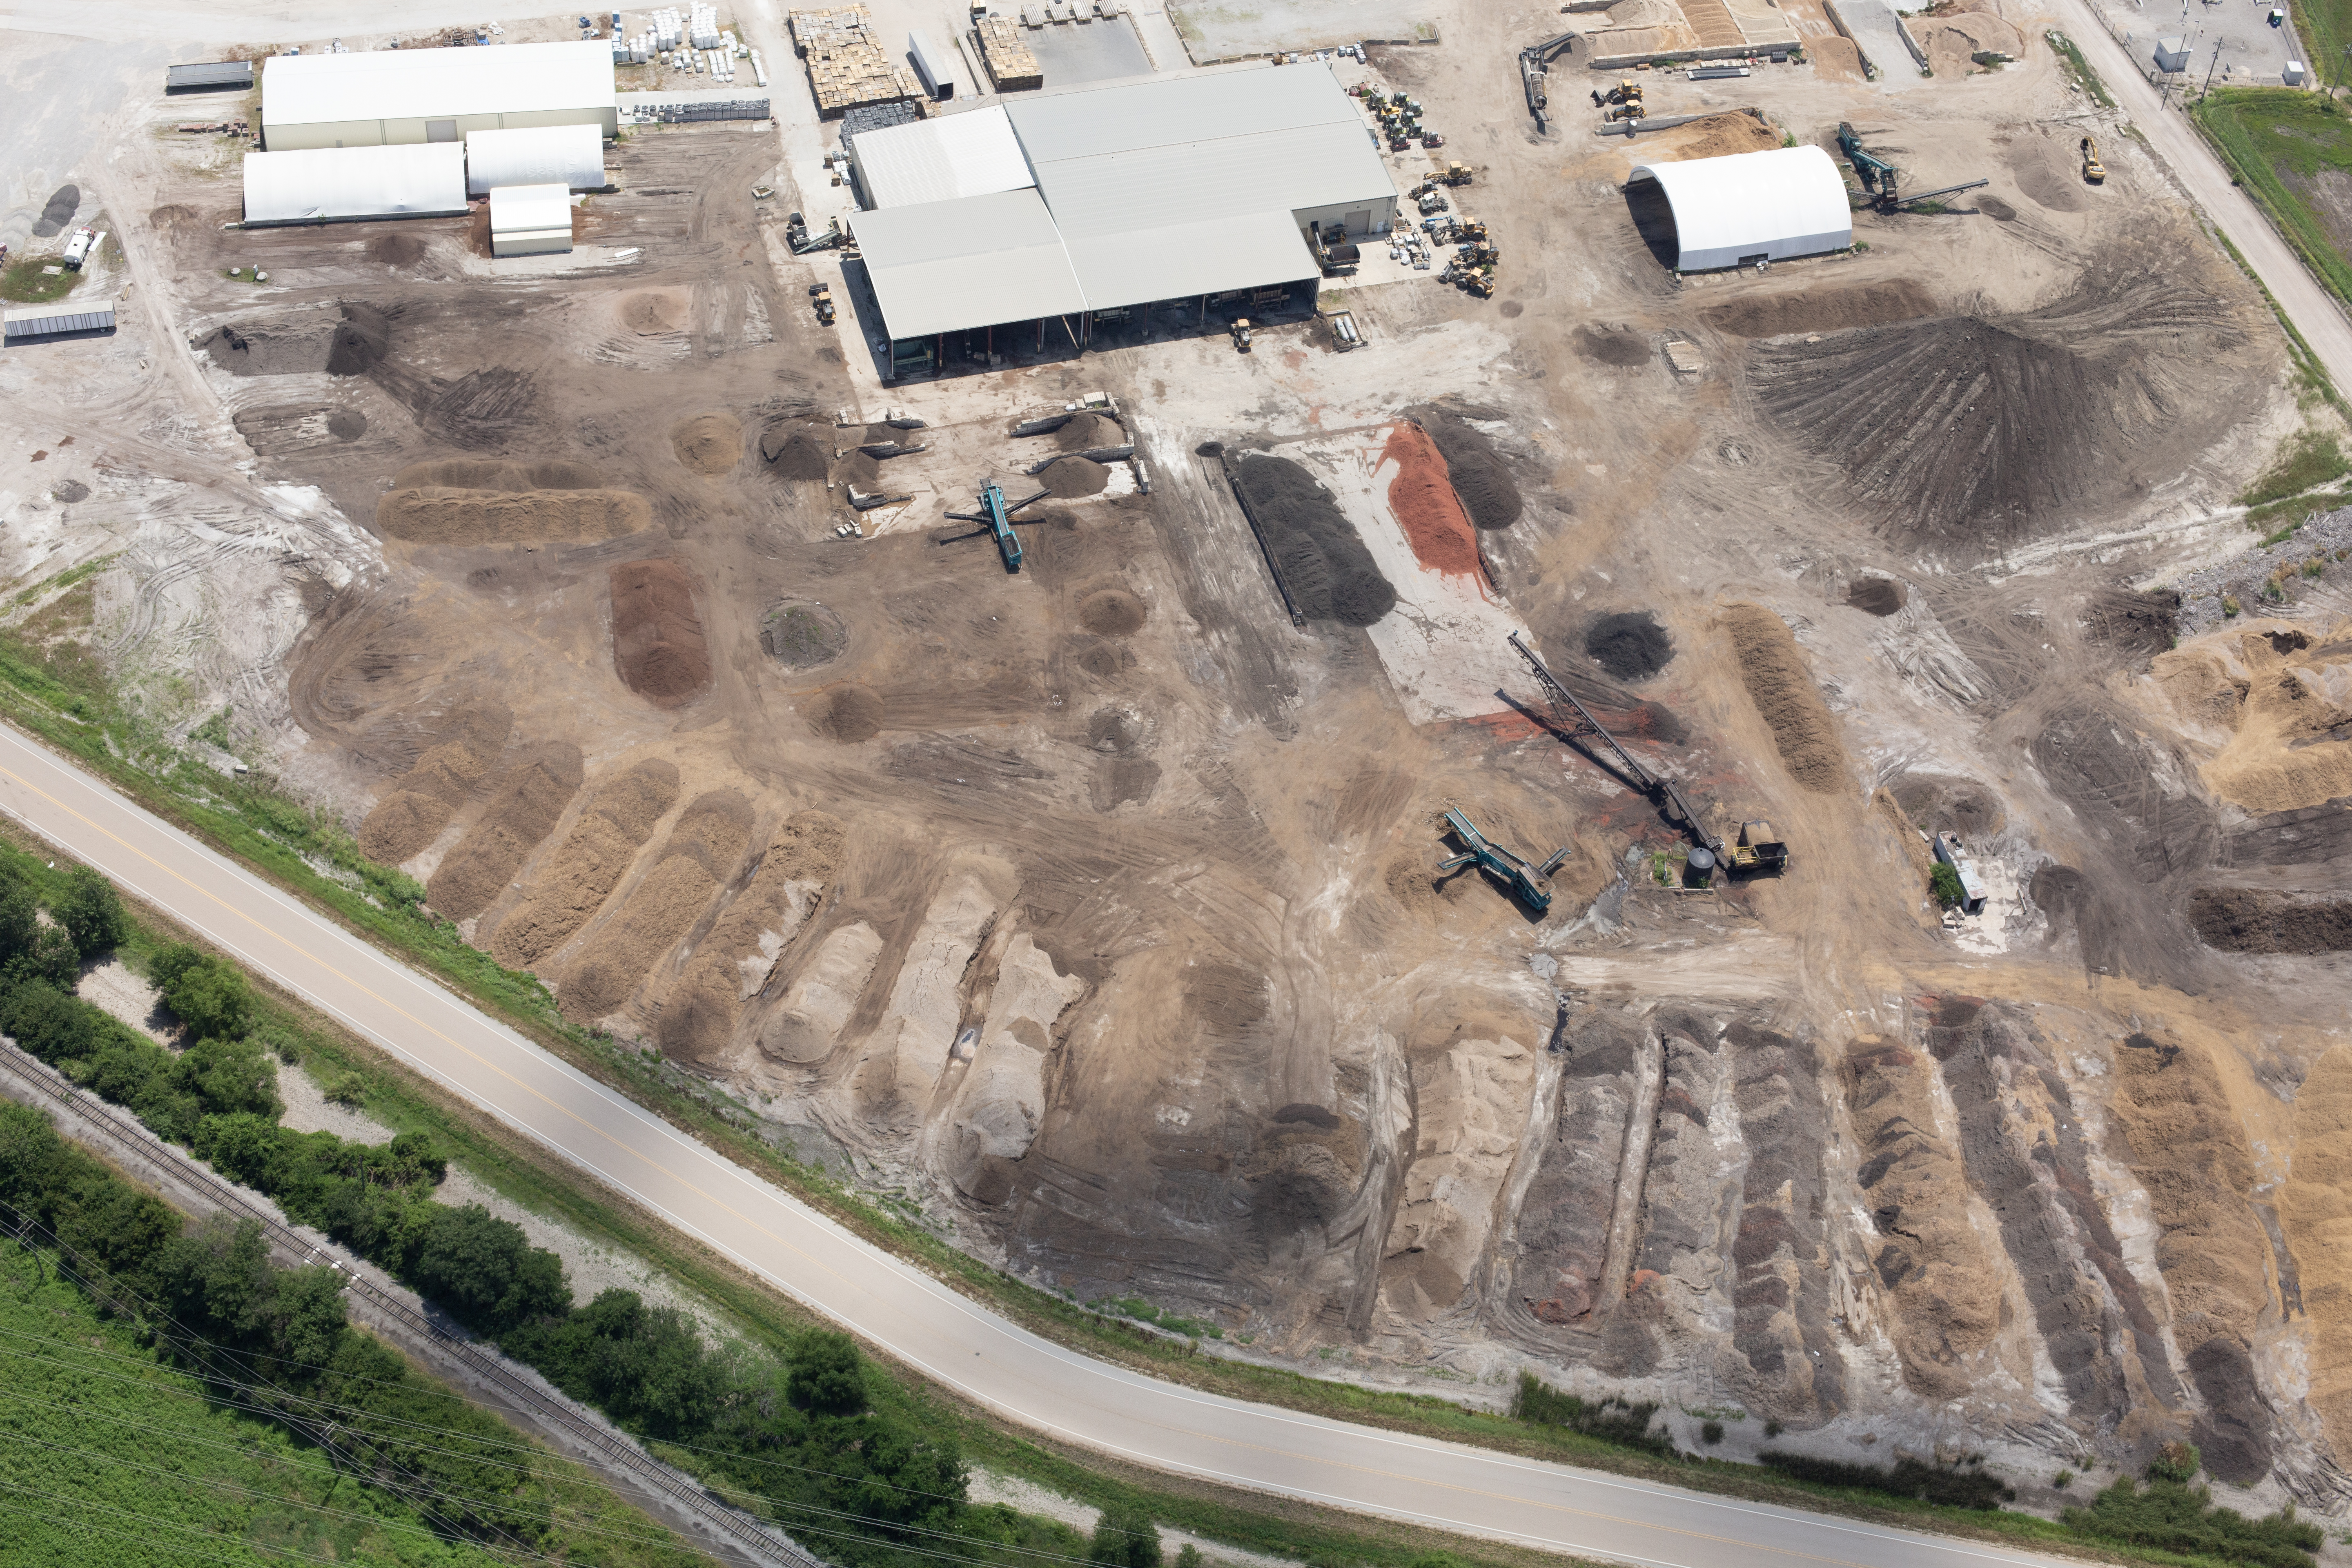
We understand successful image acquisition involves more than just launching a drone. It requires experienced pilots, high-resolution sensors, and meticulous planning to ensure accurate data capture. Our licensed drone operators (including specialized drone services for St Louis Video Studio) have worked with many businesses, marketing firms, and creative agencies in the St. Louis area, delivering high-impact visual data and compelling content across diverse applications. Our capabilities even extend indoors, as we can fly our specialized drones indoors to capture unique perspectives within large facilities, warehouses, or even during complex indoor events, providing invaluable data and stunning visuals where conventional access is limited.

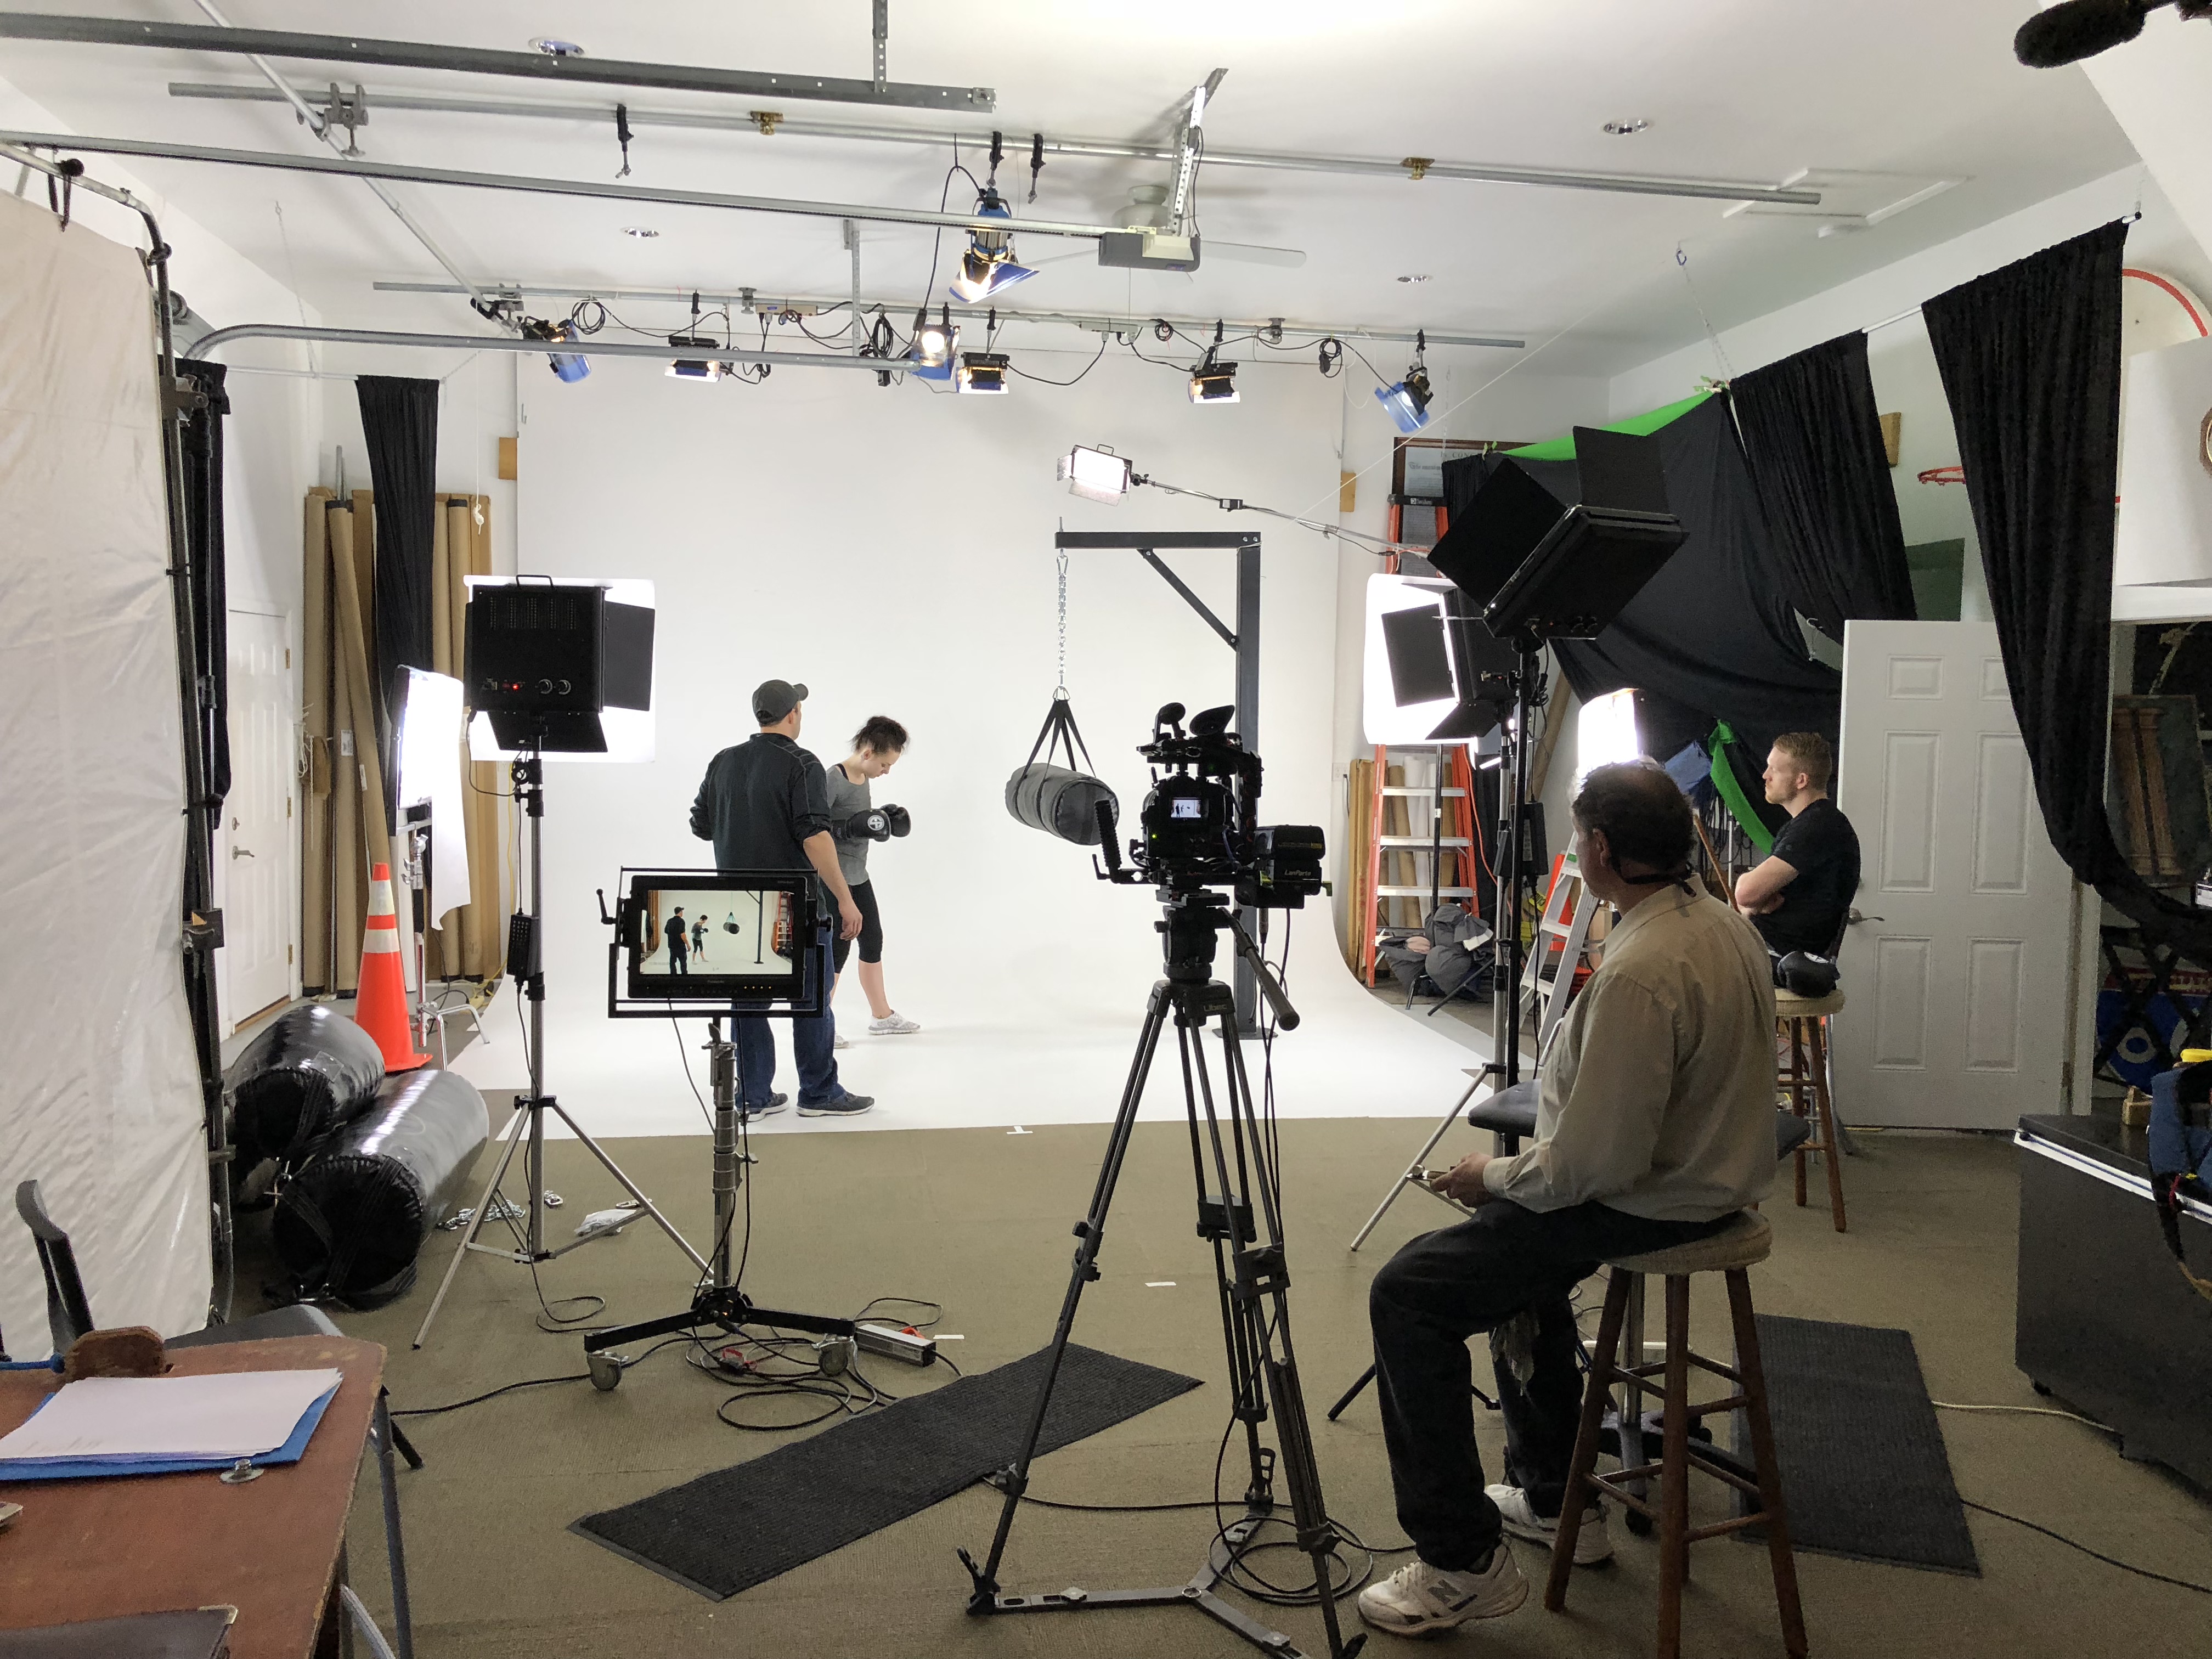
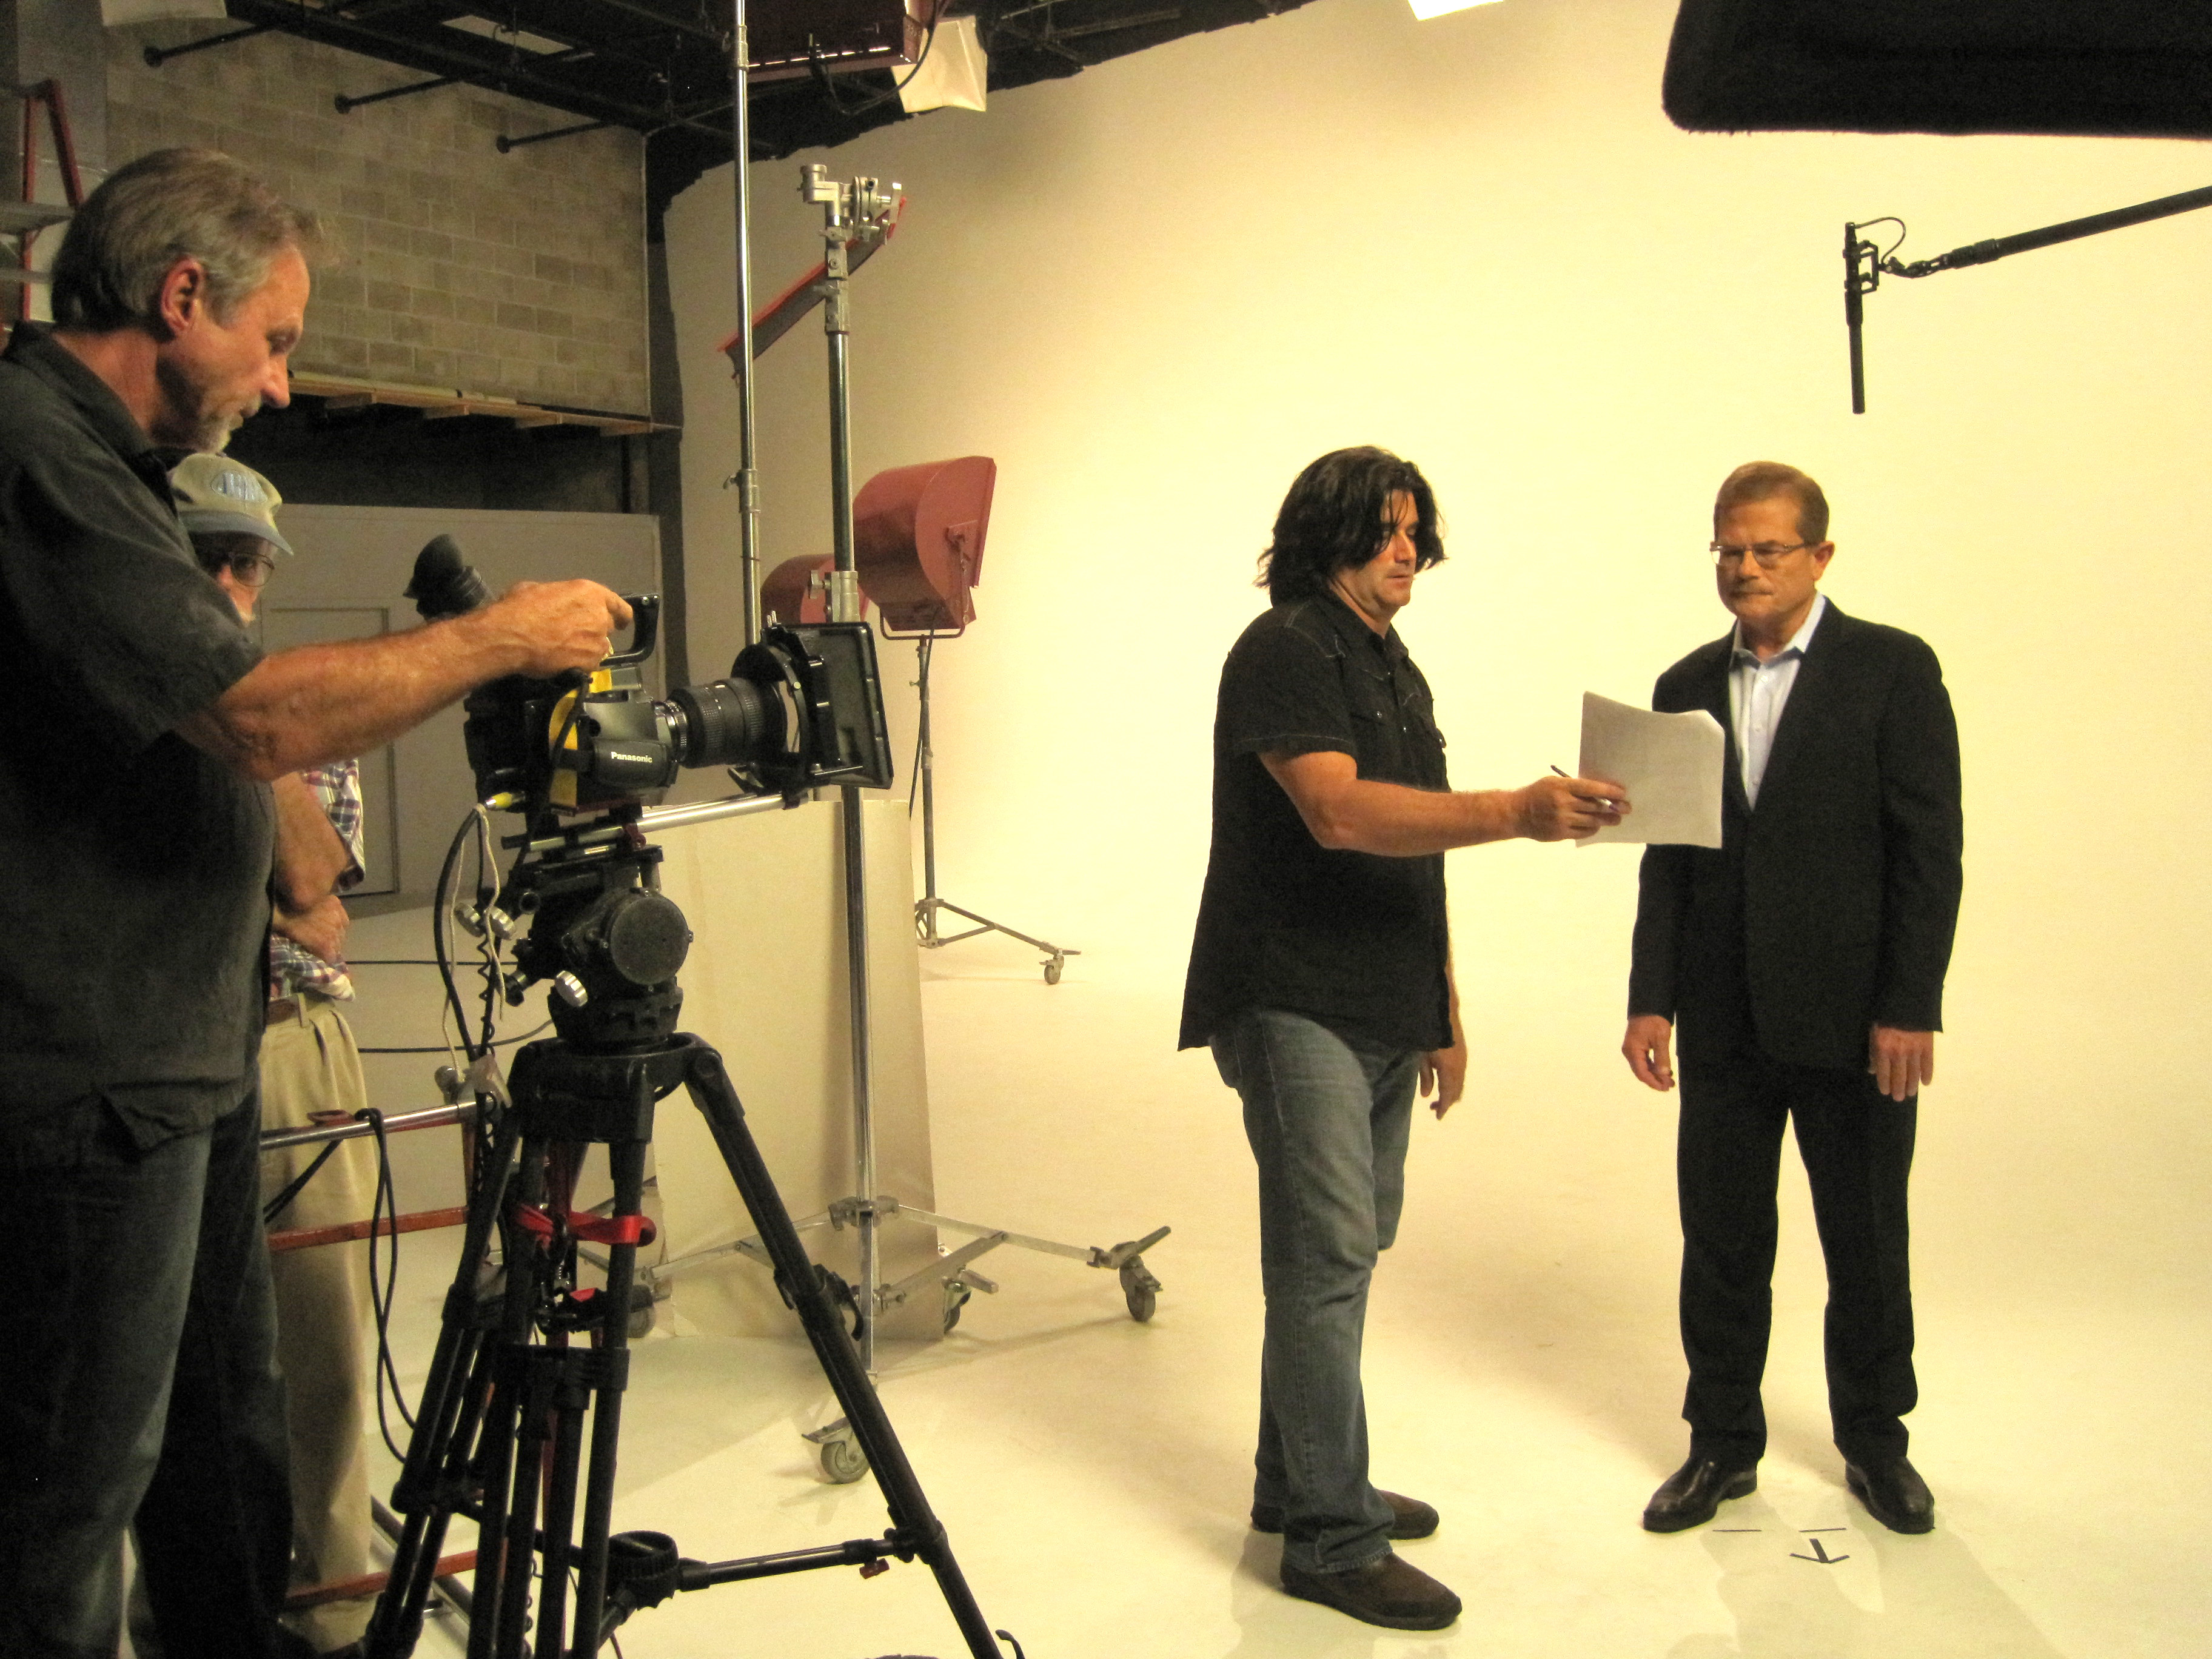
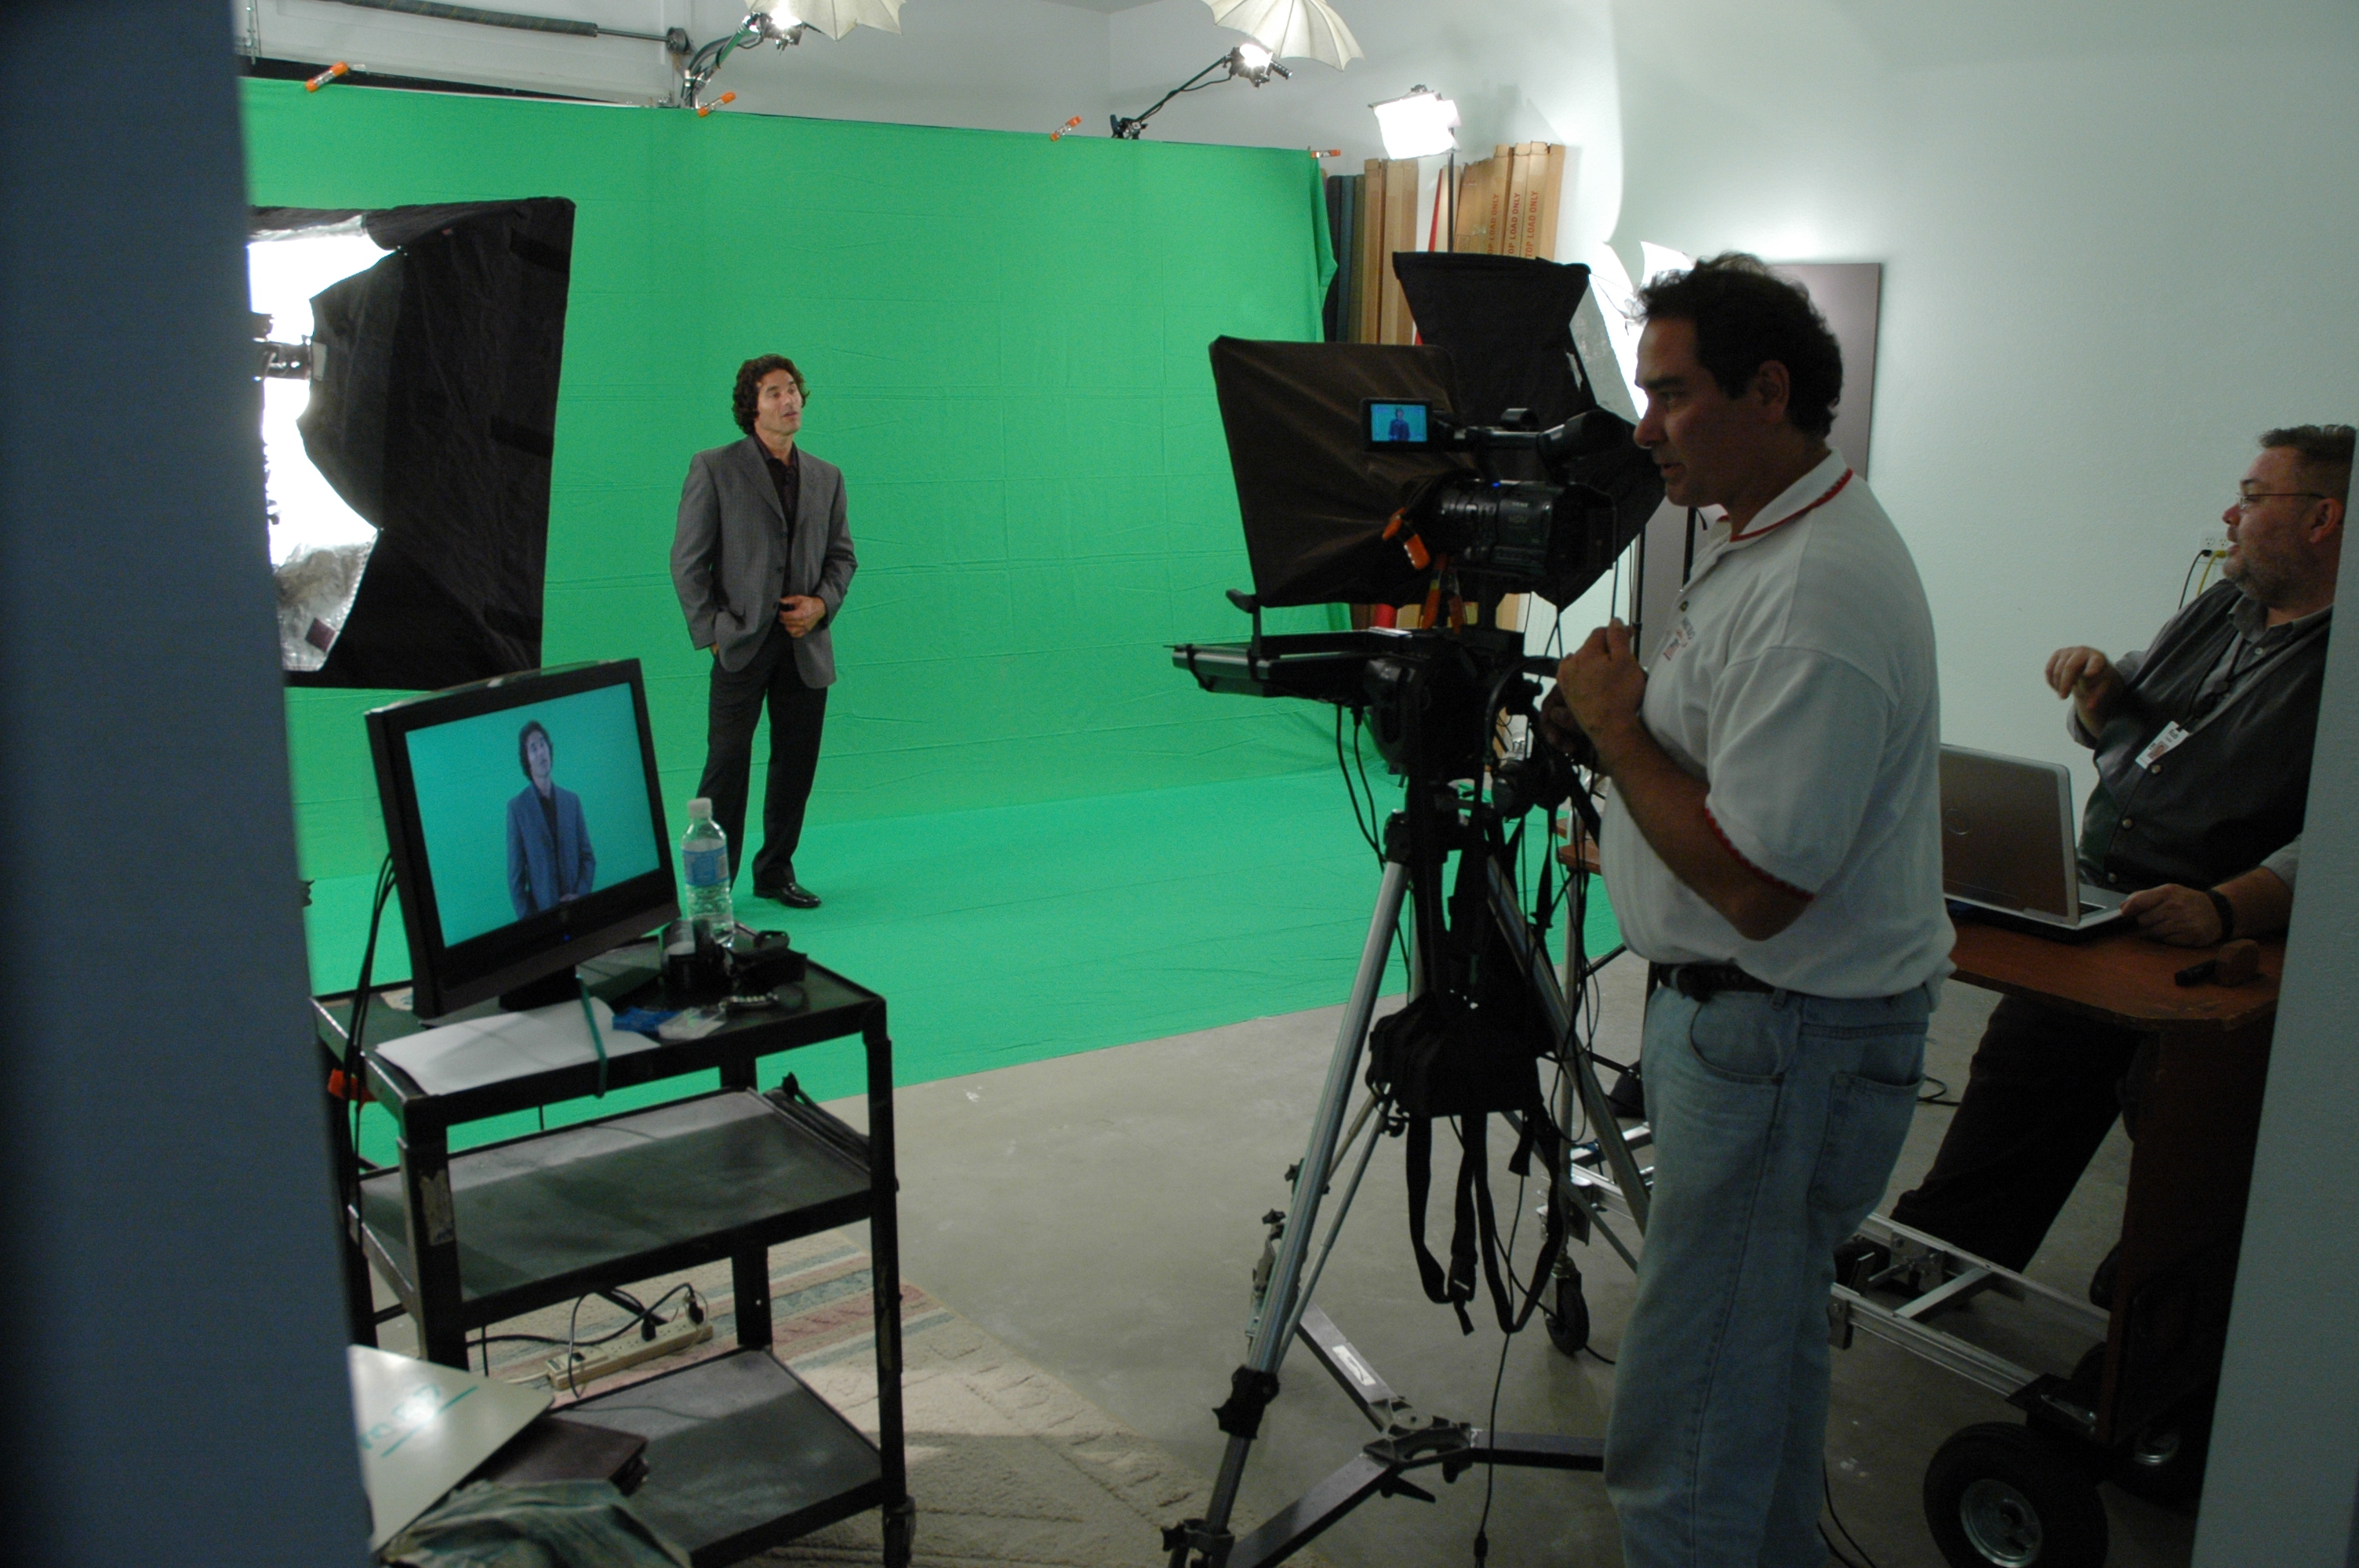
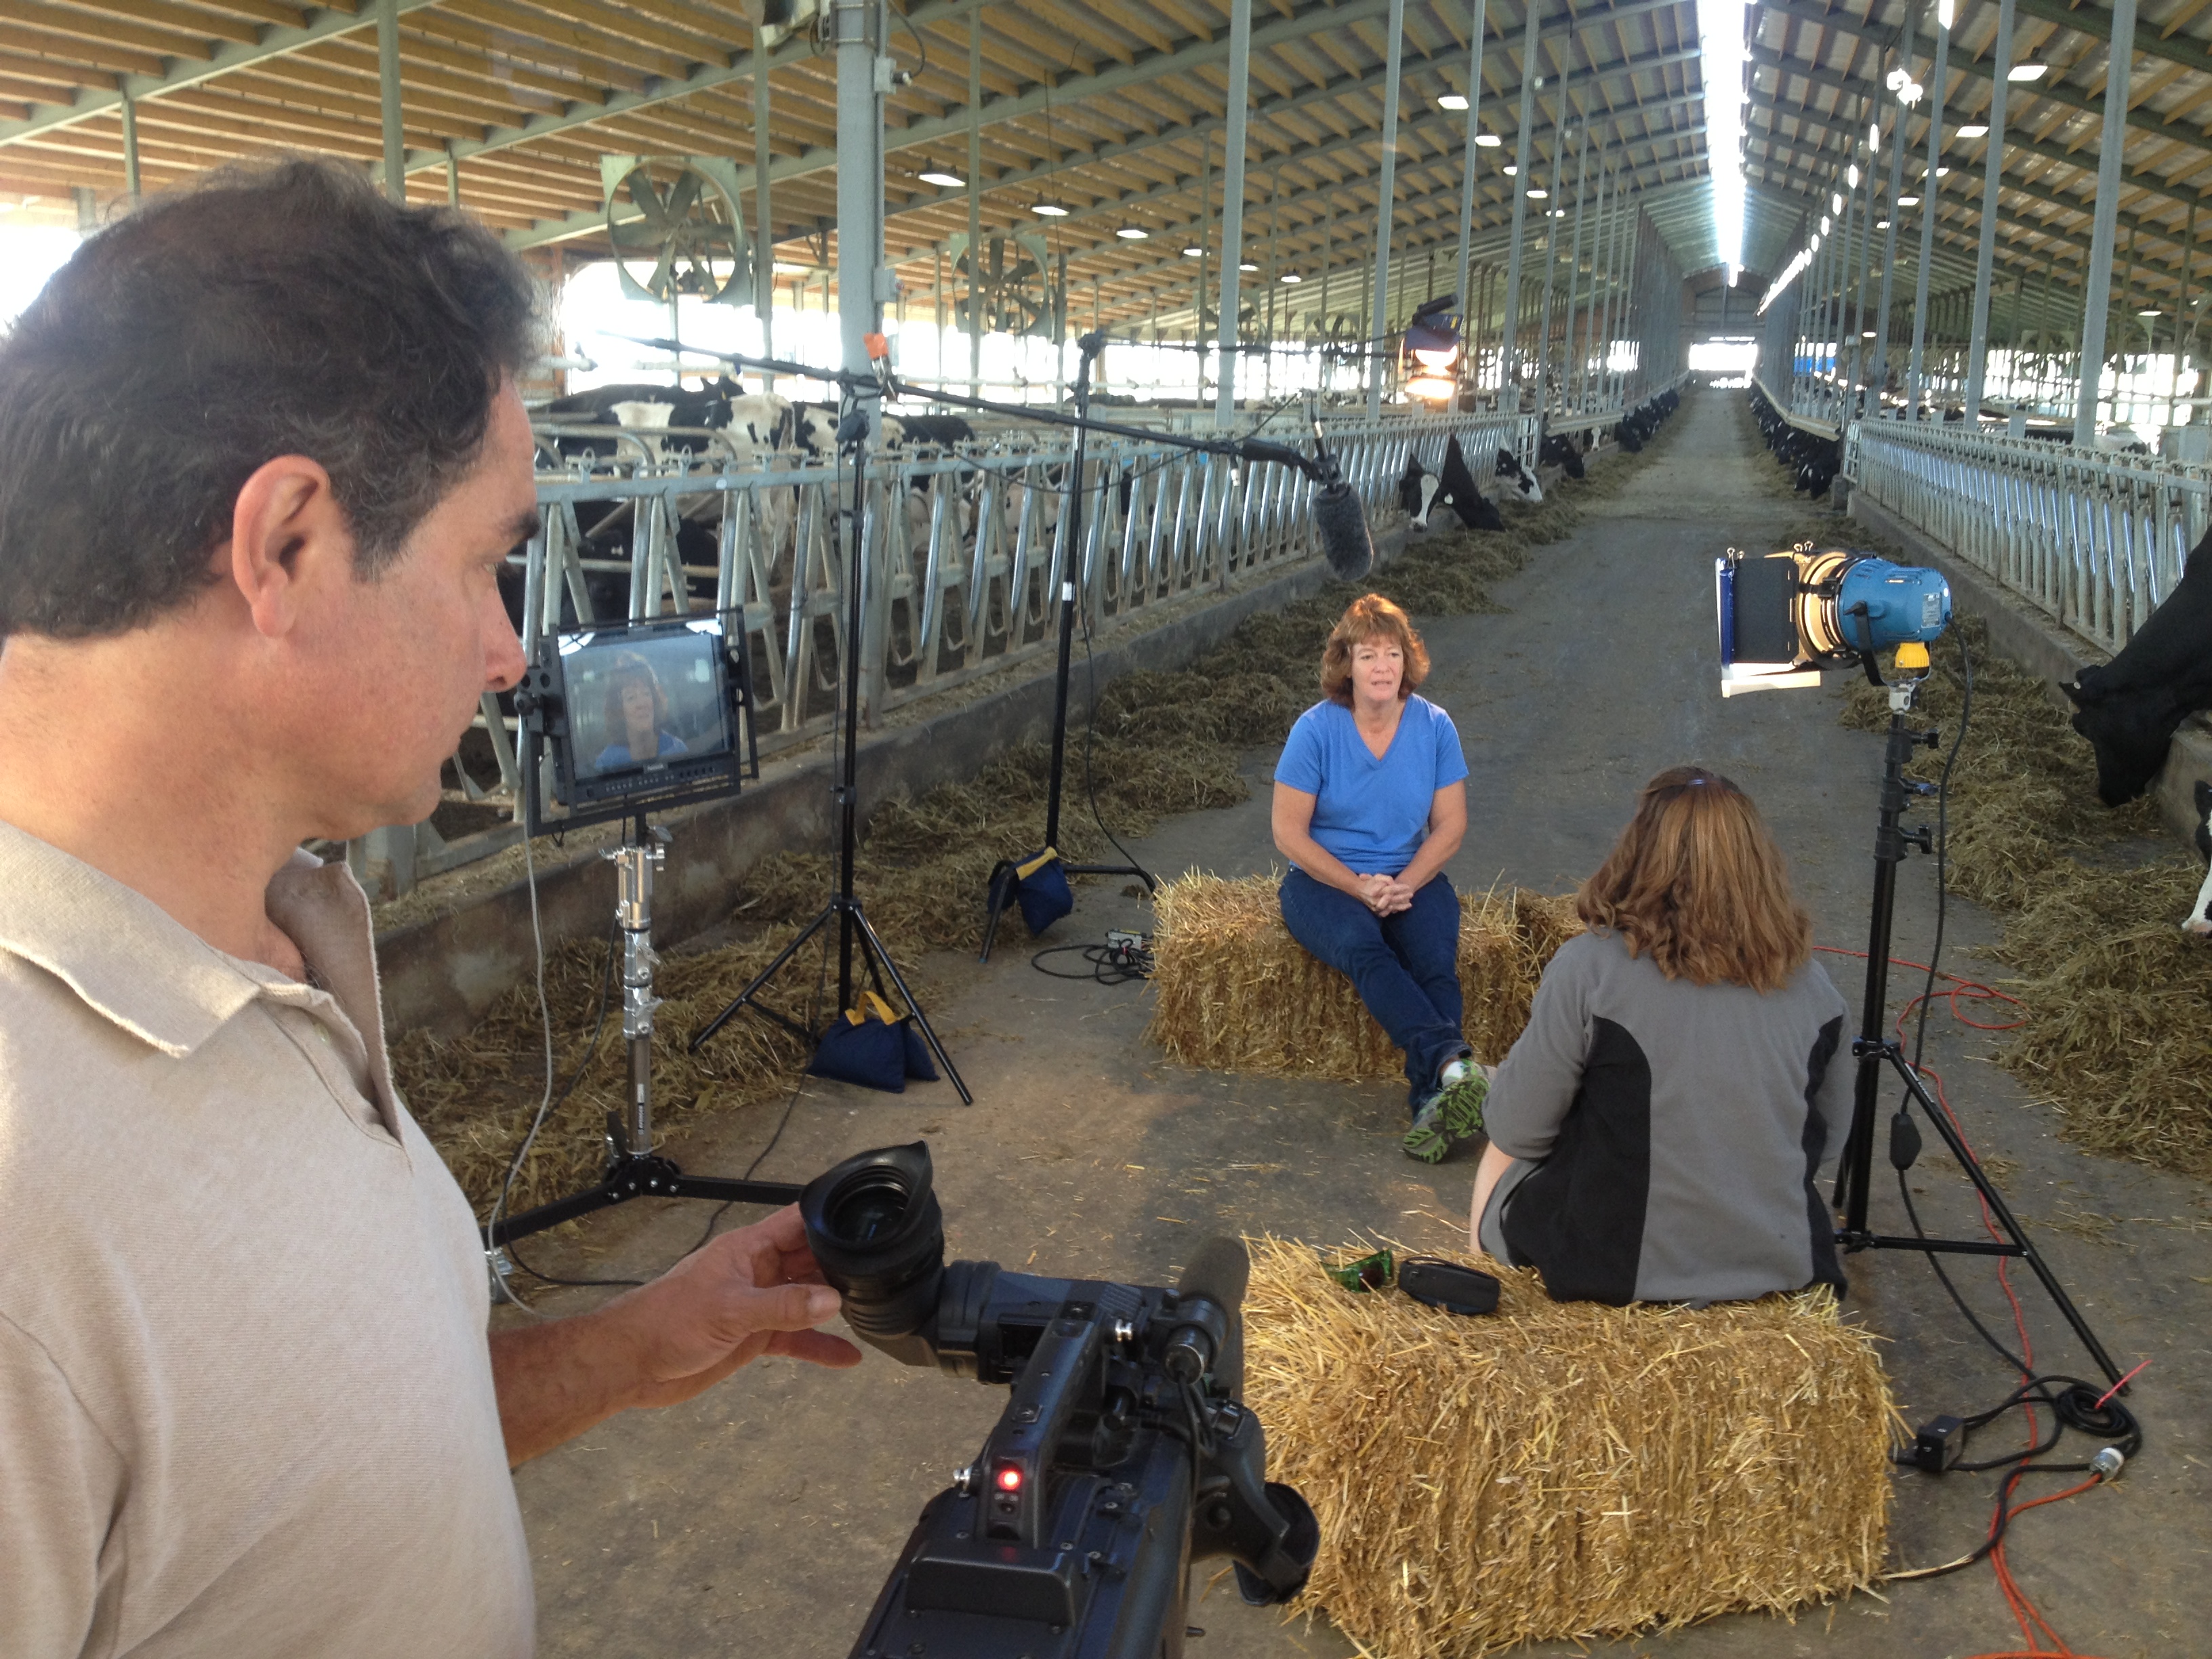
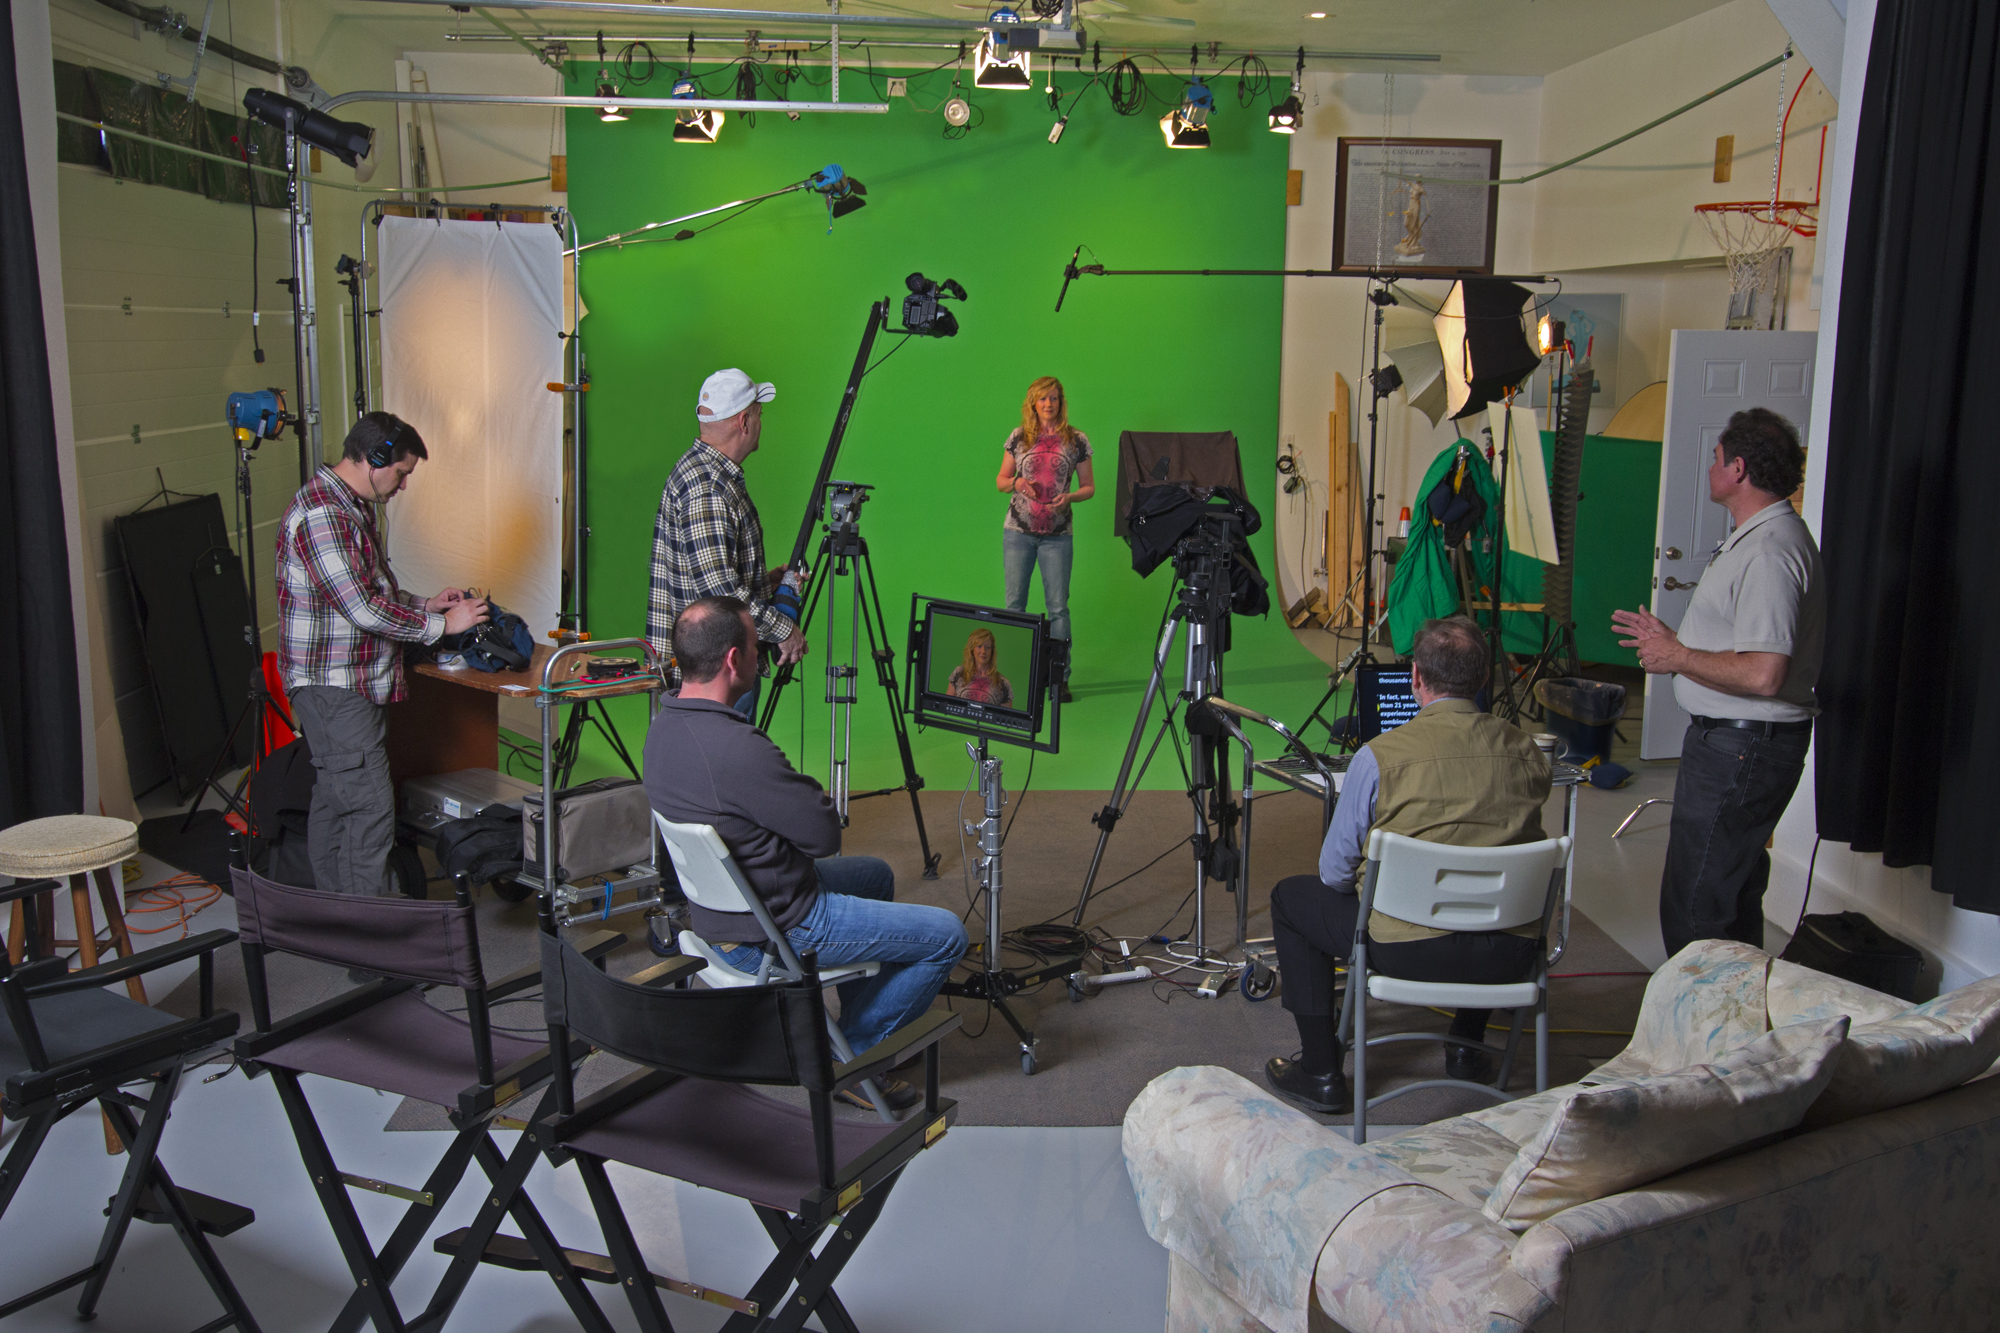
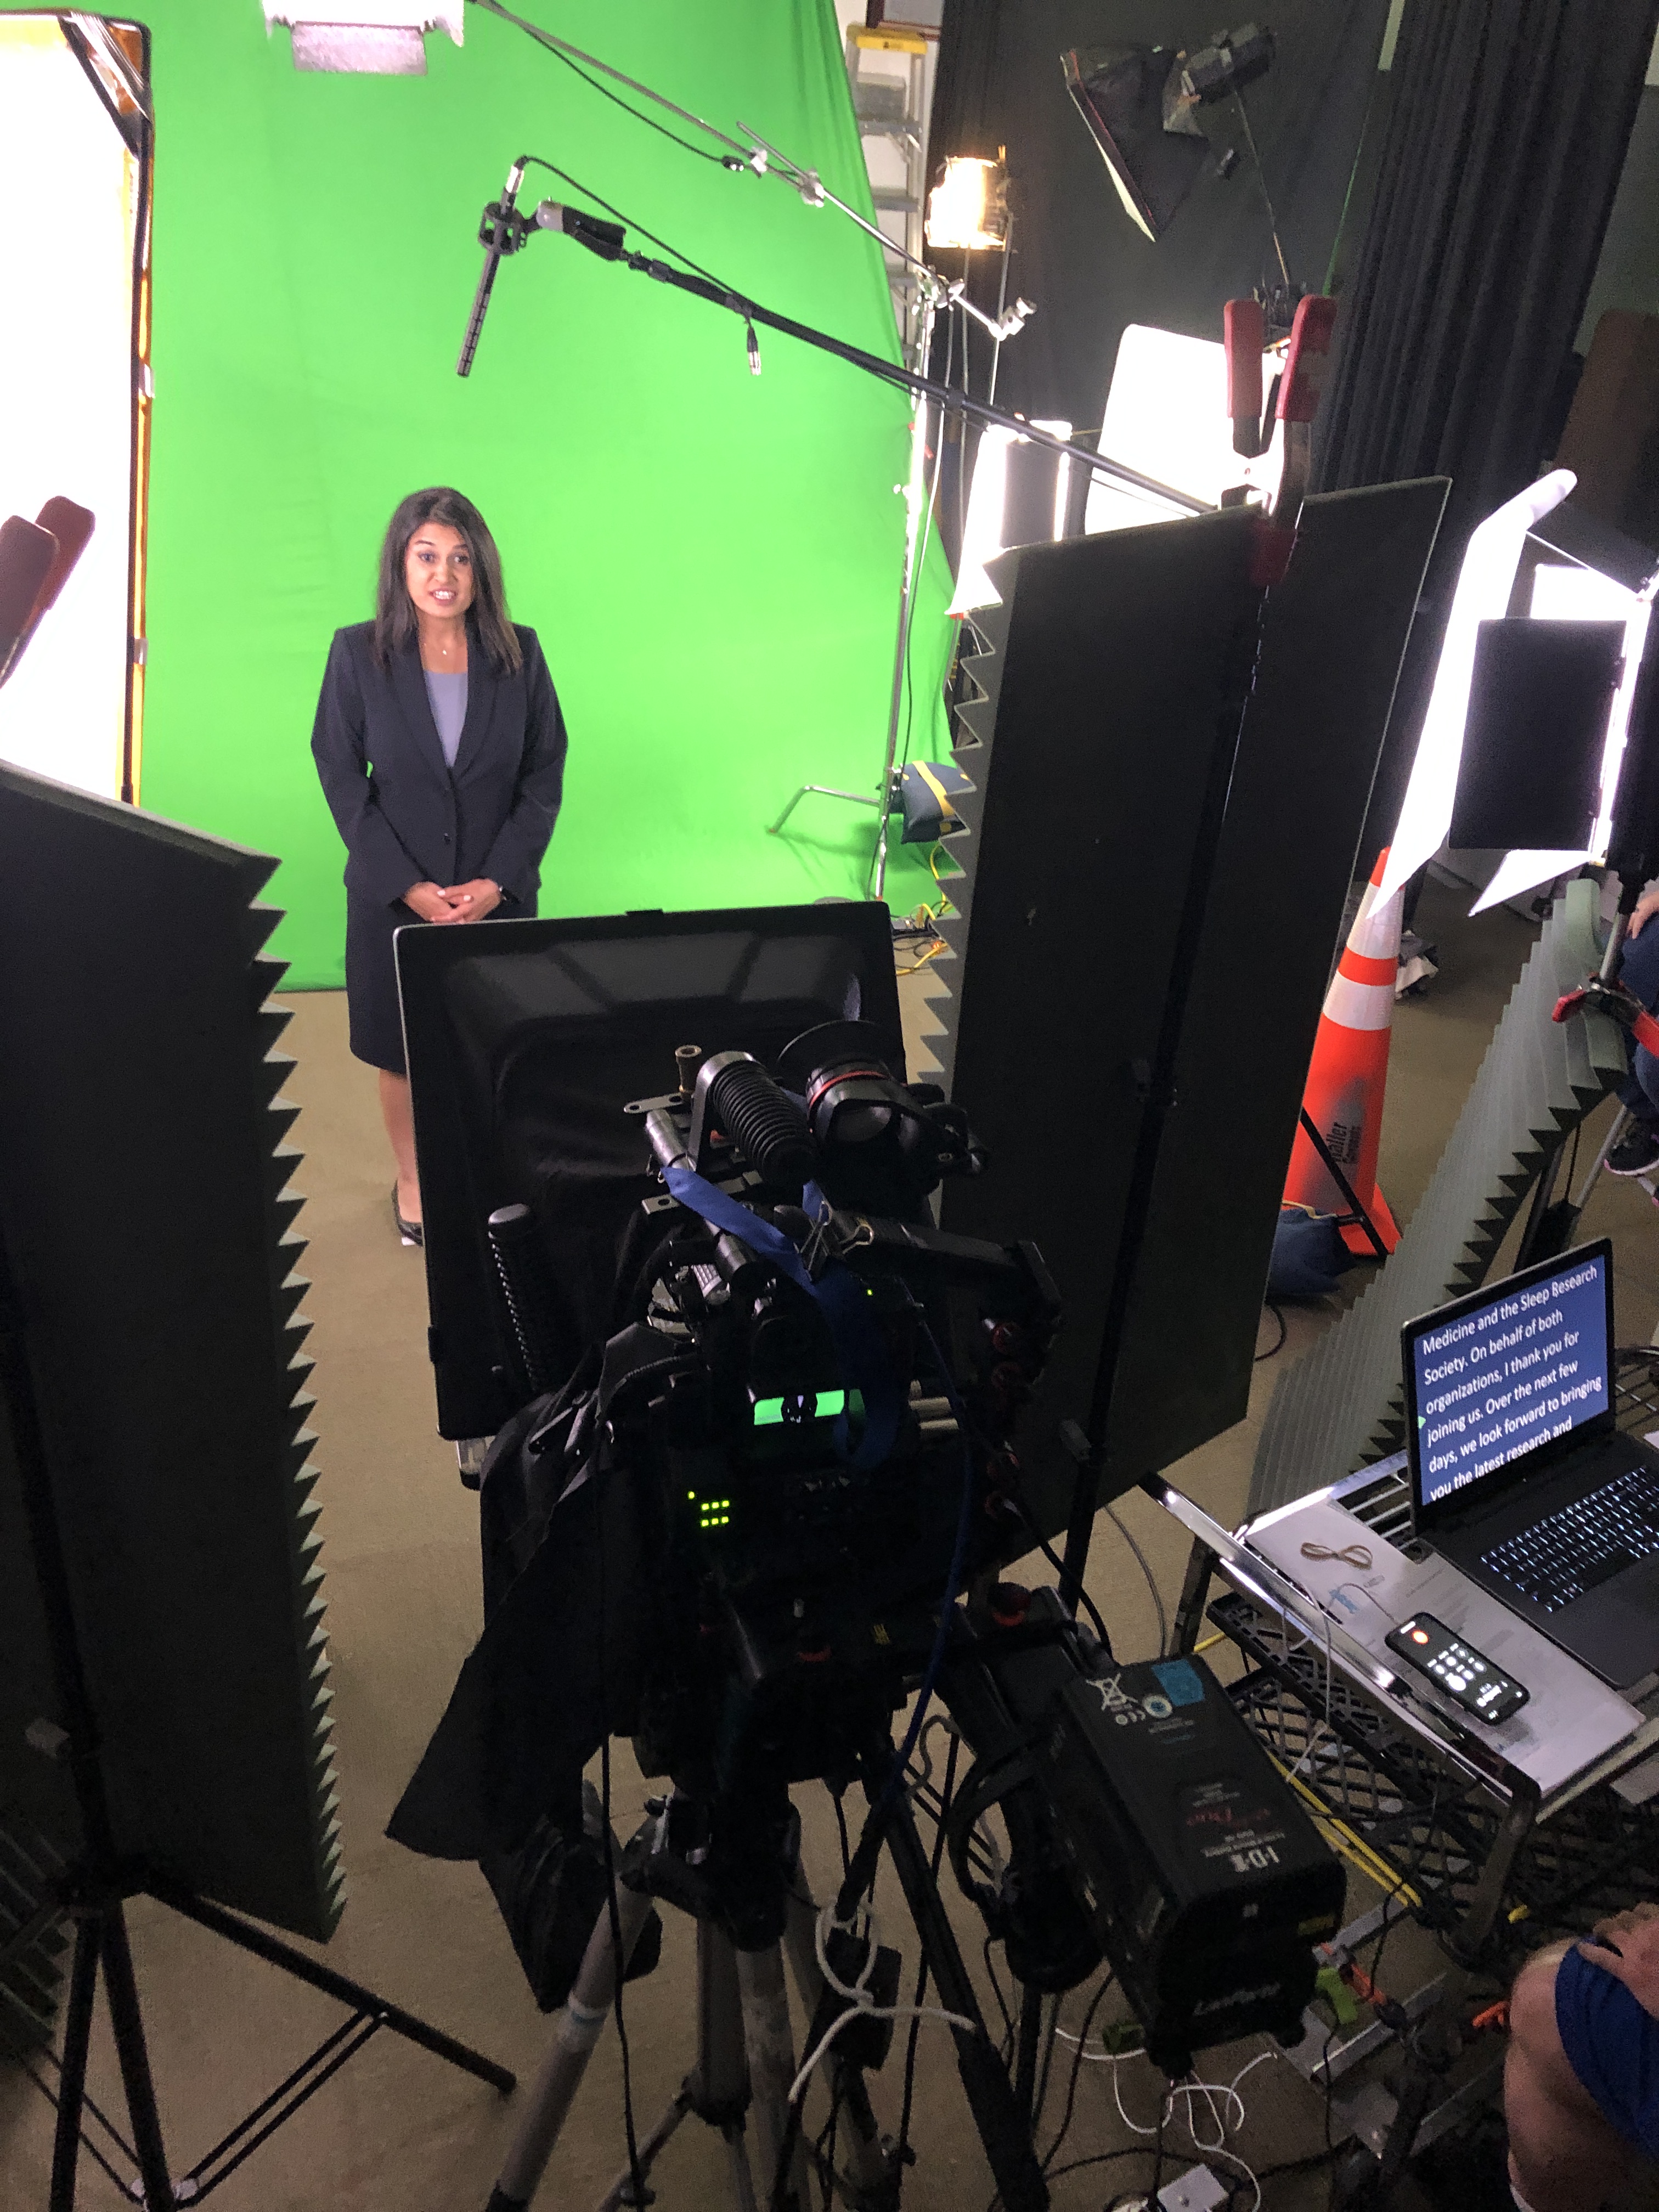
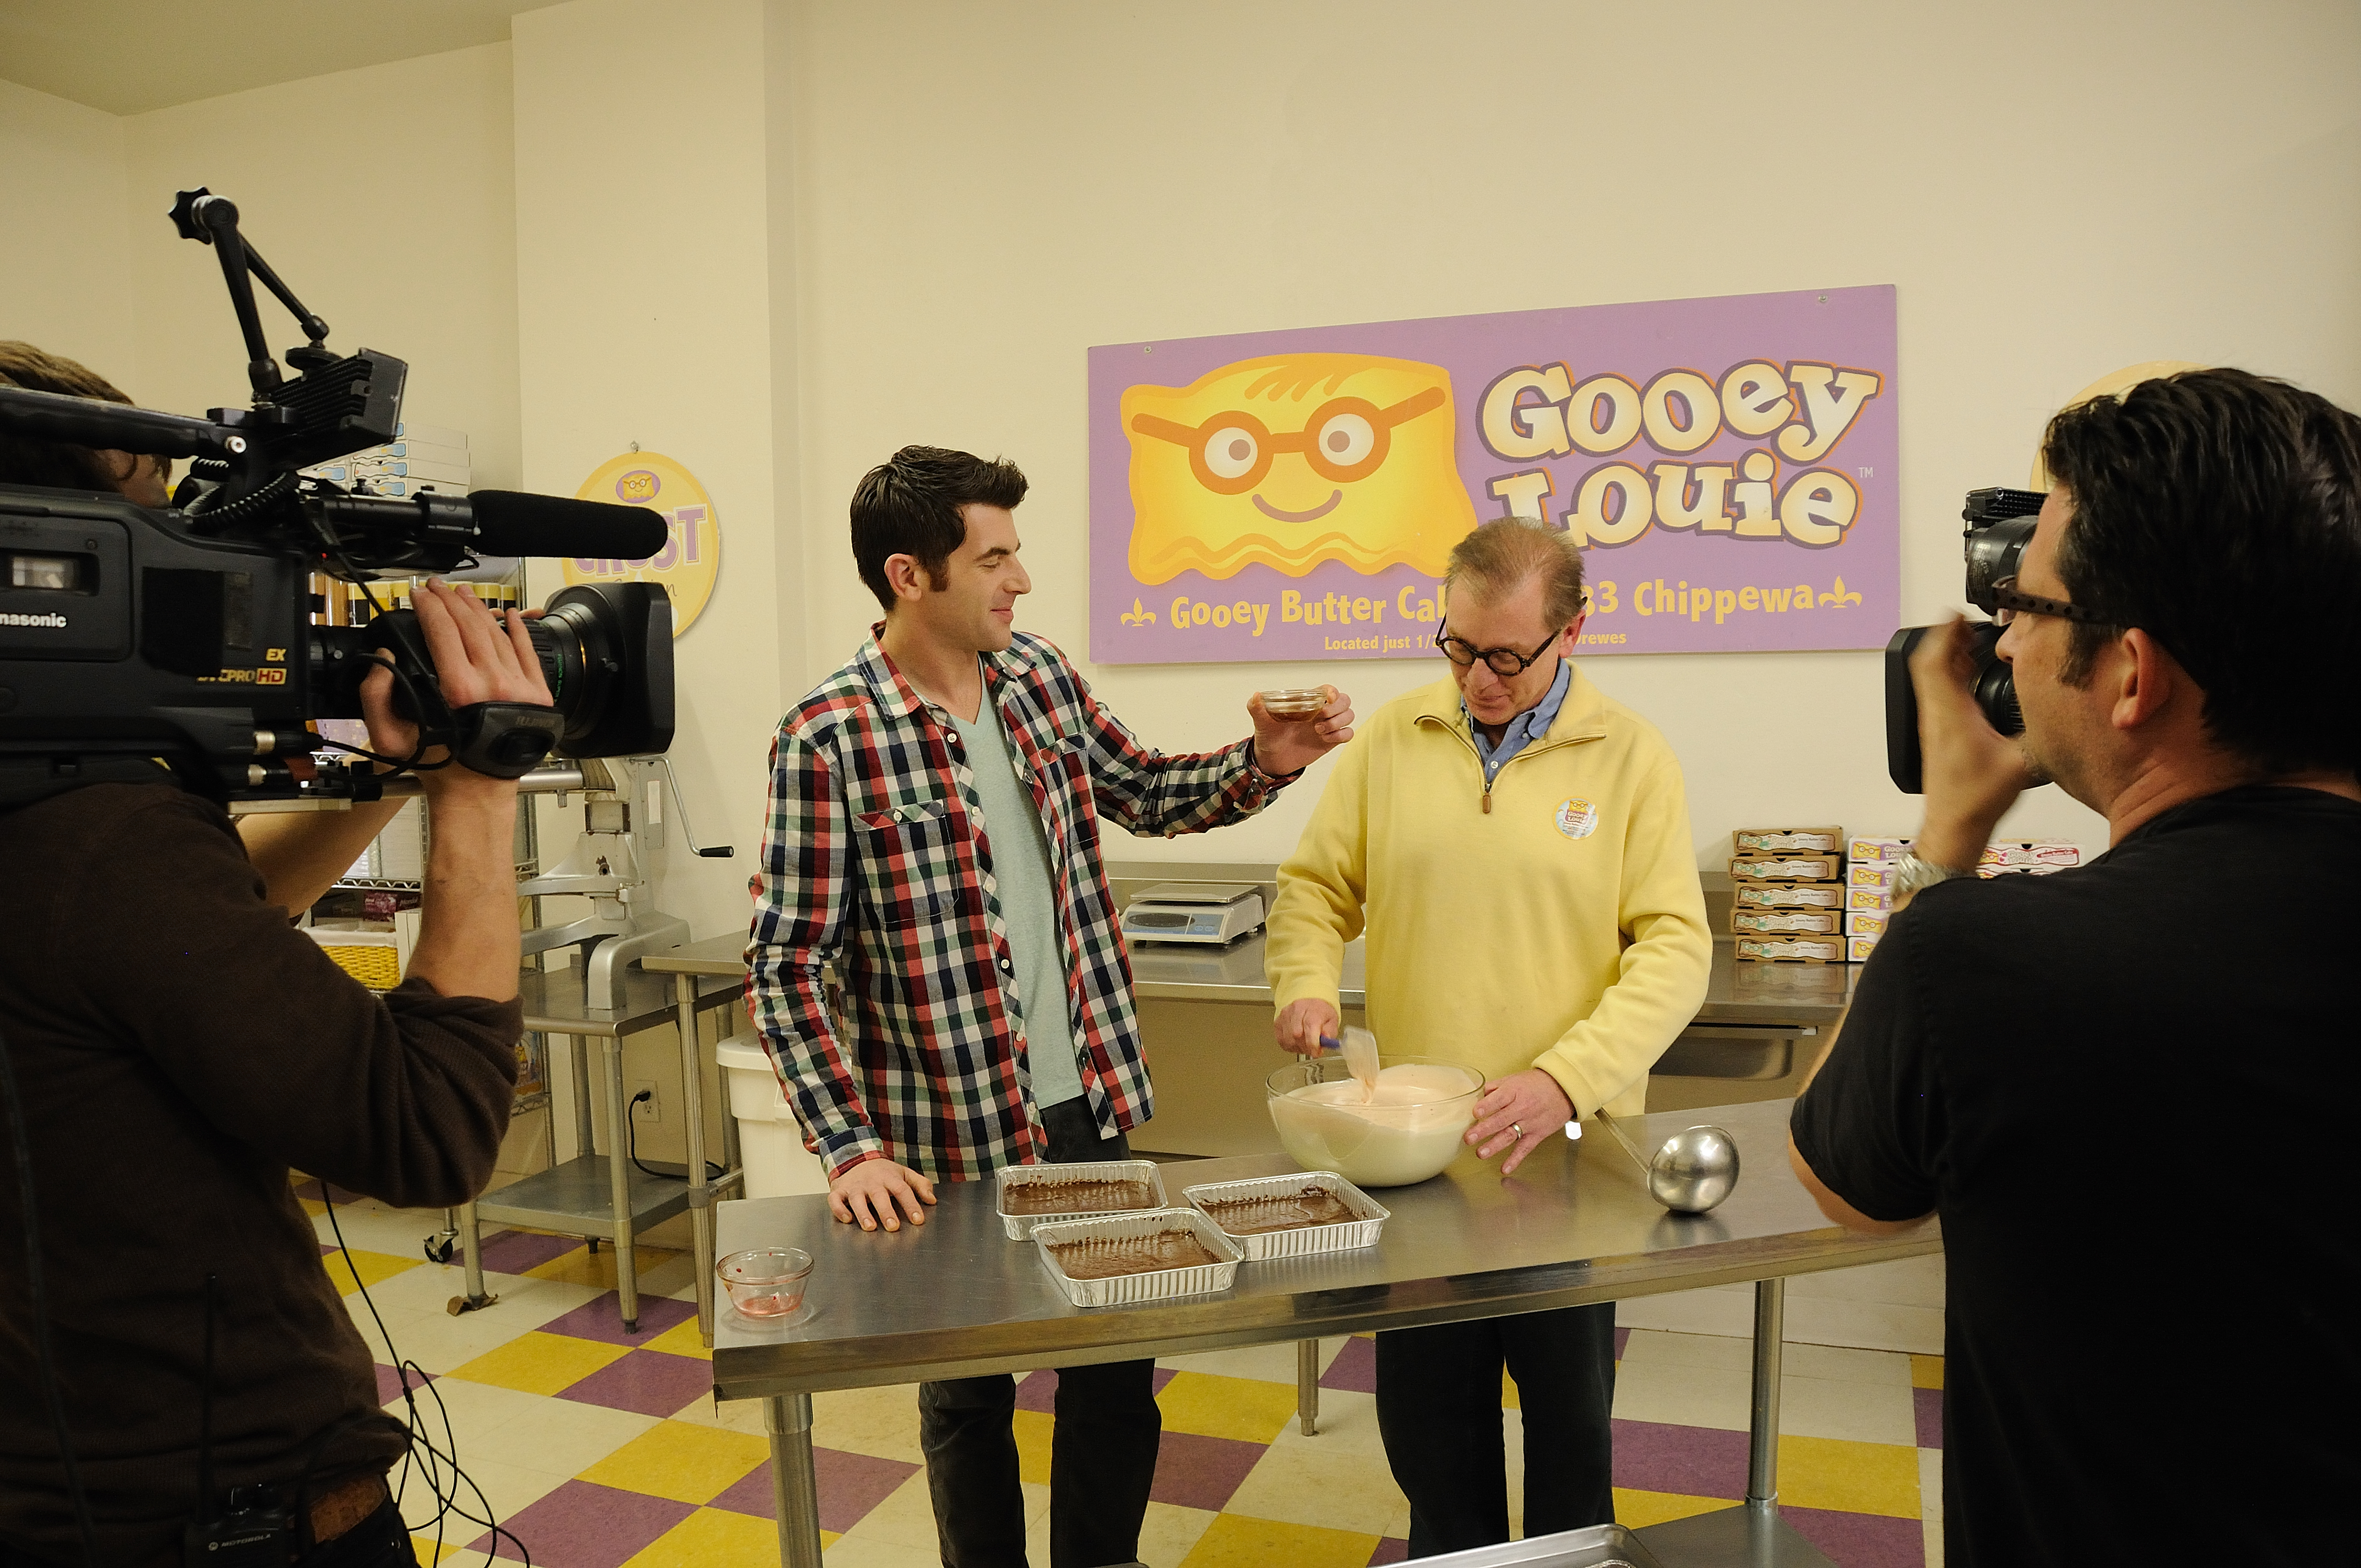
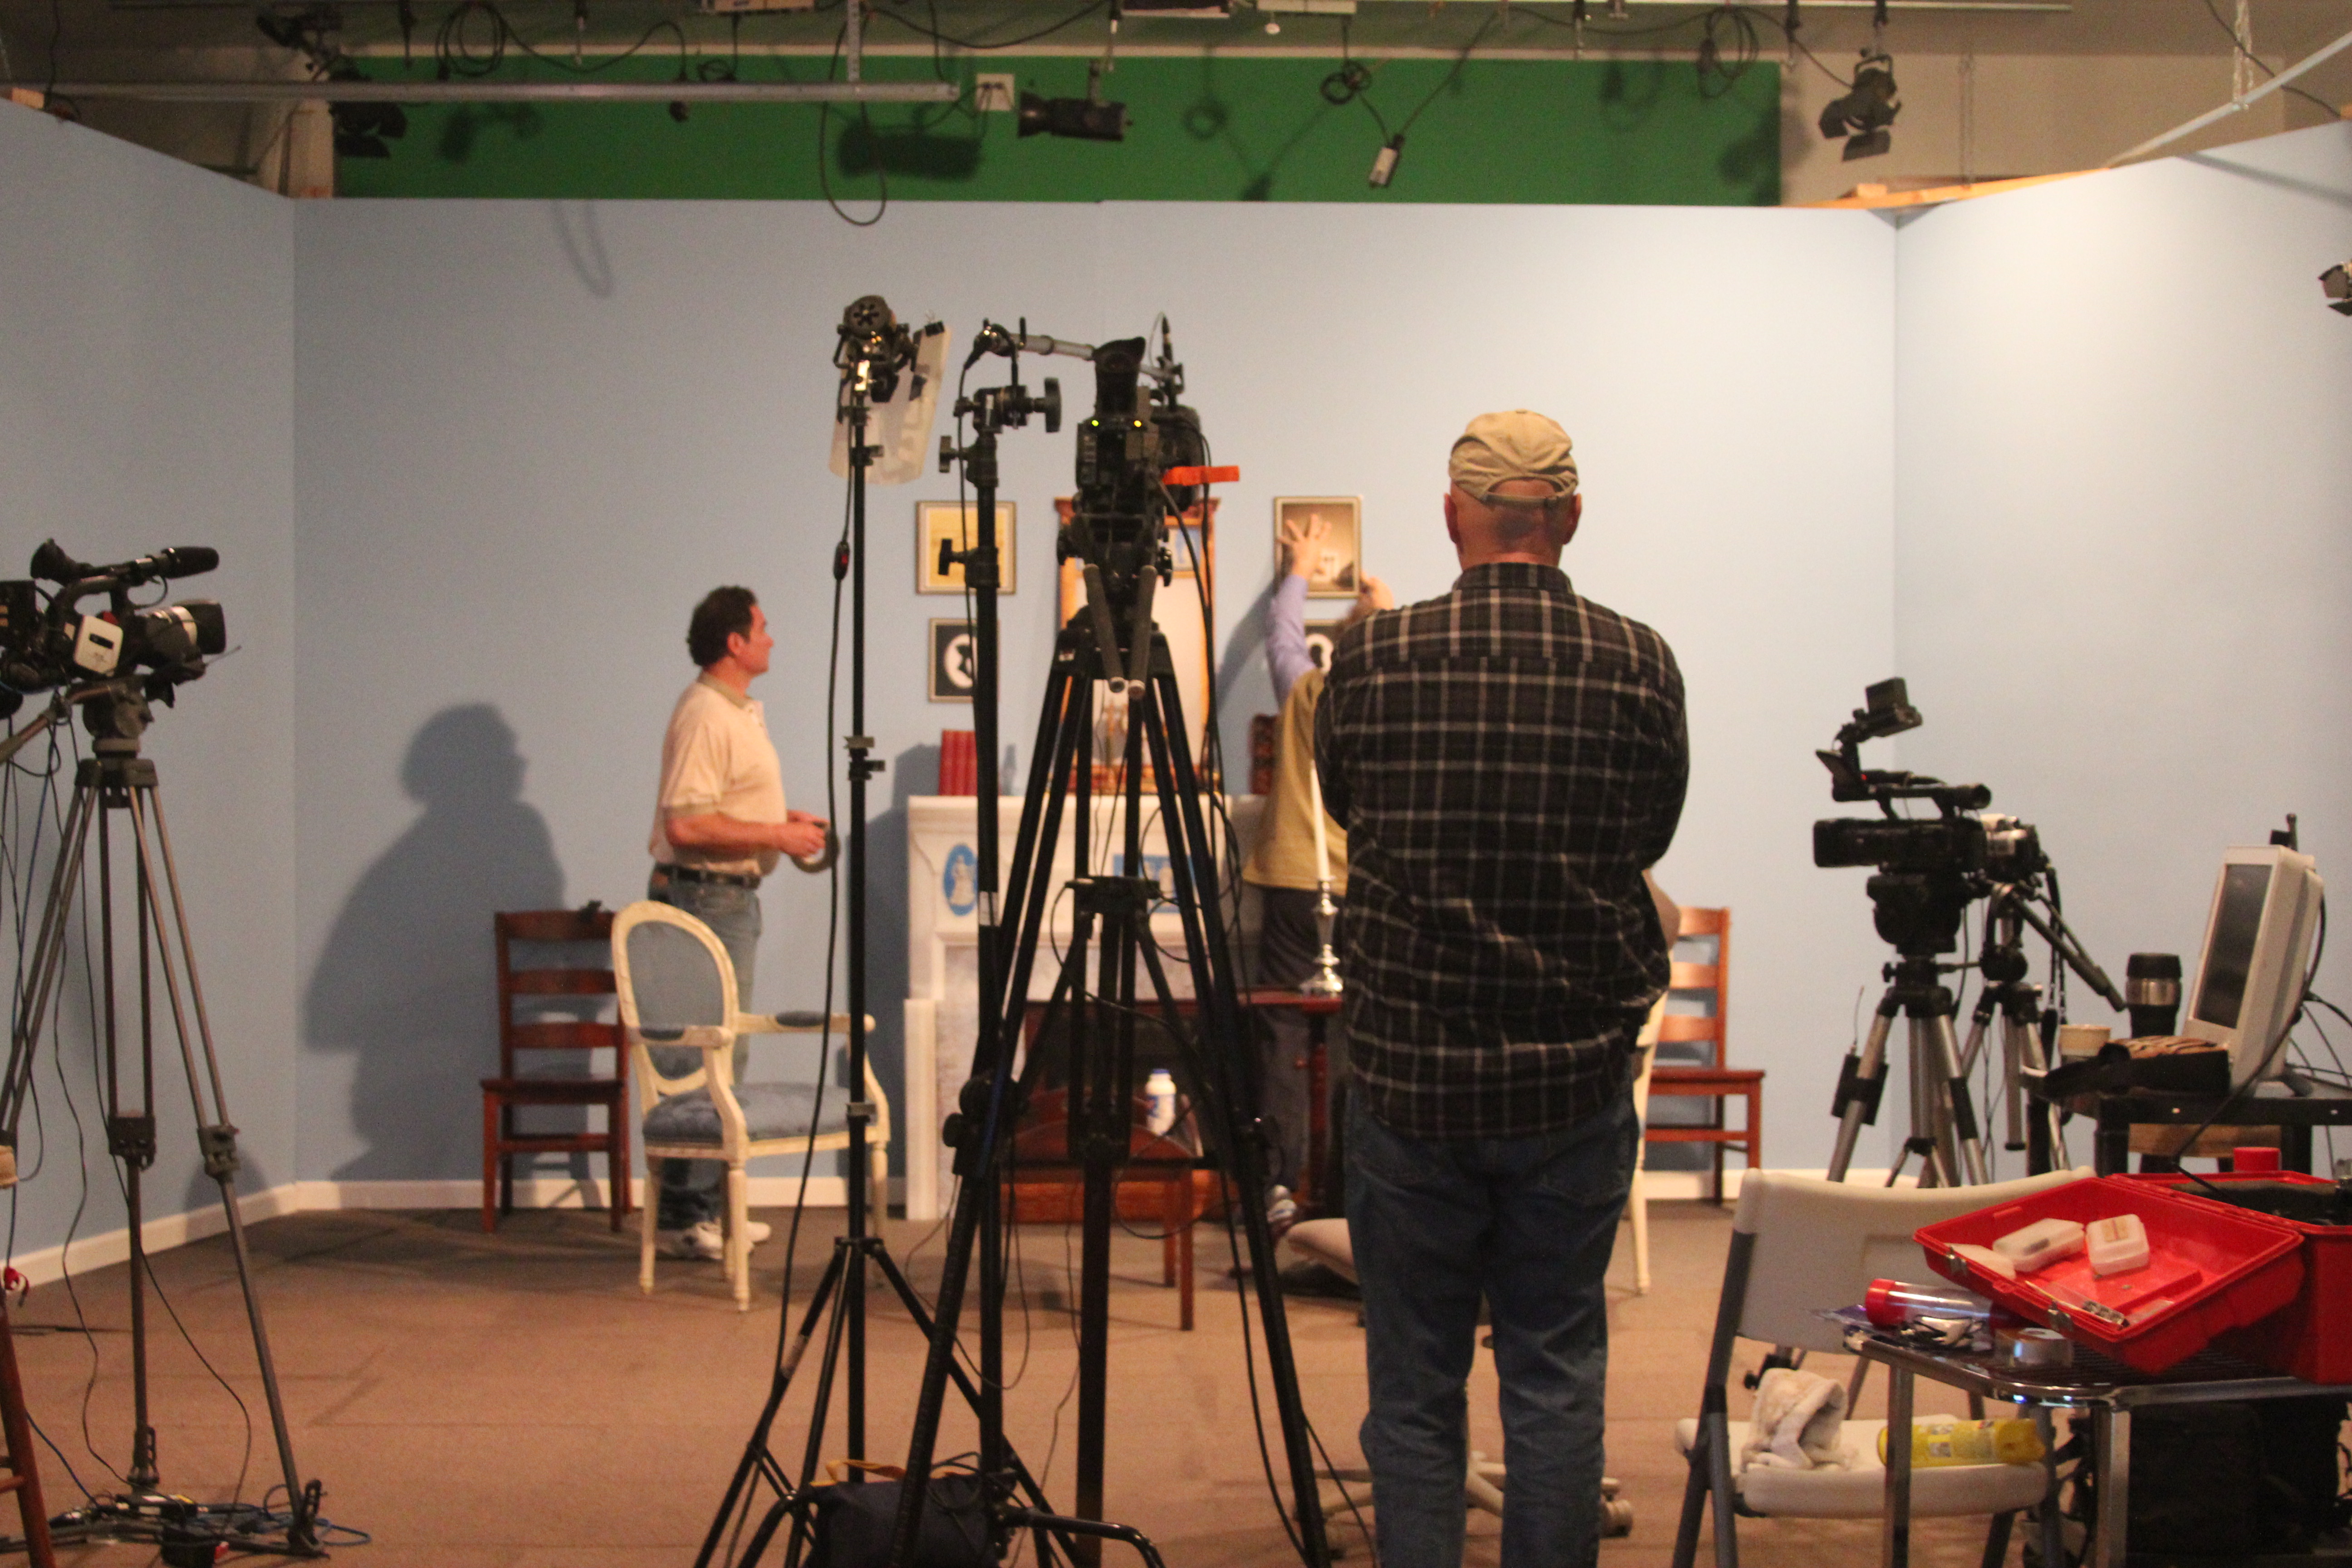
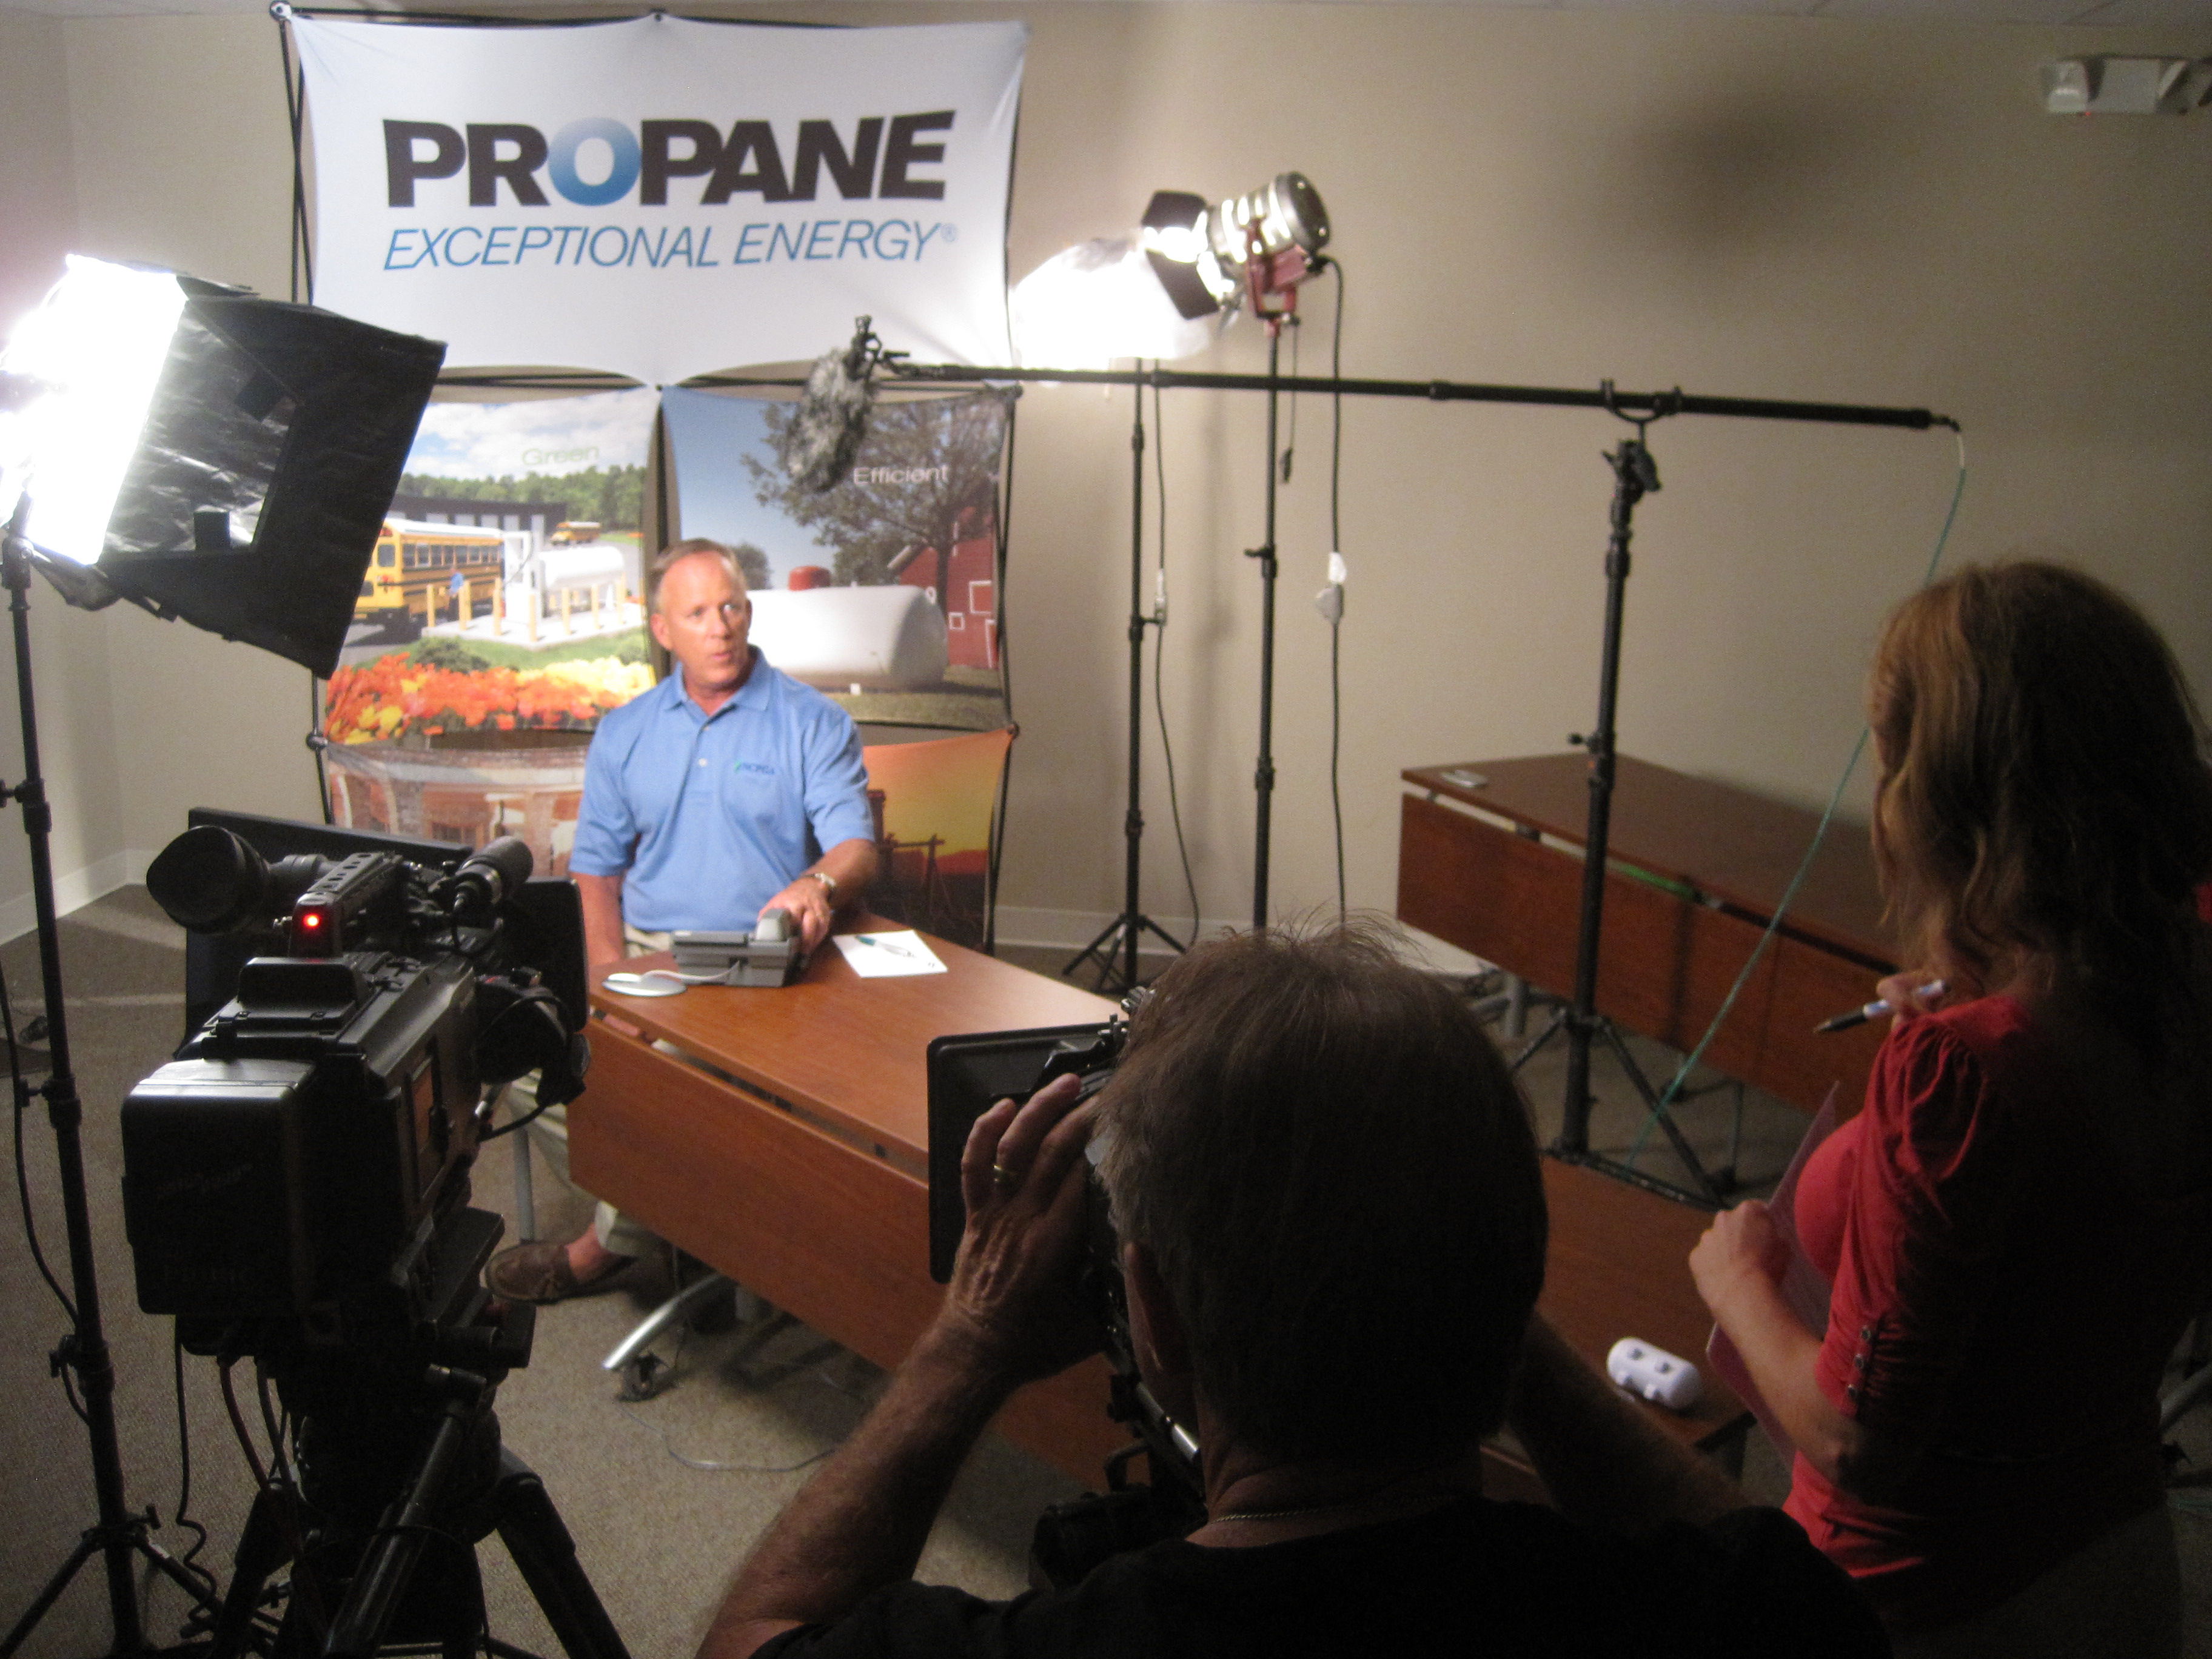
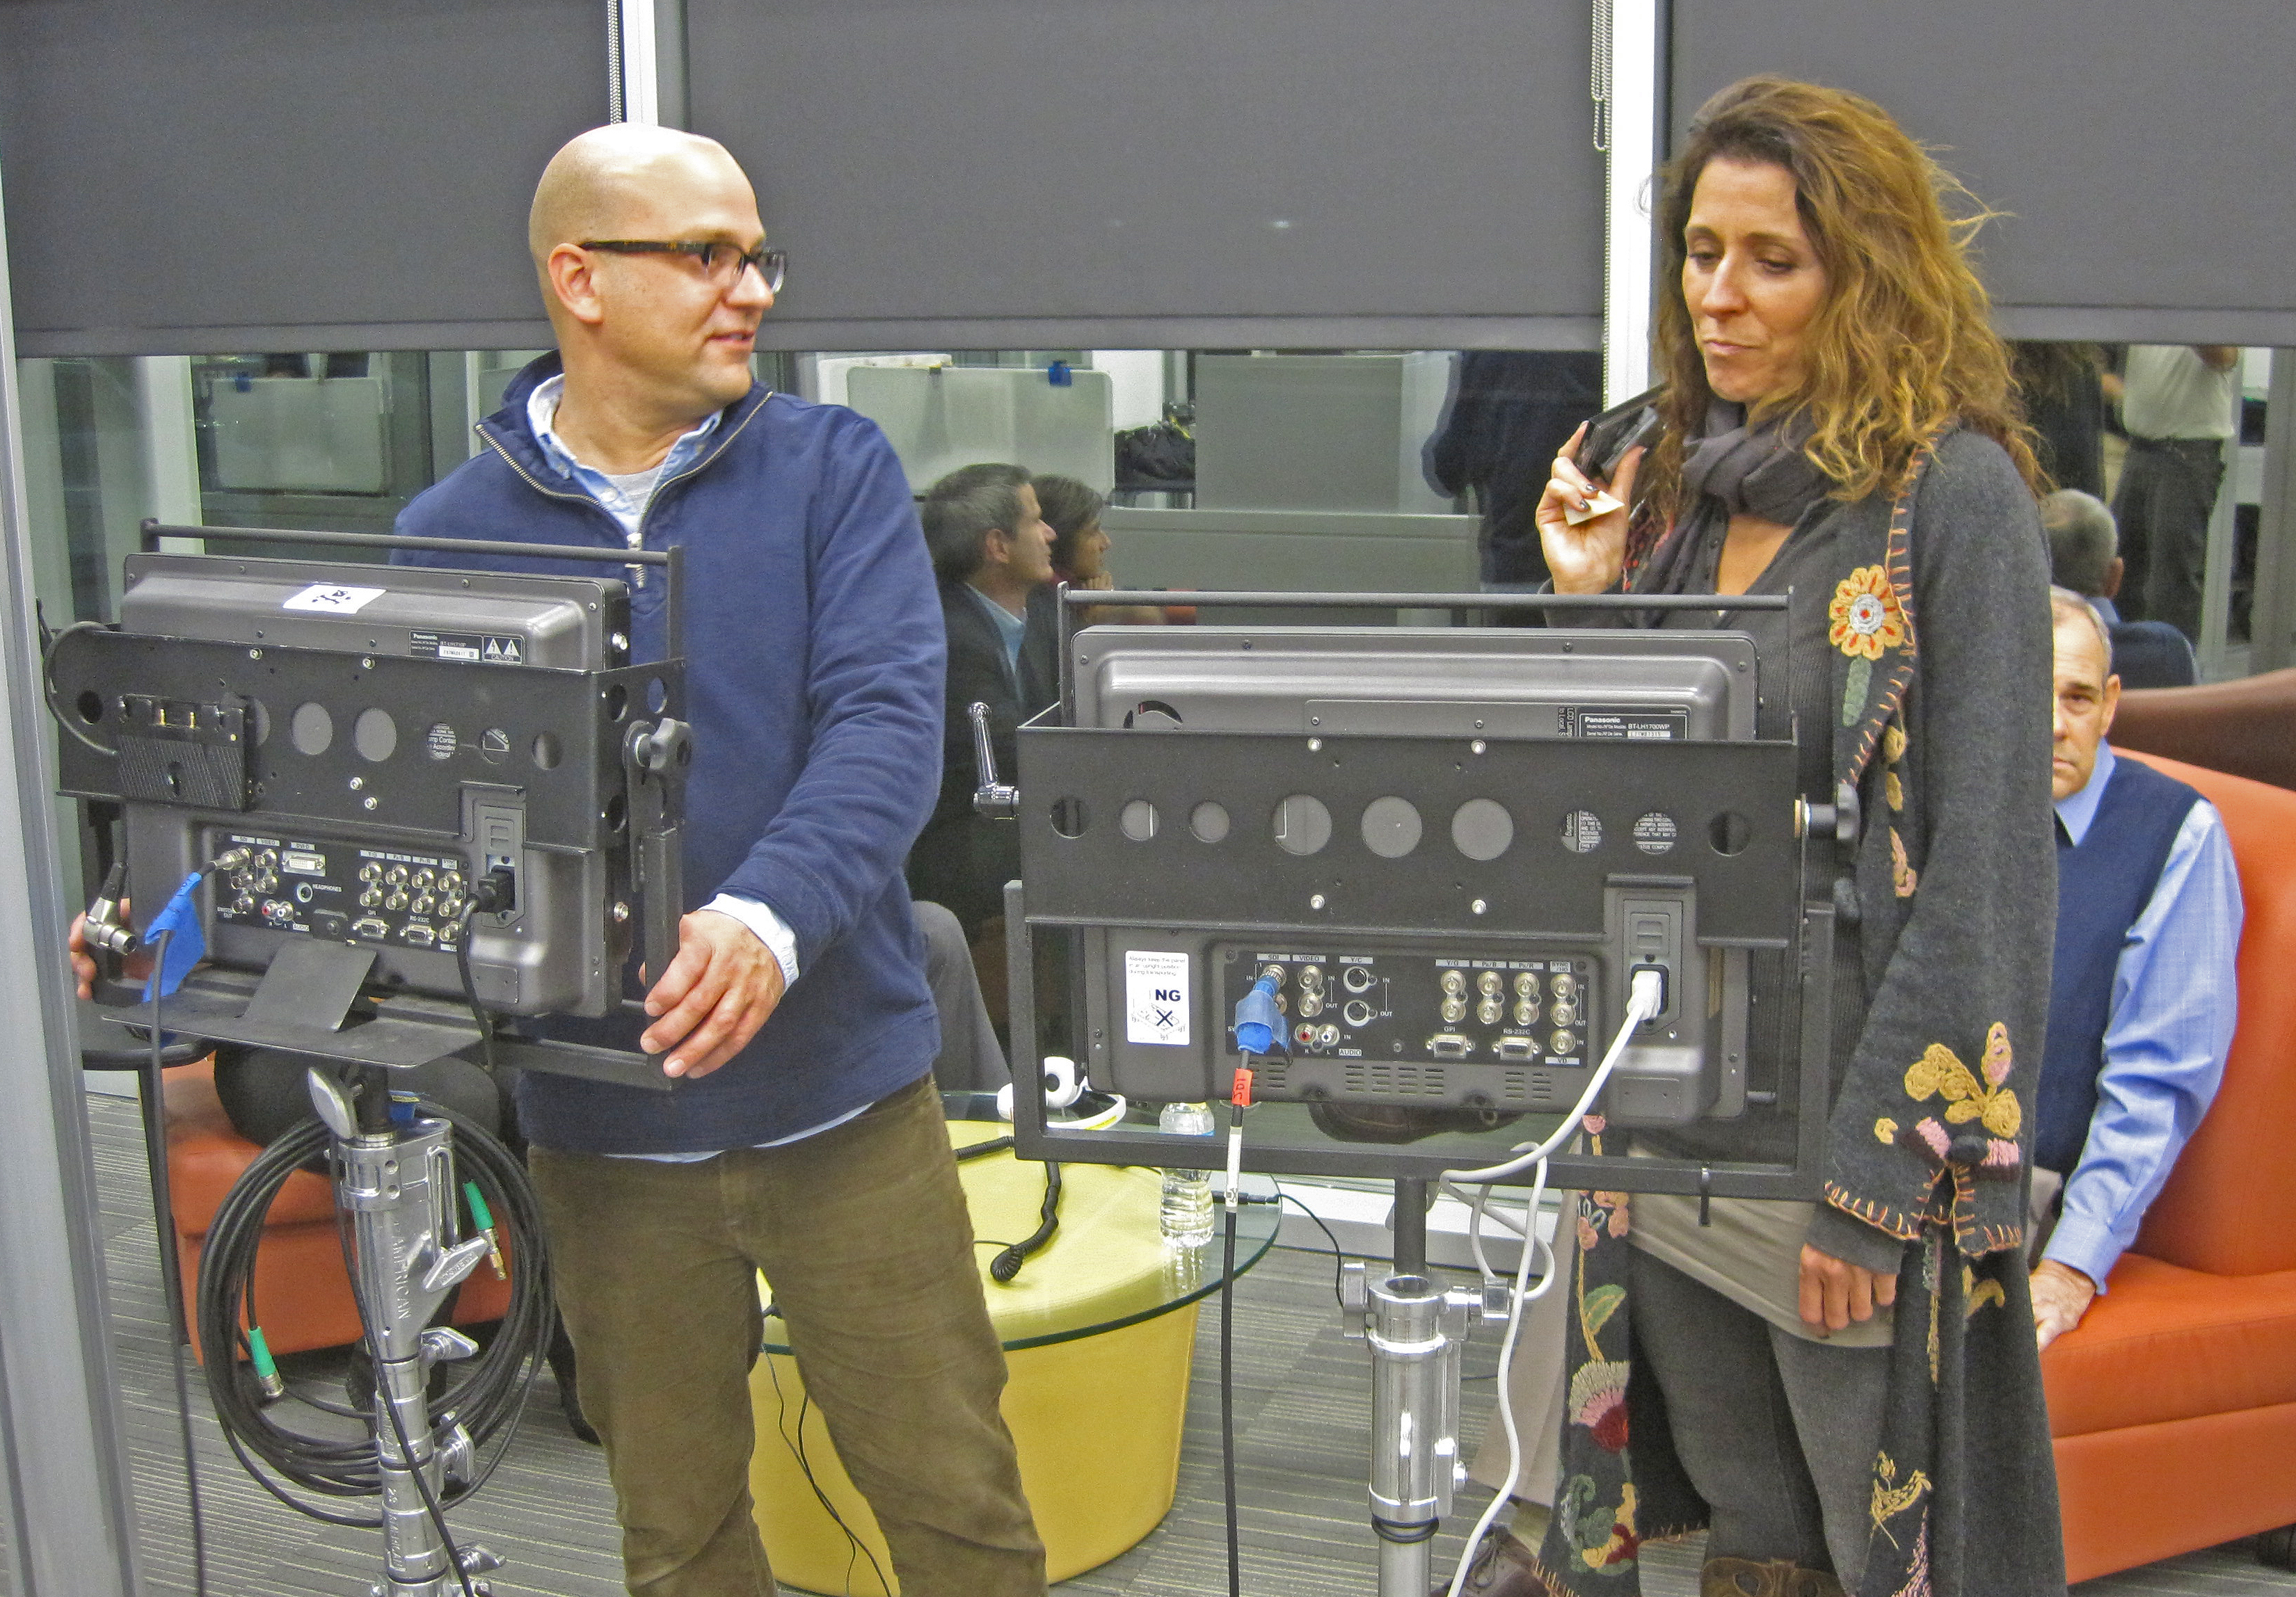
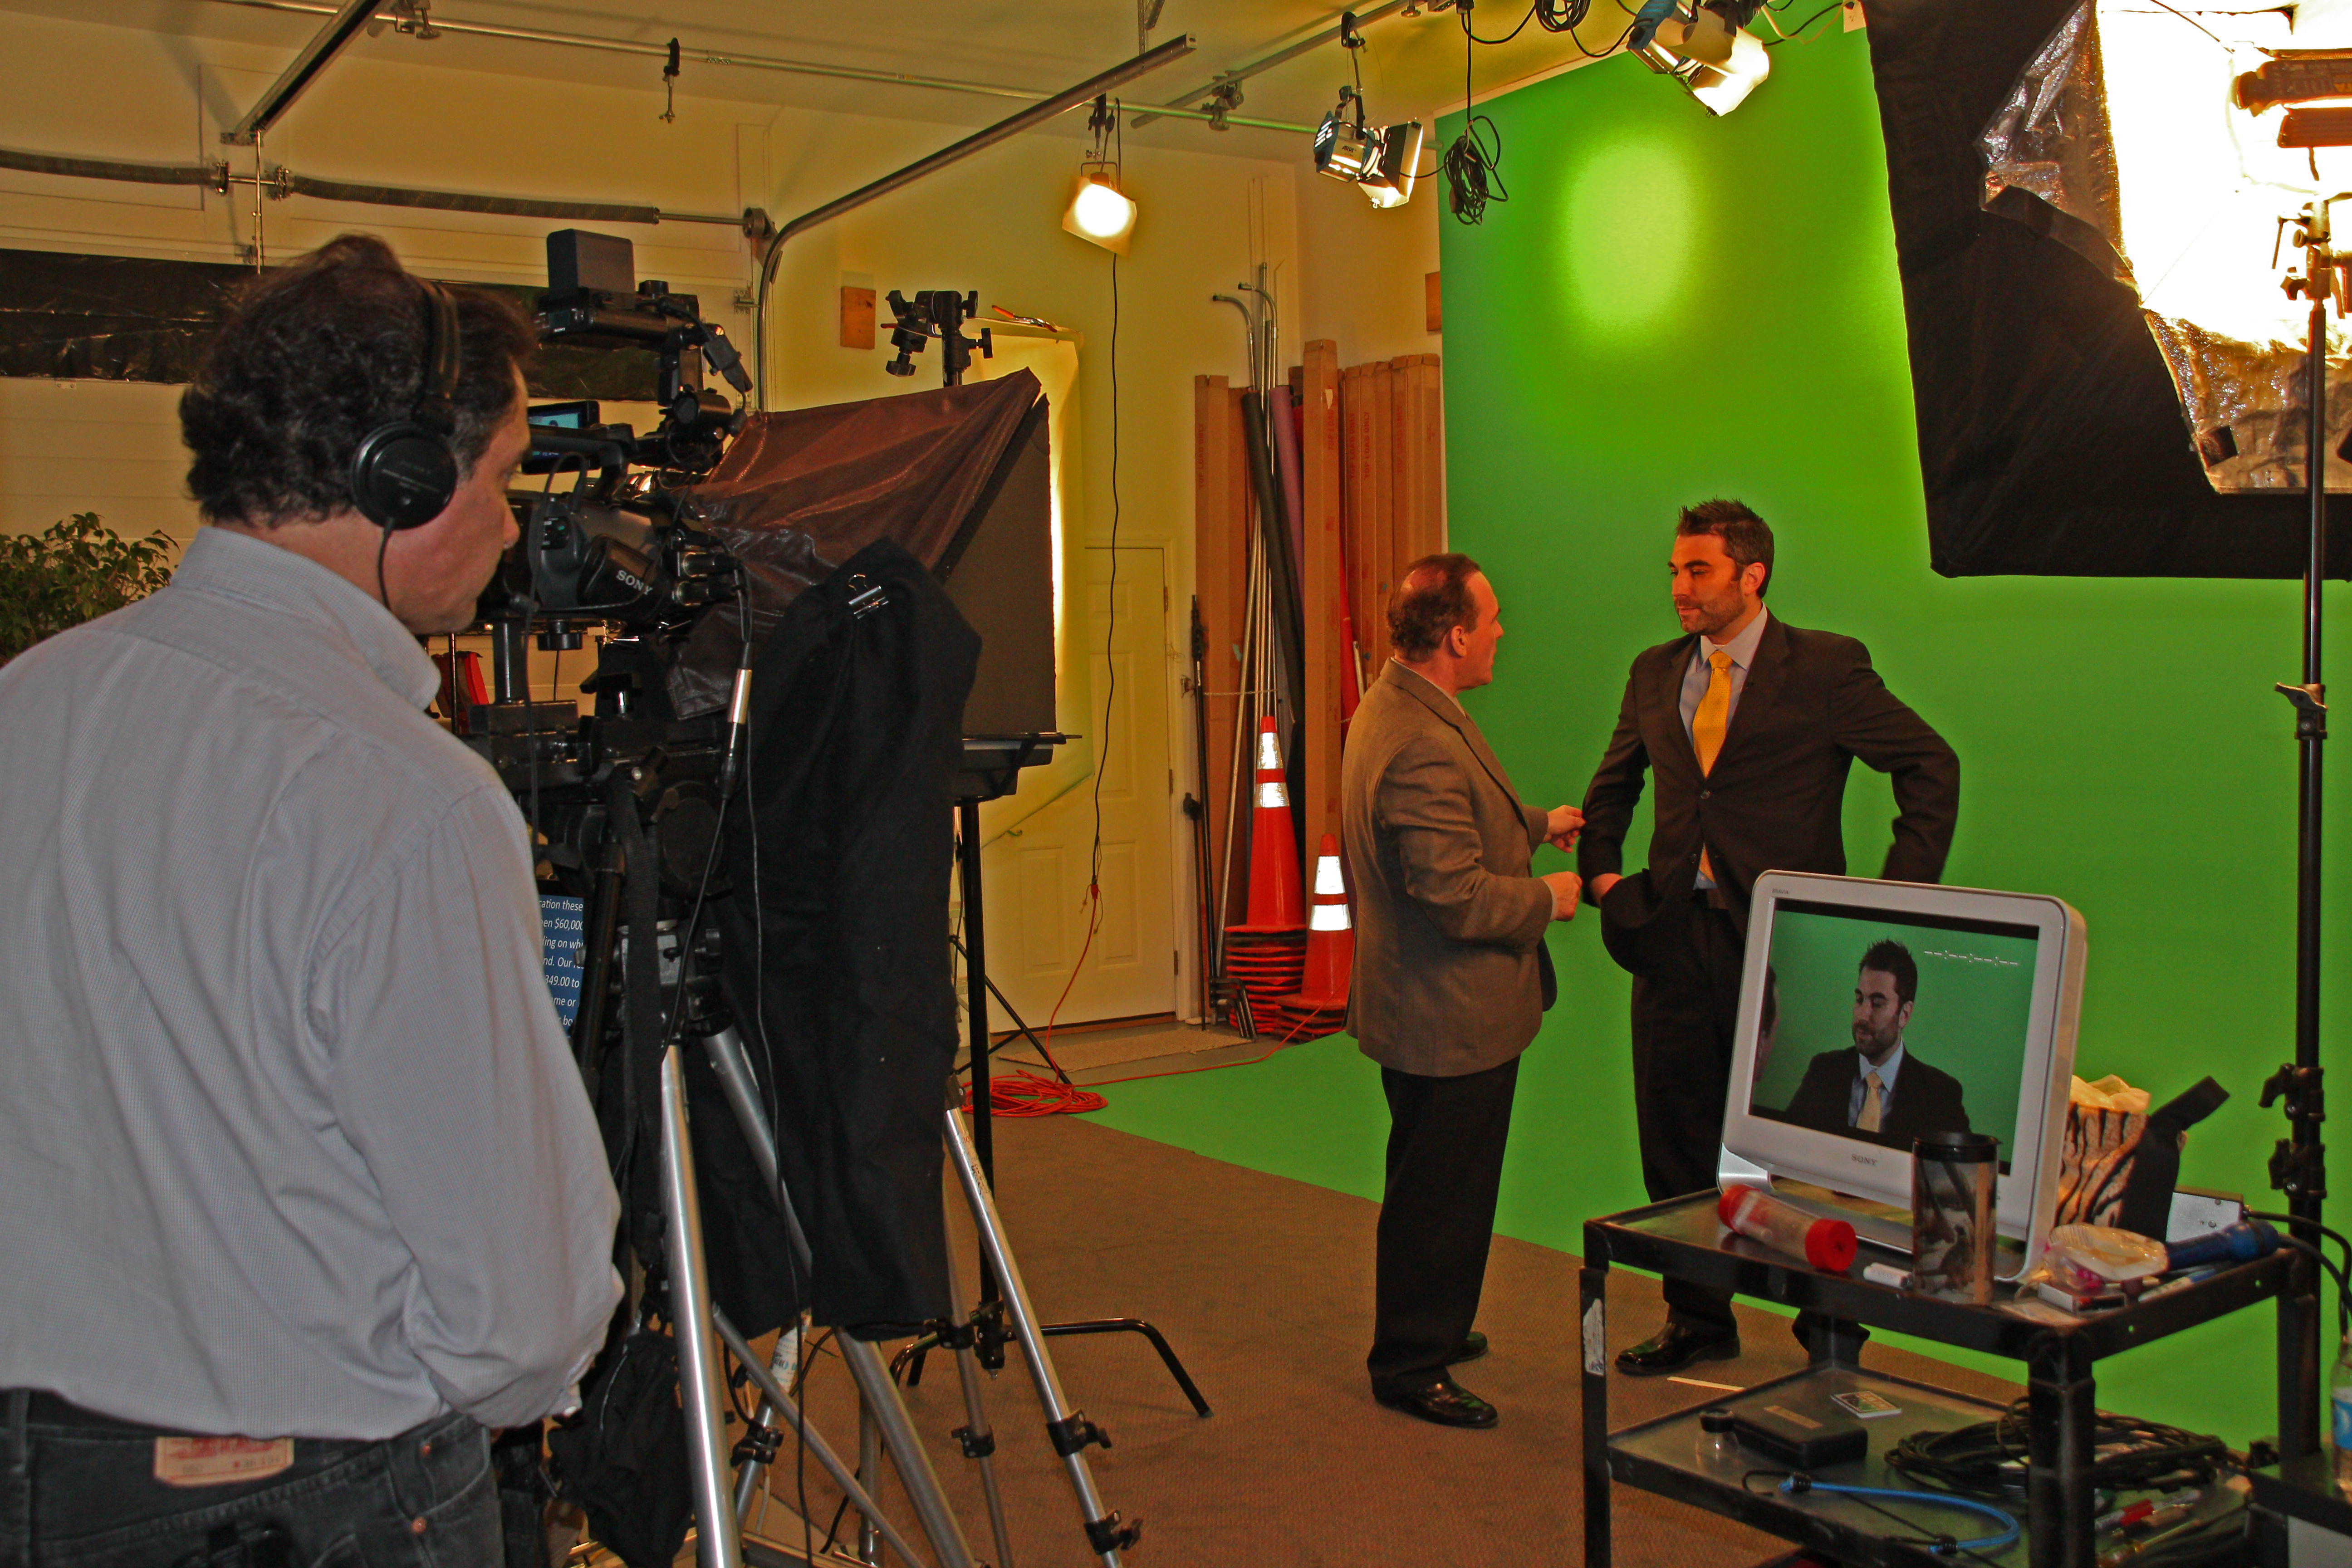
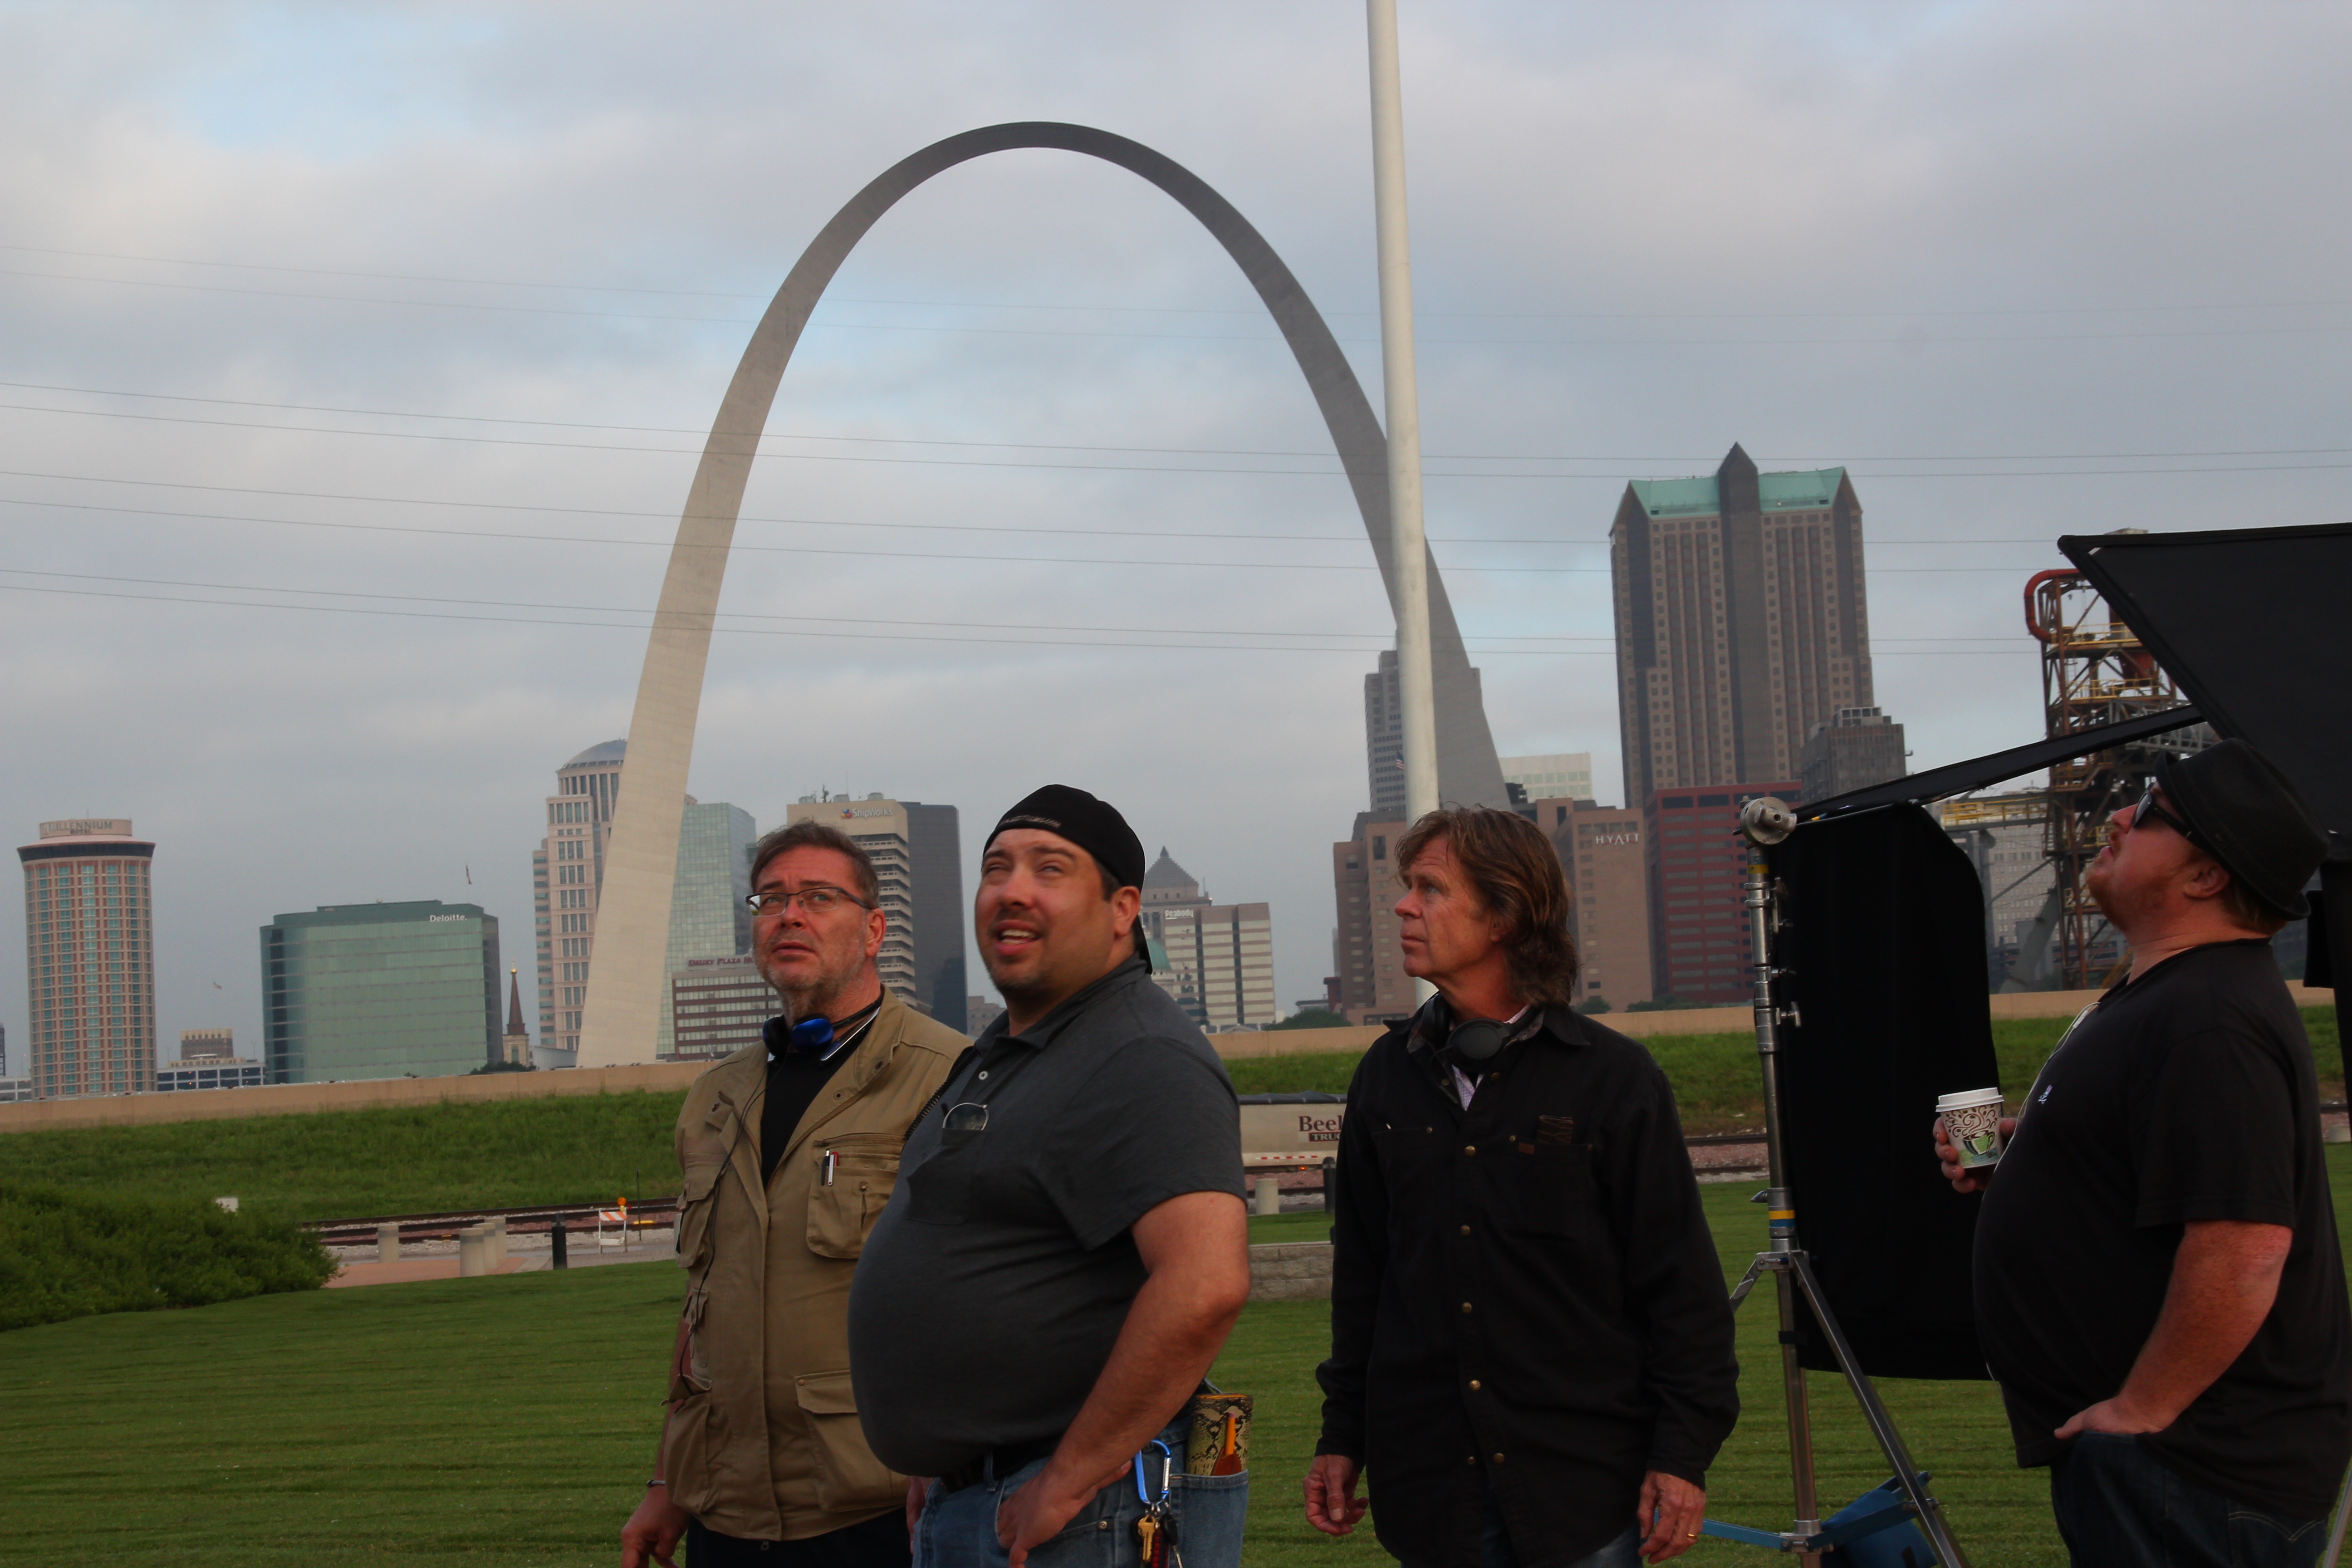
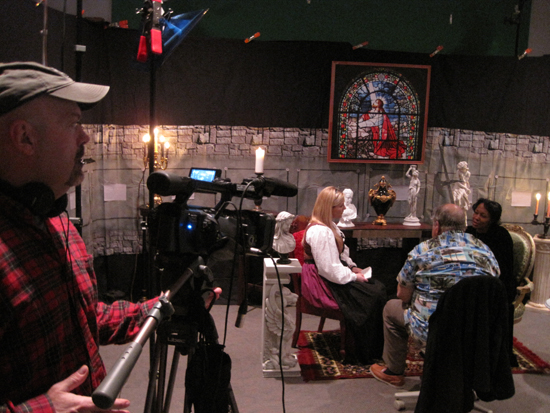
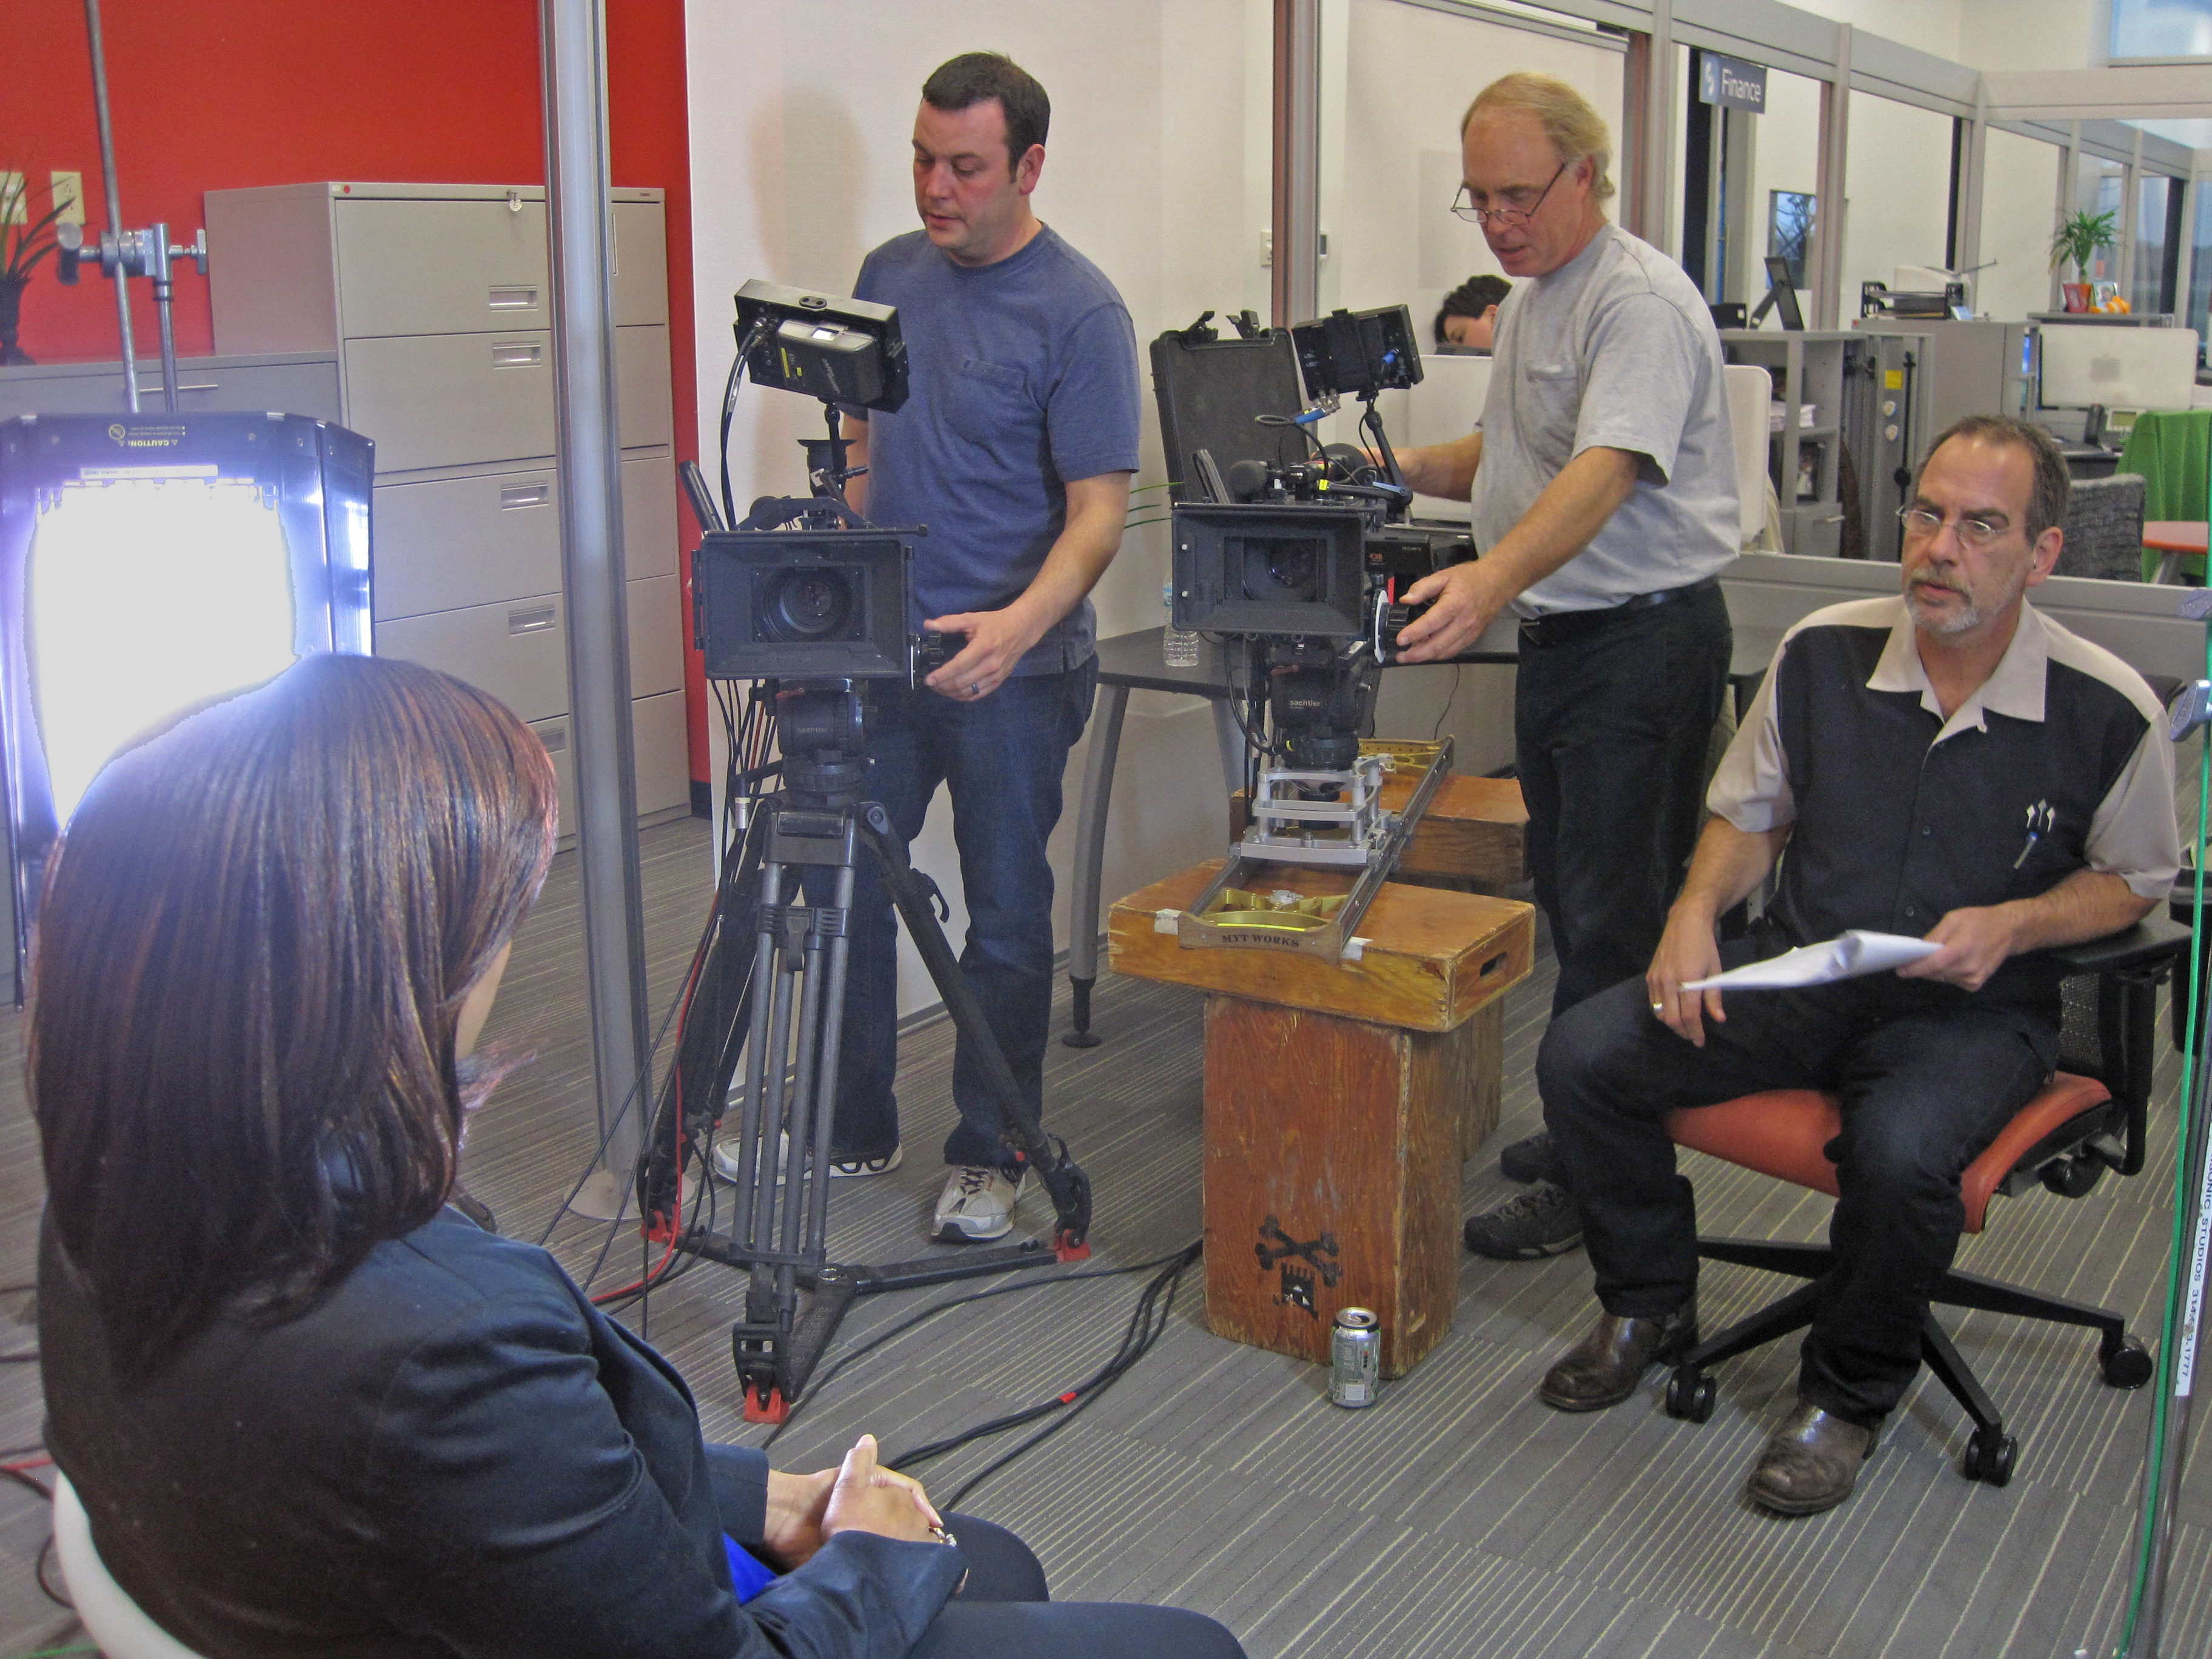
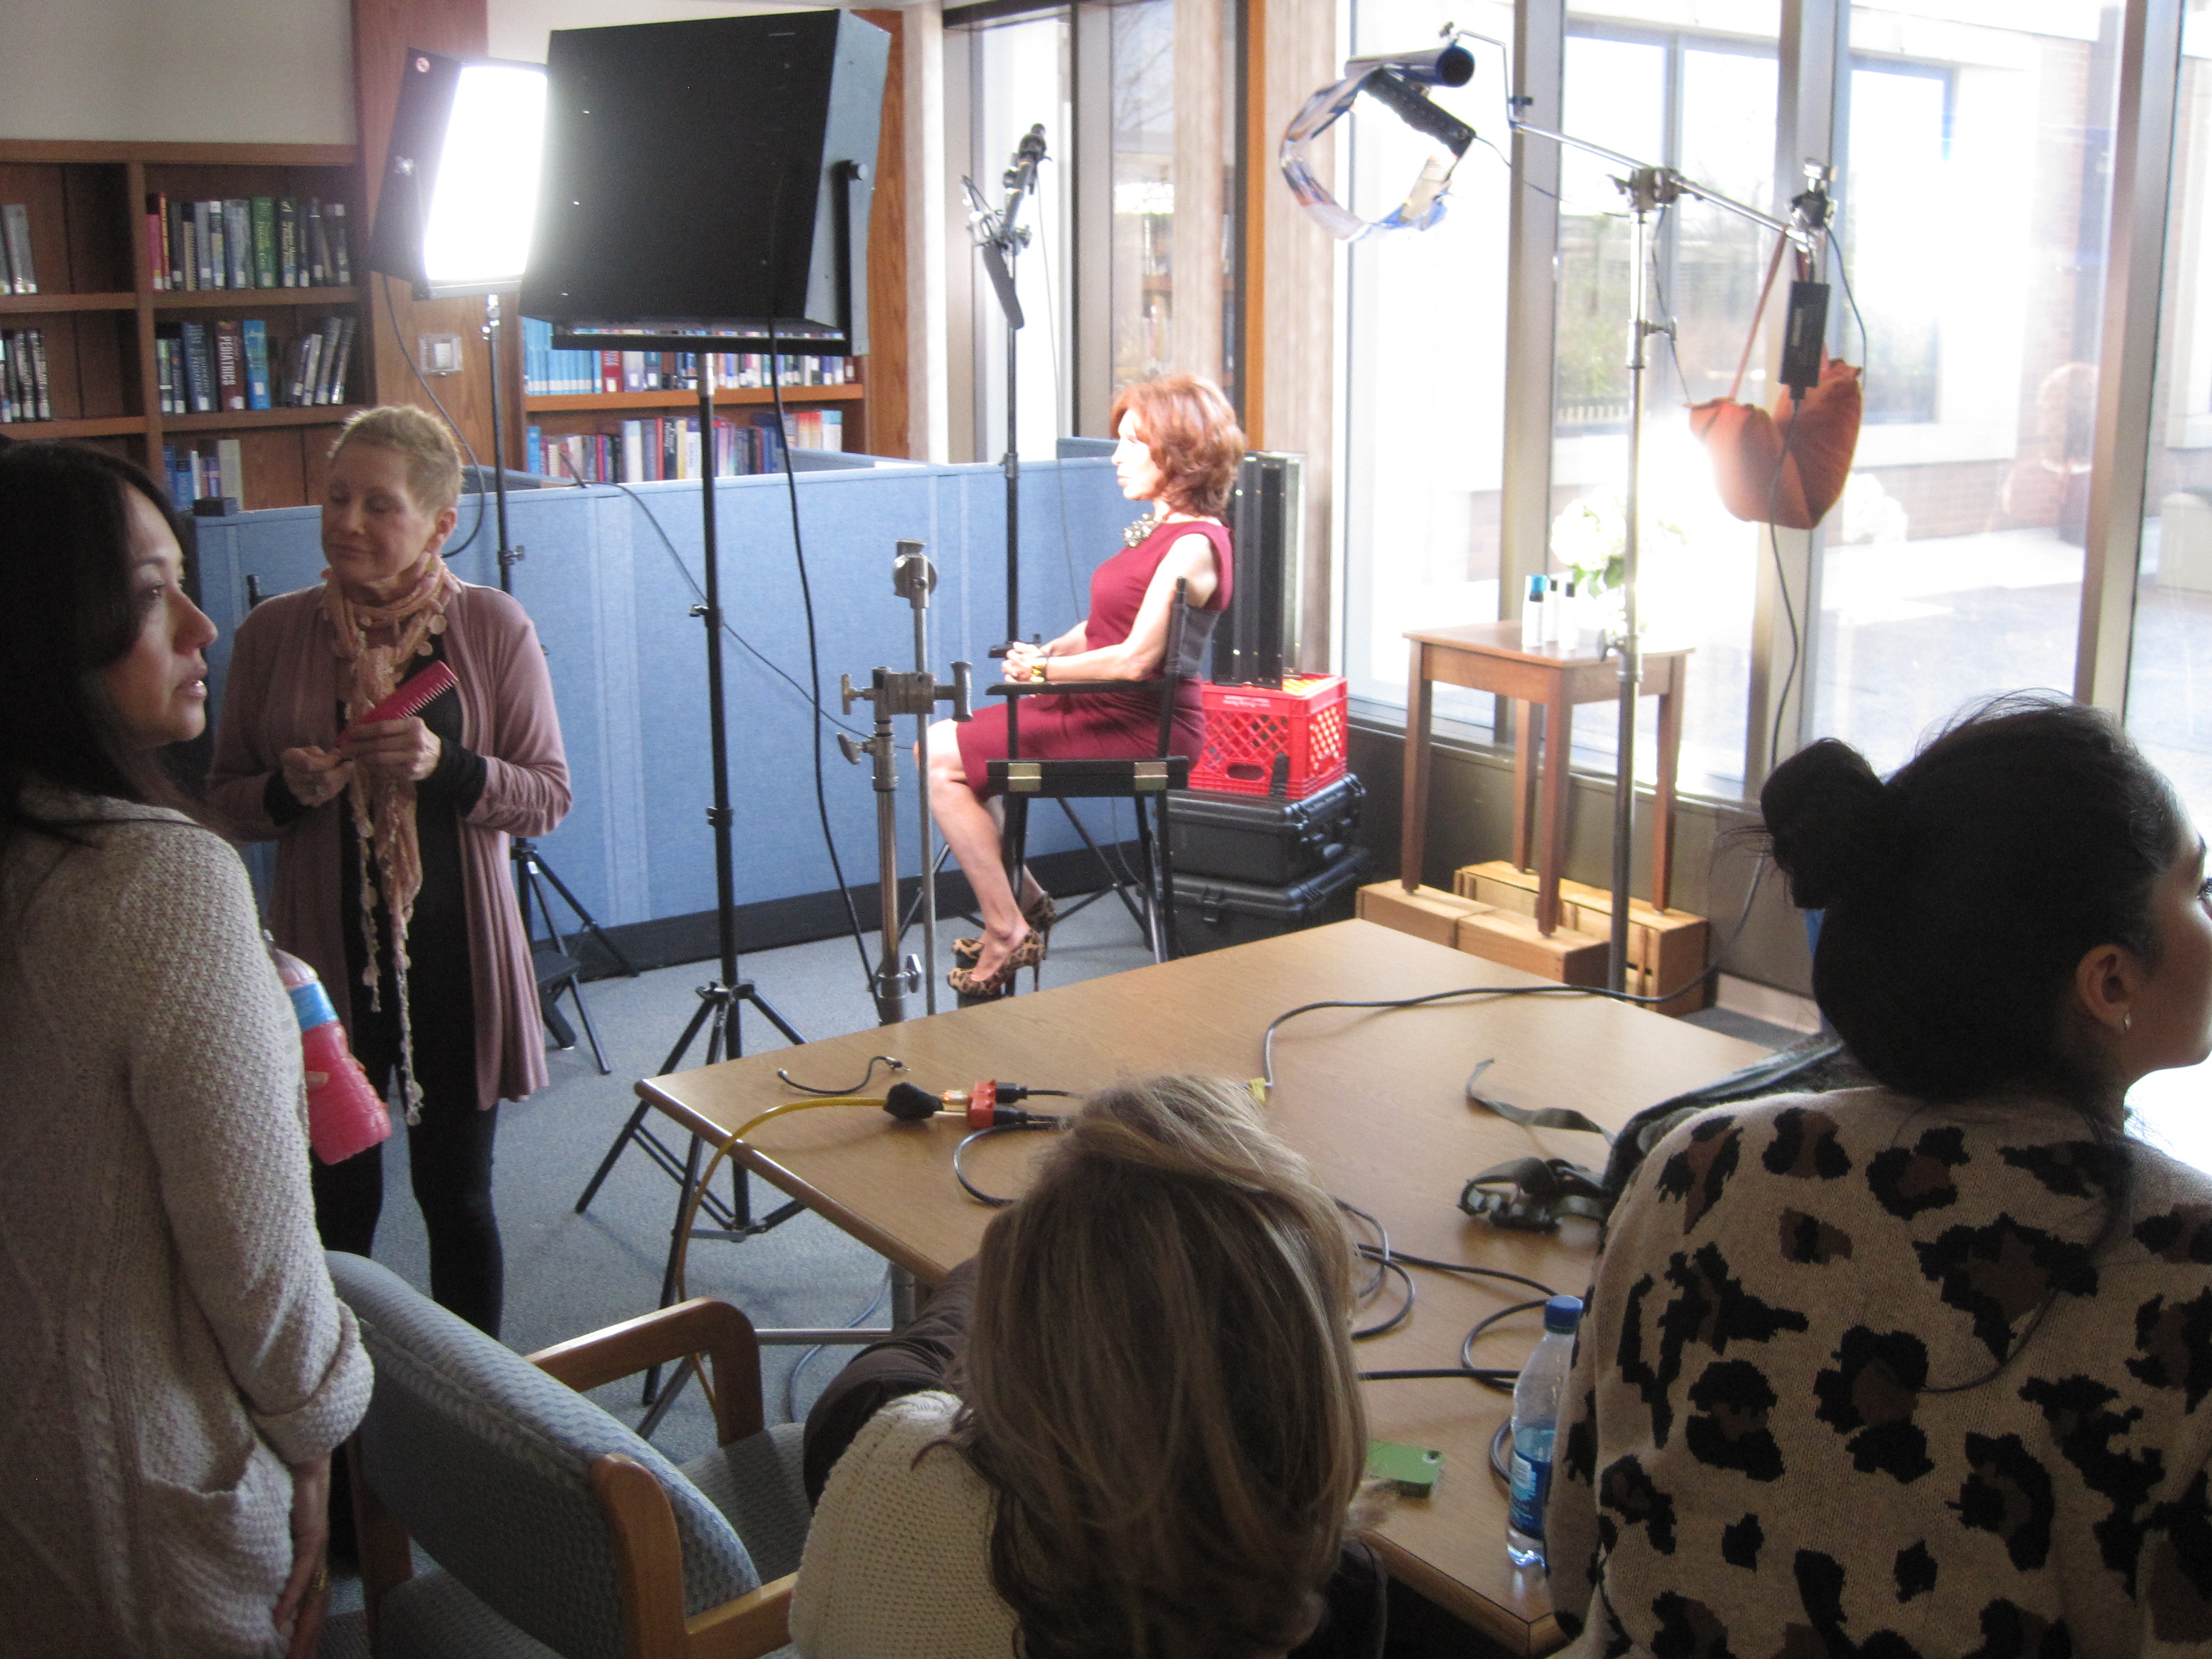
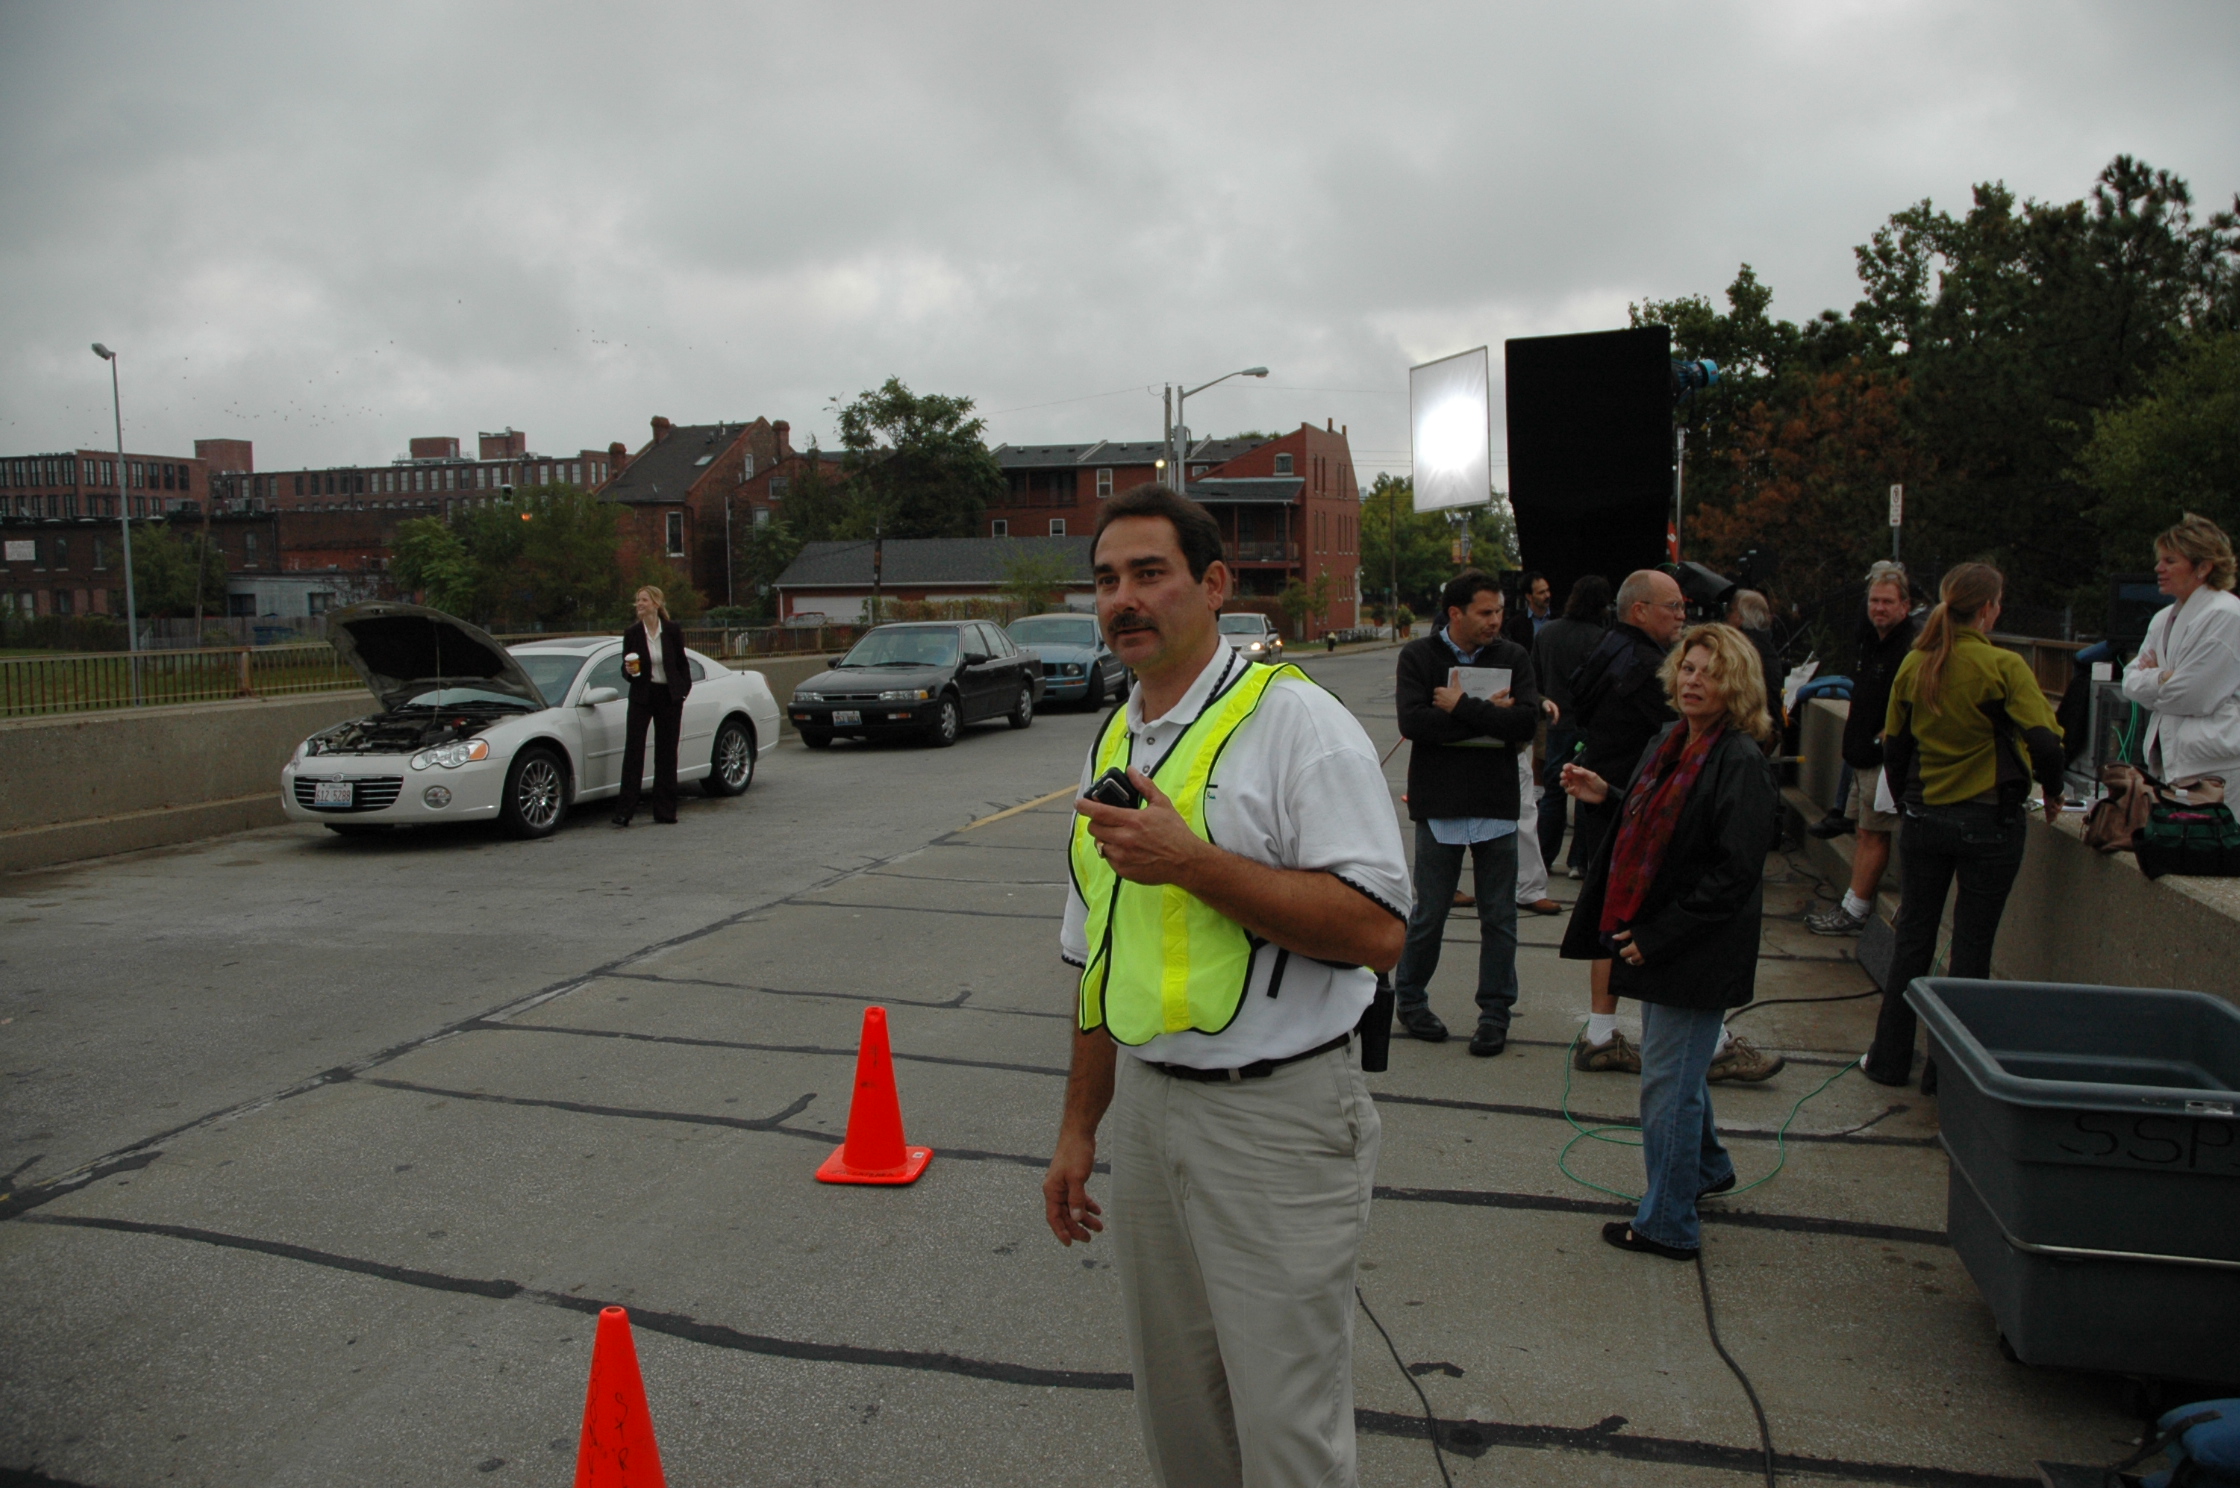
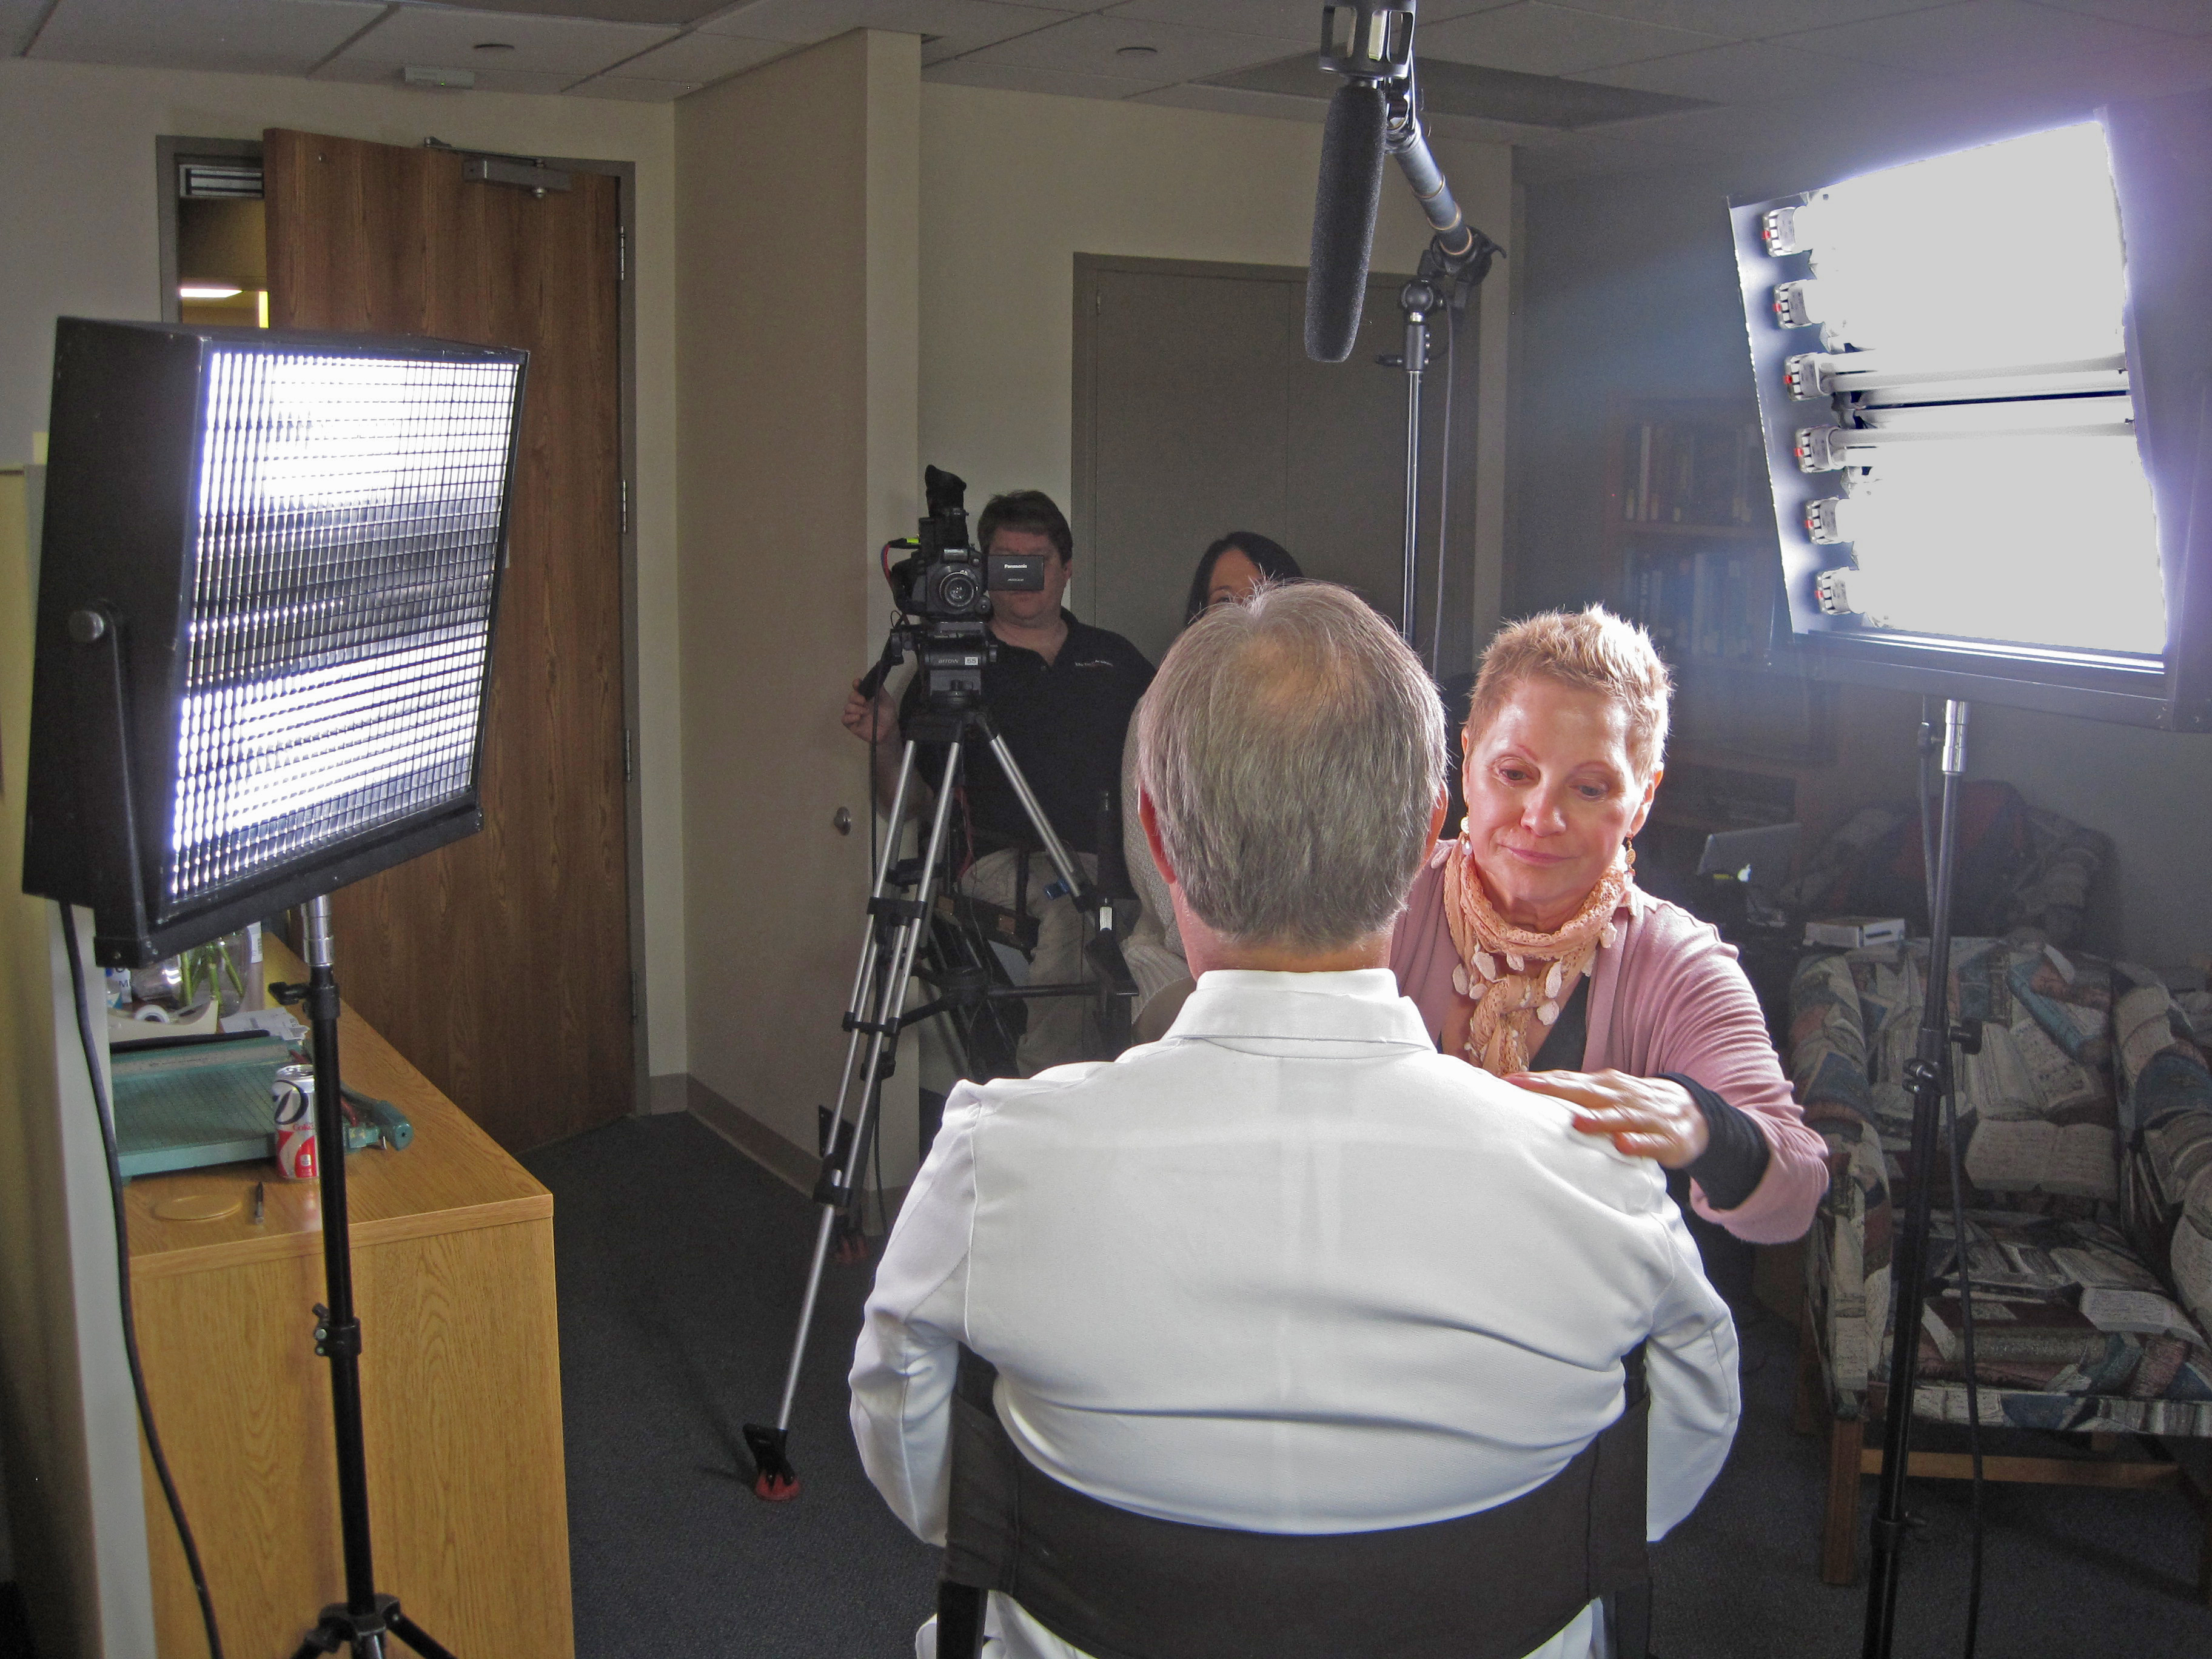
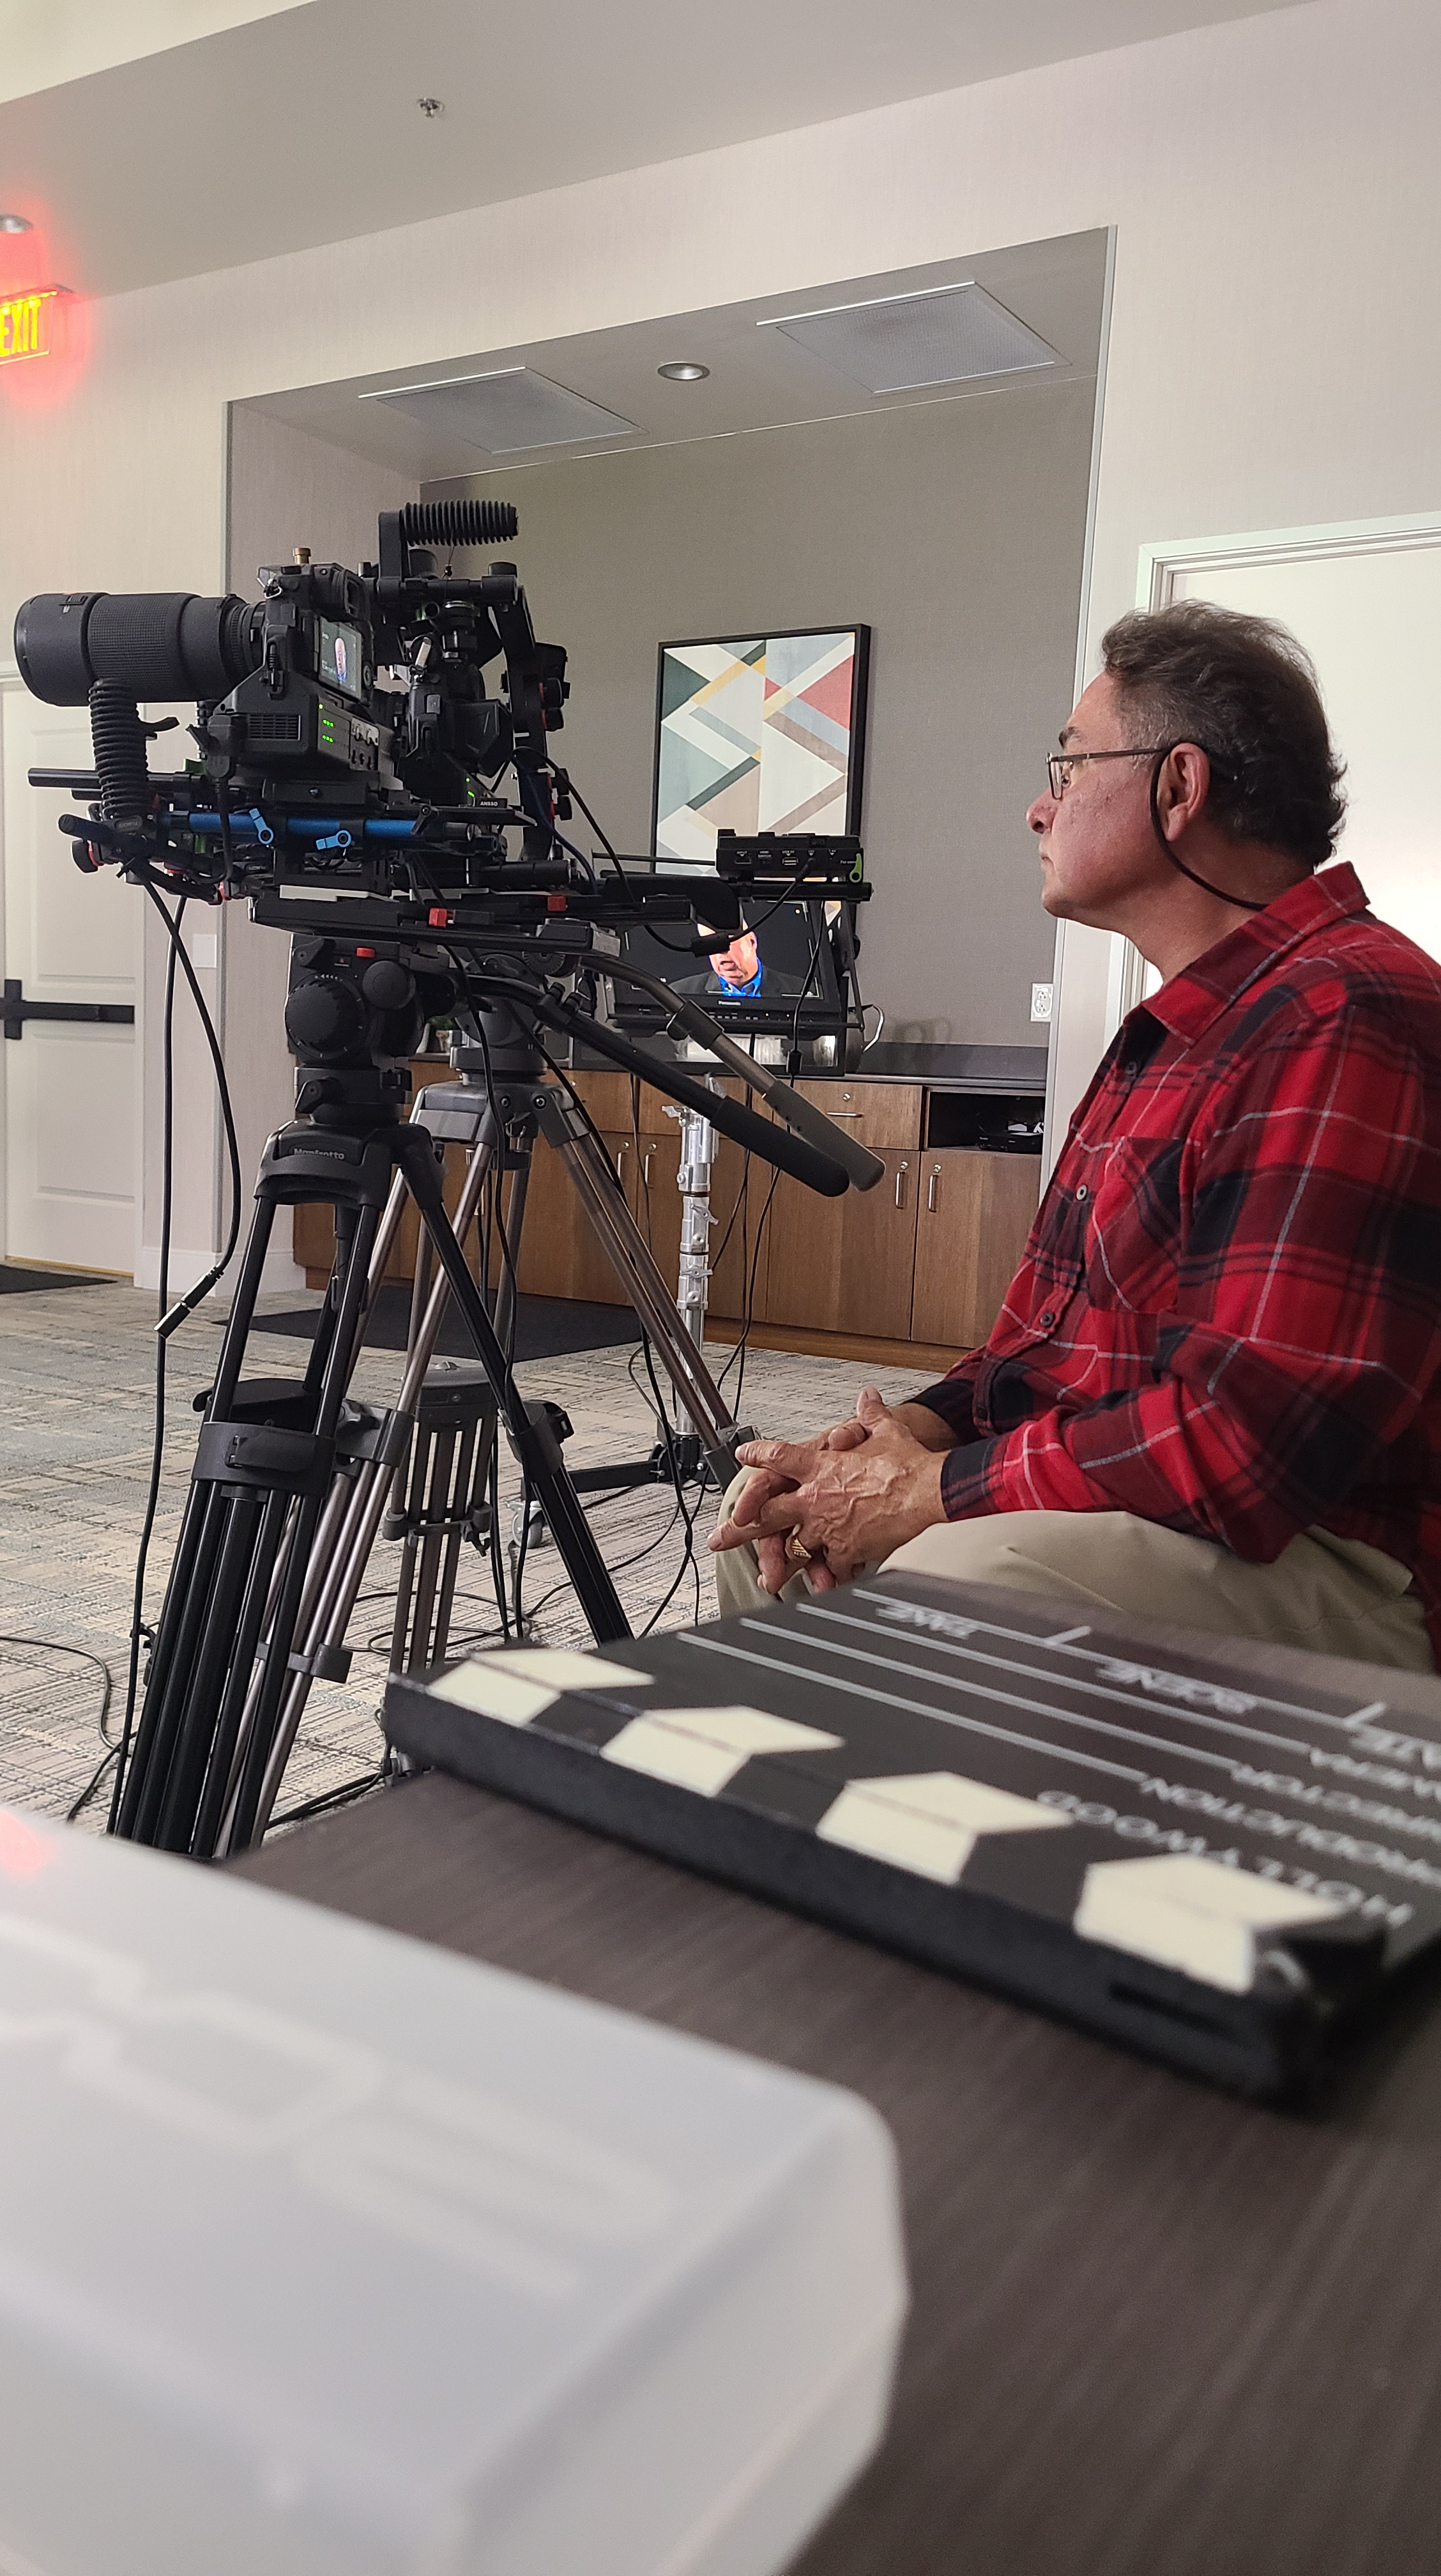
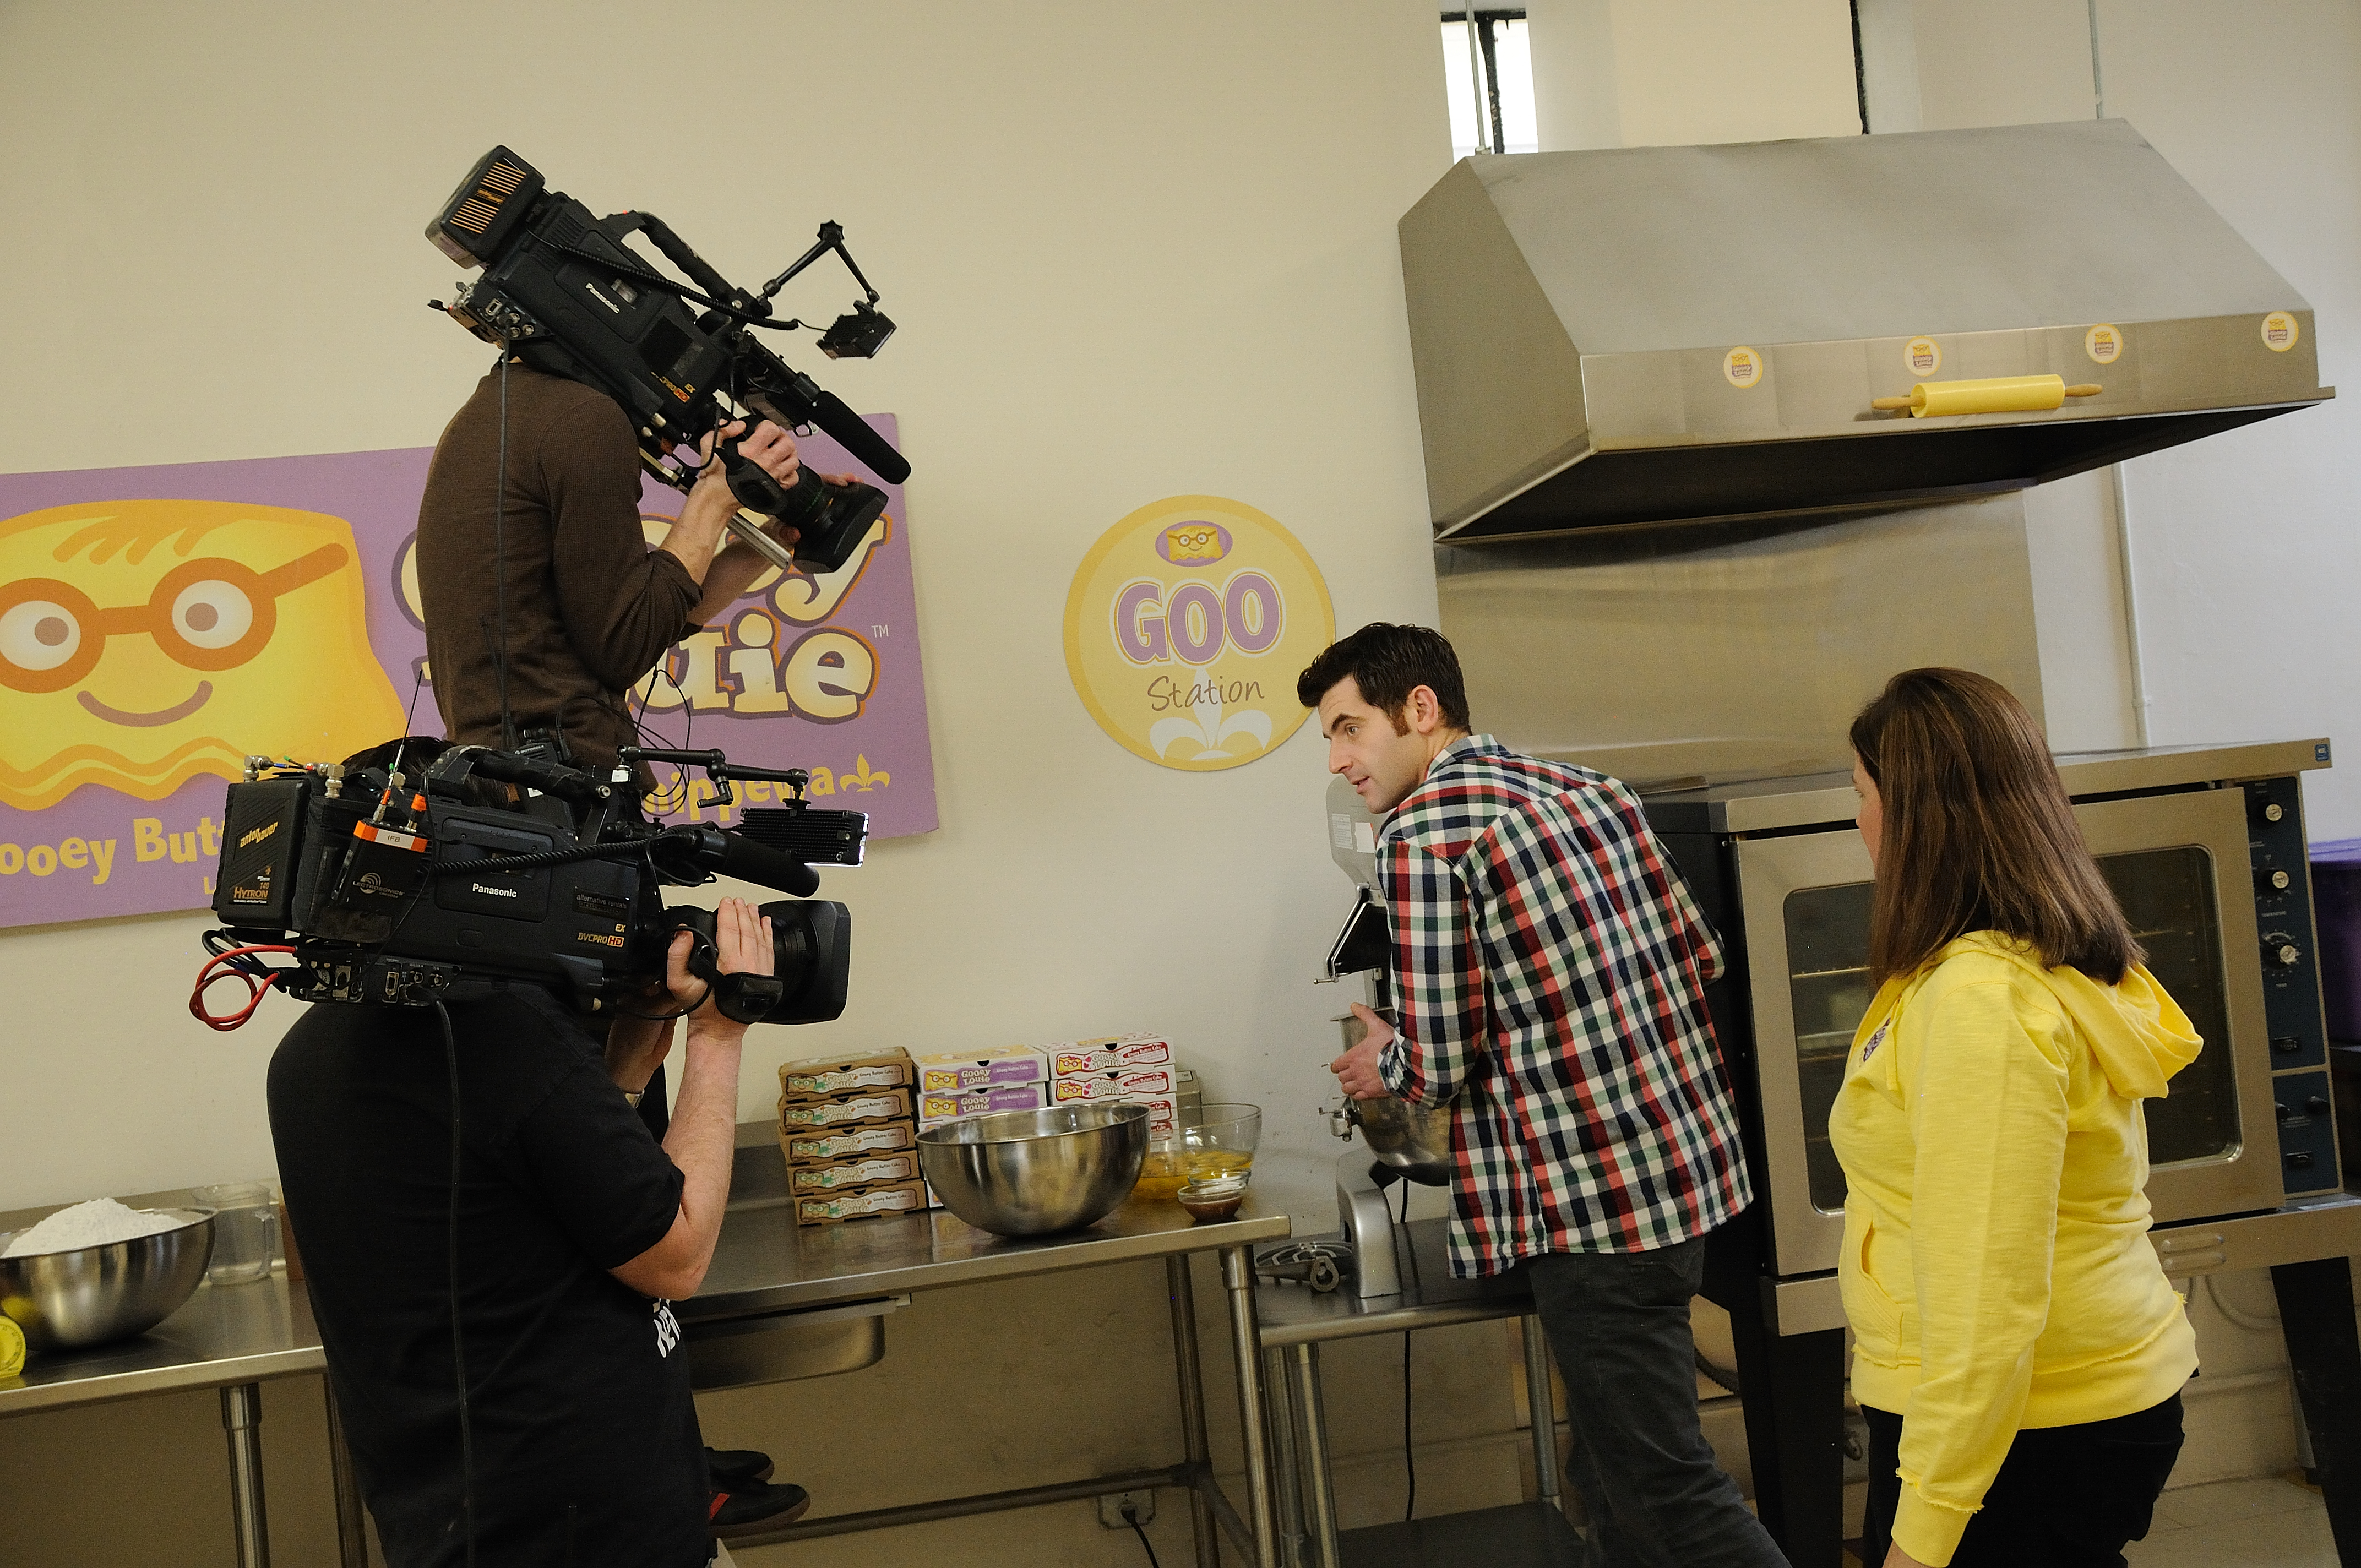
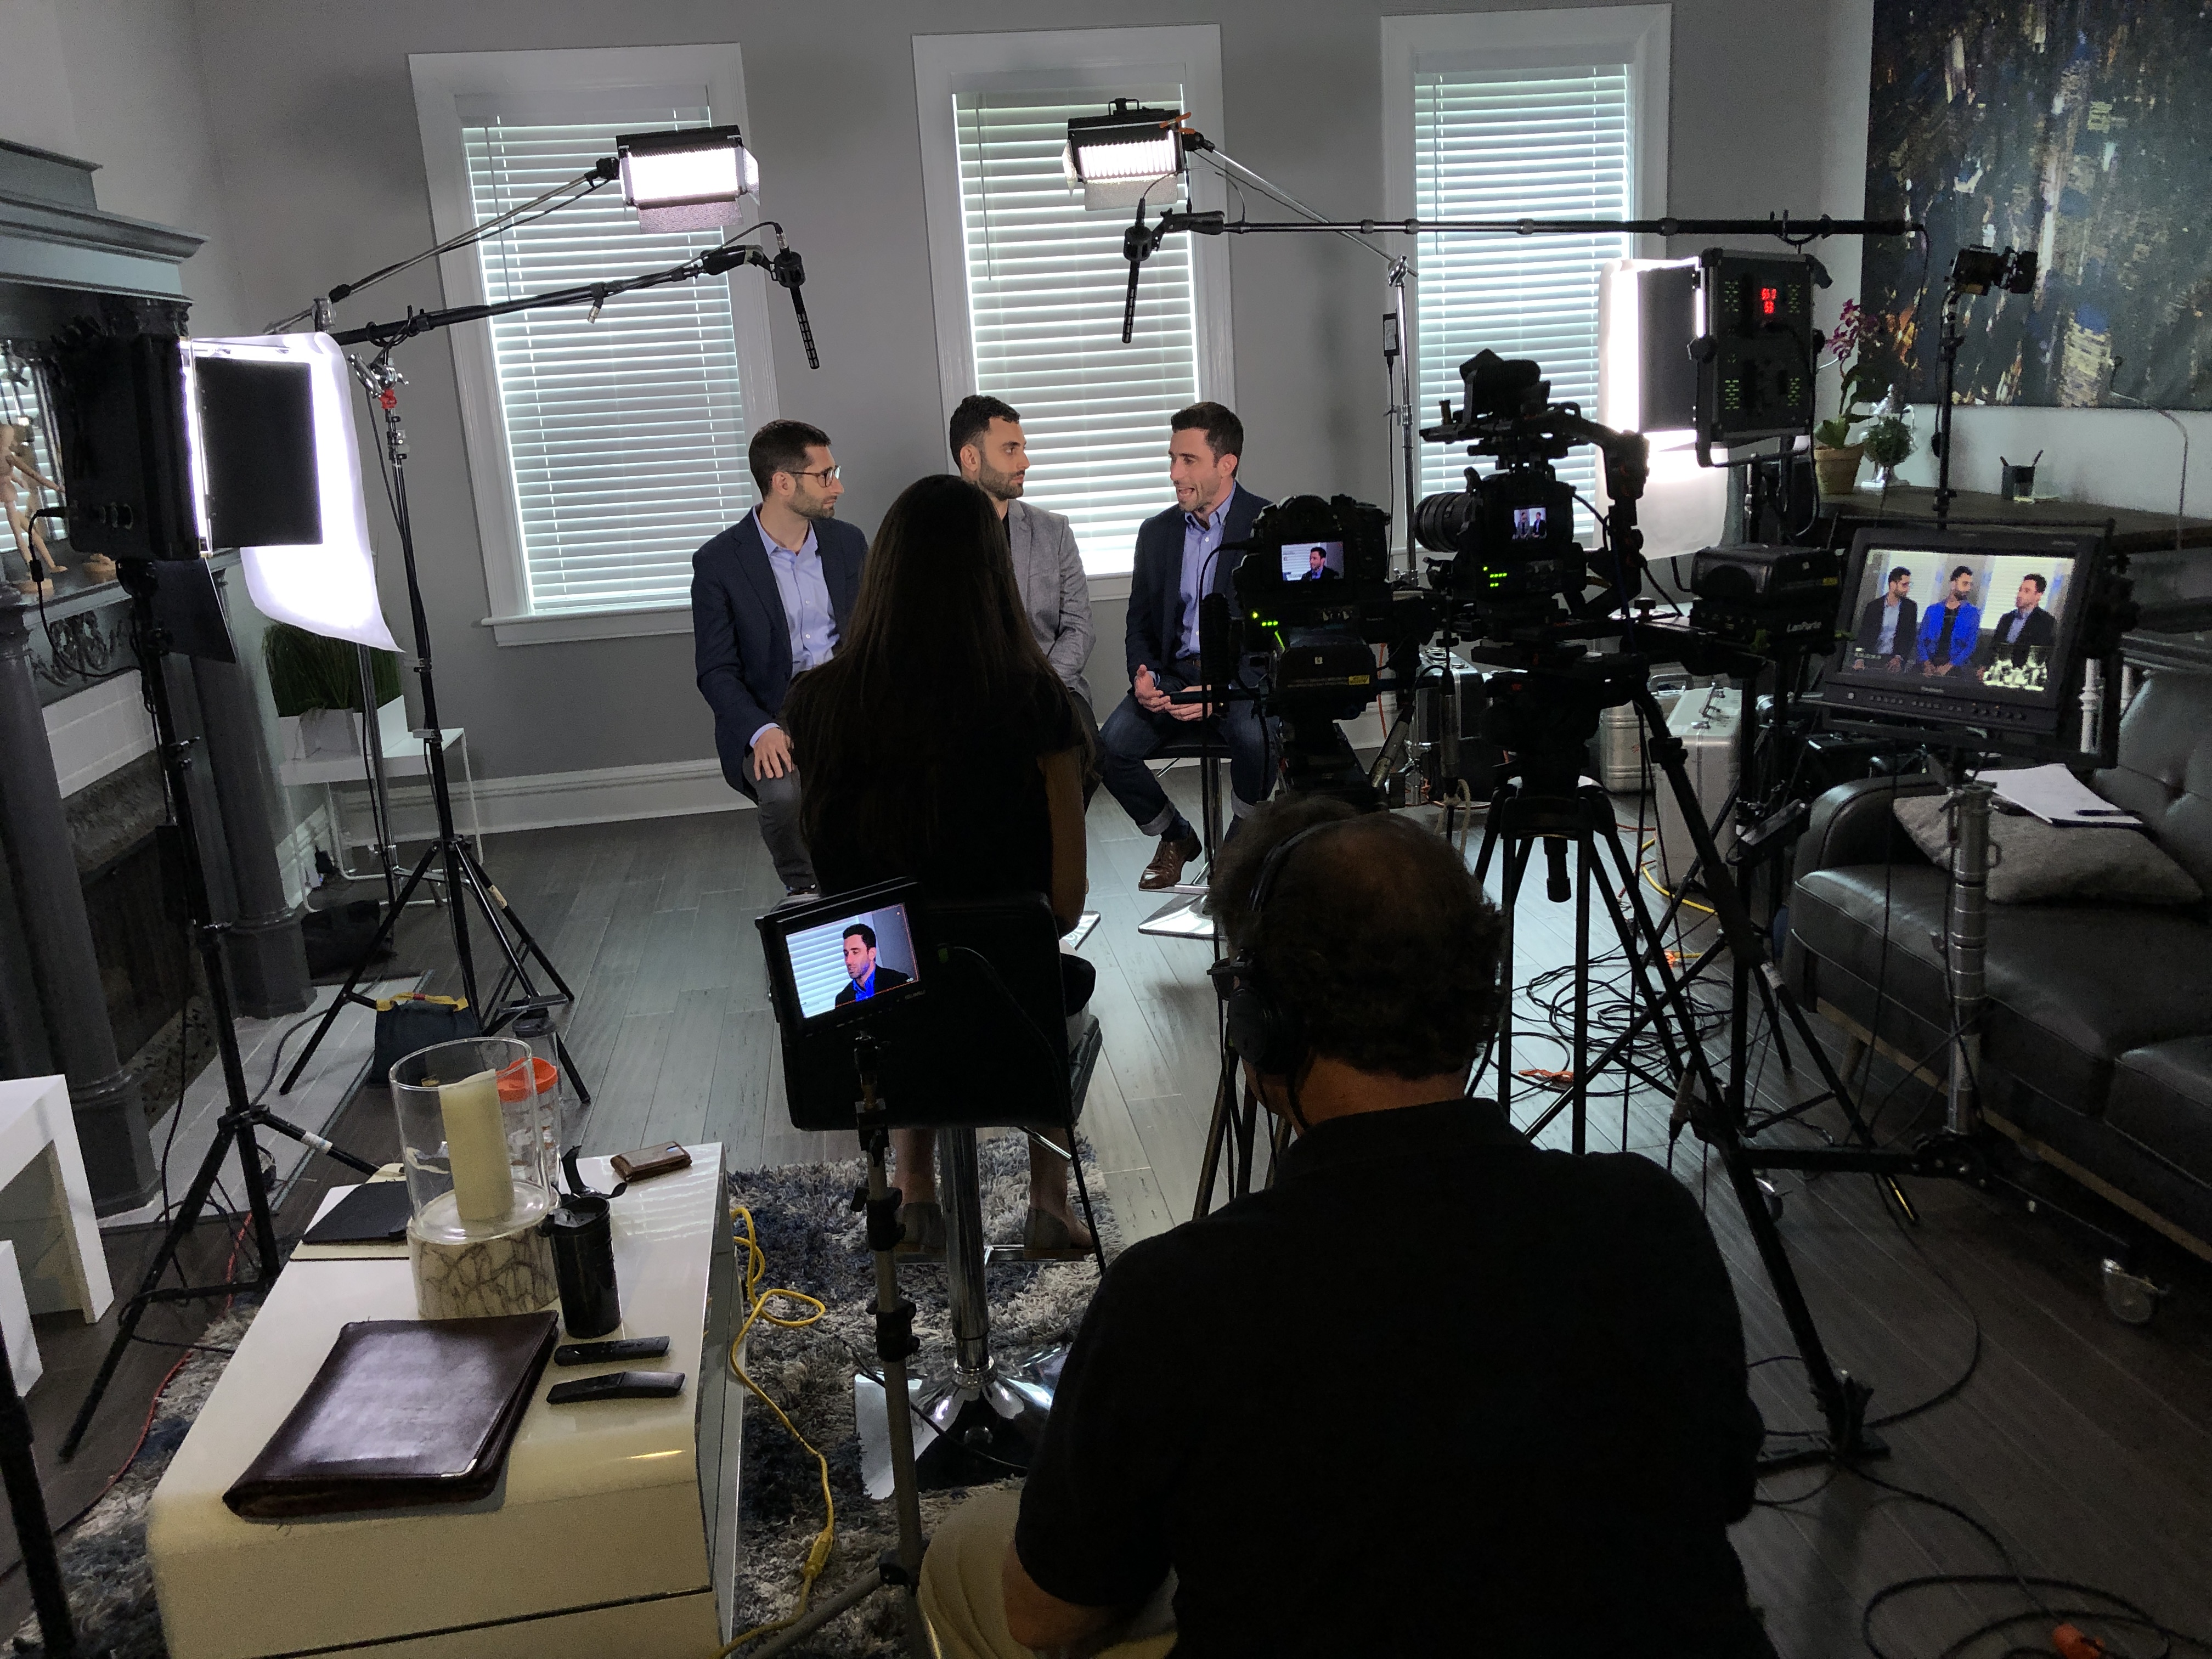
Beyond our aerial expertise, we provide full-service studio and location video and photography. Our private studio lighting and visual setup is perfect for small productions and interview scenes, meticulously supporting every aspect of your production—from setting up a private, custom interview studio to supplying professional sound and camera operators, as well as providing the right equipment—ensuring your next video production is seamless and successful. Our studio is large enough to incorporate props to round out your set, should your vision require more elaborate staging.
Data acquisition is only part of the equation. We offer comprehensive editing, post-production, and full-service media capabilities, ensuring that the raw imagery and information are transformed into compelling narratives, clear visual guides, or precise actionable reports. We use the latest in Artificial Intelligence for all our media services, enhancing efficiency and visual quality throughout the entire process. Our creative crew is well-versed in handling diverse file types and styles of media and proficient with accompanying software, guaranteeing seamless integration with your existing platforms or marketing initiatives.
We excel not only at creating new, high-impact content but also in customizing productions for diverse media requirements and skillfully repurposing your existing photography and video branding to ensure your visual identity consistently gains more traction across all channels. Our dedication to your success extends to supporting every aspect of your production, from the initial concept to the final, polished deliverable.
So, whether you’re looking to gain critical structural data, improve energy efficiency, enhance safety protocols, or simply elevate your brand through sophisticated visuals captured from above (or even indoors!), St. Louis Video Studio has the experience (since 1982), technology, and dedicated crew to make it happen successfully. Contact us today to discuss how LIDAR and thermal drone technology, backed by our comprehensive professional services, can empower your next project.